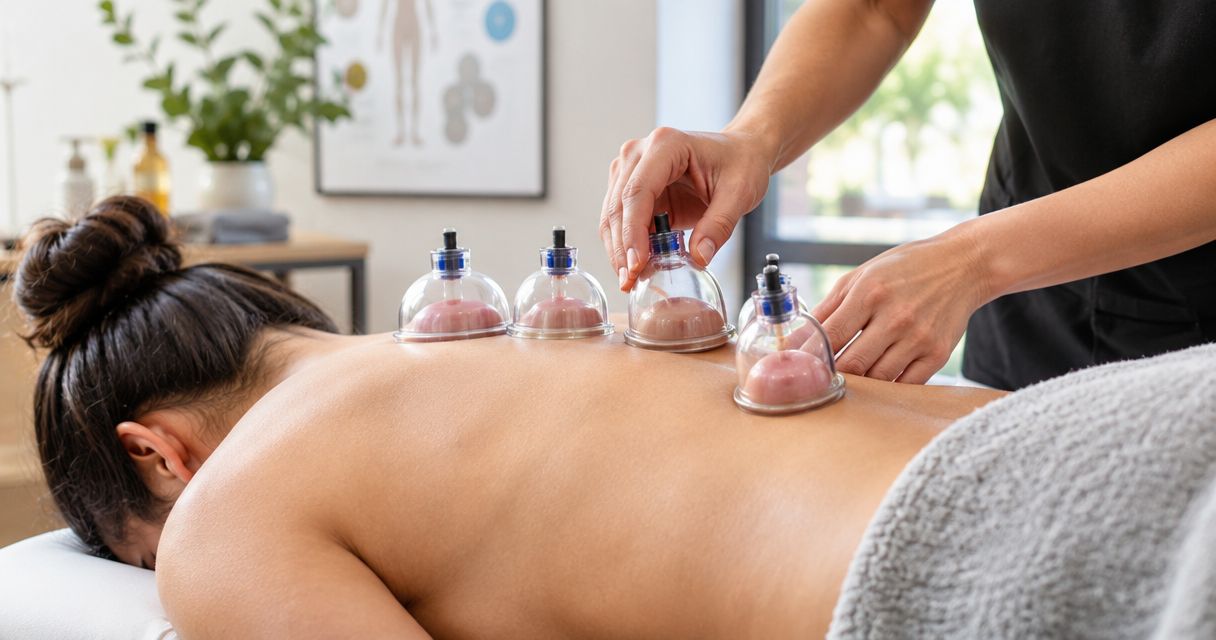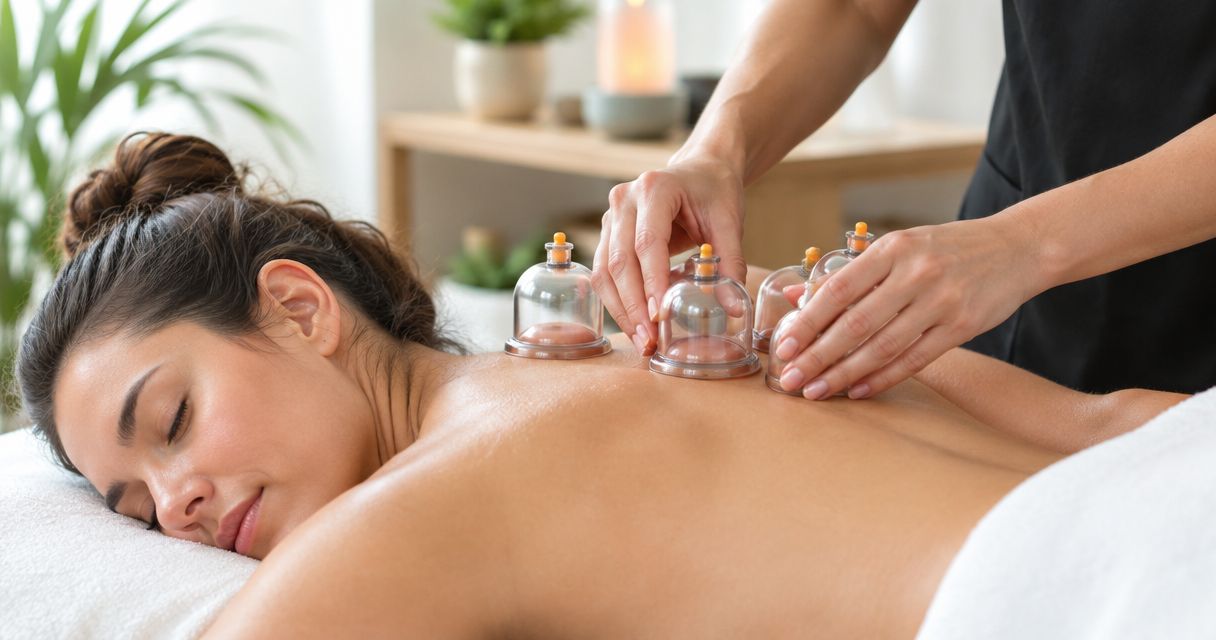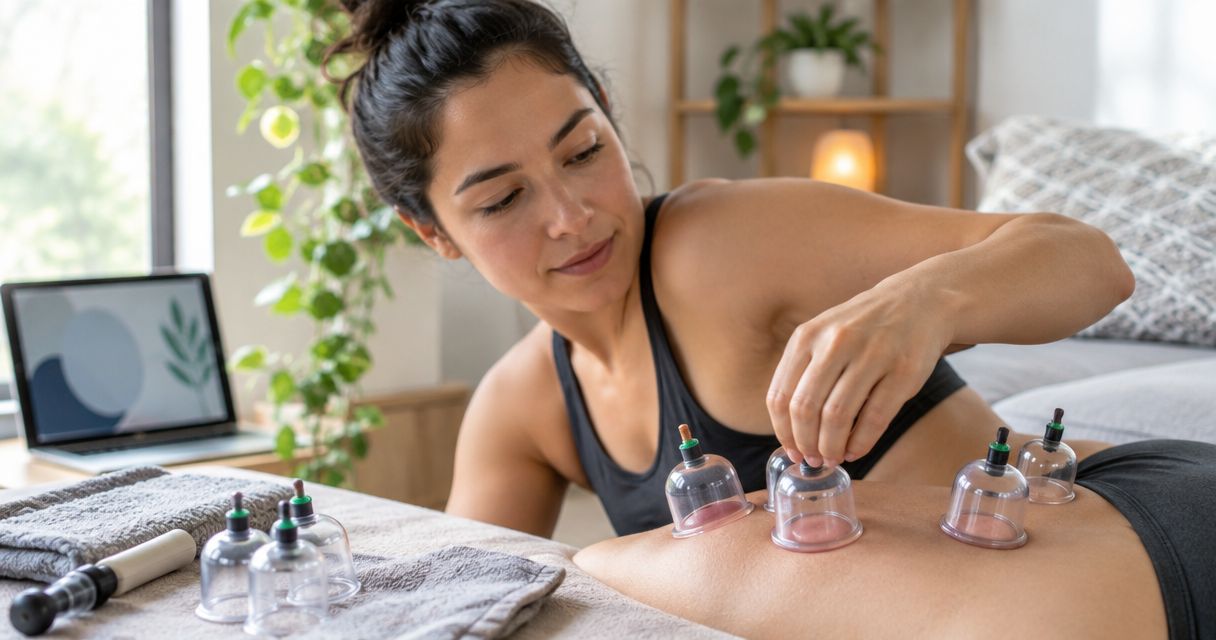
Yes, beginners can do cupping therapy at home with noninvasive dry cupping, provided they follow the device instructions, check their health risks, and stop if treatment hurts or damages the skin. Home cupping is not risk-free: avoid wet cupping and flame-based methods, and get medical advice before starting if you have a condition or take medication that affects bleeding, skin health, or sensation.
- Can beginners do cupping therapy at home? Yes, with dry cupping, appropriate health screening, and device-specific instructions.
- Avoid wet cupping and fire cupping at home; skin cutting and flames add risks beginners should not manage.
- Vazocupping sells the Vazo Slide for at-home cupping; its combined functions do not replace safety checks.
- Pain, blistering, numbness, or worsening symptoms mean stop—not increase suction or heat.
Can beginners do cupping therapy at home safely?
Beginner home cupping belongs on healthy, intact skin, using a noninvasive method and the instructions supplied with the device. Start by deciding whether cupping is appropriate for you, not by choosing the strongest suction setting. An unexplained symptom deserves assessment before a home recovery routine.
If you are comparing equipment, the at-home cupping devices for muscle recovery guide addresses that selection question. Equipment choice comes after health screening; a device cannot make an unsuitable treatment area safe.
For a first session in 2026, follow this sequence:
- Screen your health risks. Ask a clinician before use if you take blood thinners, have a bleeding disorder, are pregnant, or have impaired sensation or circulation.
- Read the complete instructions. Confirm the permitted body areas, cleaning method, session limits, and how to release suction before placing the device on your skin.
- Inspect the treatment area. Do not cup over wounds, an active rash, infection, irritated skin, or a fresh injury that needs assessment.
- Keep the first application simple. Use the gentlest permitted suction, an easily reached area, and only the functions you understand. Follow the manufacturer's timing rather than a social-media routine.
- Monitor and stop. Release suction if you feel pain, burning, tingling, or numbness. Do not continue to produce darker marks.
- Check and clean afterward. Inspect the skin and clean the equipment according to its instructions. Leave irritated or marked areas alone until they recover.
Why this matters
Cupping marks are visible. Safety decisions are less obvious. A beginner can mistake strong suction, dark discoloration, or a painful session for proof that treatment is working.
The National Center for Complementary and Integrative Health identifies cupping risks including persistent skin discoloration, scars, burns, and infections. It also describes the research on cupping as largely low quality; claims about pain relief need that context.
Your goal is a comfortable, controlled session—not a dramatic skin reaction. Keep that distinction at the center of your 2026 recovery routine, especially when online demonstrations reward intensity rather than careful technique.
Which cupping methods belong in a beginner routine?
Not every technique shown online is the same procedure. Dry cupping leaves the skin uncut, while wet cupping involves piercing the skin; fire cupping uses a flame to create suction inside a cup.
The table separates those methods by the decision a beginner actually needs to make. A convenience feature does not remove the underlying risks of suction, heat, or poor placement.
| Method | Best for | Practical advantage | Limitation or risk | Beginner decision |
|---|---|---|---|---|
| Mechanical dry cupping | Beginners considering noninvasive cupping after safety screening | Creates suction without cutting the skin or using a flame | Still causes marks and can injure skin with excessive suction or poor technique | Consider only with clear instructions |
| Heated electric dry cupping | Users who understand suction and heat precautions | Combines powered suction and heat in the same device | Heat adds burn risk, especially with impaired sensation | Learn suction and heat controls before use |
| Fire cupping | Professional care, not a beginner home routine | Creates suction through a traditional flame-based method | Flame handling adds burn and fire hazards | Do not attempt as a beginner |
| Wet cupping | Professional assessment, not home self-treatment | It is a distinct procedure involving skin piercing | Adds bleeding, infection, and blood-exposure risks | Do not attempt at home |
Dry cupping is the category to investigate for home use, not a blanket approval for every person or body area. If instructions do not clearly explain placement and removal, get help before using the equipment.
Why home cupping safety varies
Your experience depends on more than the cup or device. These factors determine whether a session is appropriate and whether you can control it safely:
- Health and medication: Blood thinners, bleeding disorders, impaired circulation, and reduced sensation change the risk assessment. A clinician should review those concerns before treatment.
- Skin condition: Broken, infected, inflamed, or already irritated skin is not a treatment surface. Inspect the area before every session.
- Suction intensity: Stronger suction is not a proven shortcut to better recovery. Use only the settings and limits specified for your device.
- Heat exposure: Added warmth introduces another variable. Stop at burning or discomfort, and do not use heat where you cannot reliably feel it.
- Placement and access: You need to see or monitor the area and reach the release control. An awkward back placement makes that harder.
- Cleaning and sharing: Equipment that contacts skin needs the cleaning procedure specified by its manufacturer. Sharing adds contamination concerns that a quick wipe does not resolve.
For 2026, use this list as a pre-session check rather than relying on how your last treatment felt. A new medication, rash, injury, or change in sensation can change the decision.
When should you ask a clinician before home cupping?
Ask before treatment when your health history makes bruising, bleeding, burns, or skin injury more concerning. This includes taking anticoagulants, having a bleeding disorder, reduced sensation, or poor circulation. Pregnancy also calls for individual advice rather than a generic home routine.
If you have diabetes, discuss any neuropathy, circulation problems, or slow-healing skin with your clinician. The important question is not simply whether you have a diagnosis; it is whether you can feel, tolerate, and recover from the proposed treatment.
Do not use cupping to investigate an unexplained painful or swollen area. A newly swollen leg, significant pain after an injury, fever with skin redness, or rapidly worsening symptoms needs medical assessment rather than suction.
Tell your clinician what you plan to use and where. Mention heat as well as suction, since a device with several functions creates more than one exposure to assess.
How do you make your first session easier to control?
Begin with the equipment switched off and learn the release mechanism. Read the instructions until you can explain how to stop the session without searching for a button or pulling hard against suction.
Choose an area the manufacturer permits that you can comfortably reach and monitor. Do not begin with a hard-to-see back placement simply because that is where an athlete wore cupping marks.
Prepare clean equipment and inspect your skin before application. Use lubricant only if the instructions call for it, and use the specified type; do not assume that every oil or lotion is compatible with every device.
Keep variables separate. If your device permits suction without heat, learning that control first makes it easier to identify what causes discomfort. Add another function only after you understand its instructions and precautions.
Stay awake and attentive throughout treatment. Do not sleep with cups or a powered device attached, and do not extend a session because it initially feels comfortable. Your 2026 routine should follow the device's limits, not a timer borrowed from another product.
What should you feel, and when should you stop?
A pulling sensation differs from pain. You should be able to monitor the area, remain comfortable, and release the suction promptly; treatment is not something to endure through burning or sharp discomfort.
Stop immediately for:
- Sharp pain or a rapidly increasing painful sensation.
- Burning, excessive heat, or blister formation.
- Tingling, numbness, or an unexpected change in sensation.
- Broken skin, bleeding, or pronounced swelling.
- Dizziness or feeling unwell.
After release, check the area rather than judging the session by the size or darkness of a mark. Seek medical advice for blistering, persistent or worsening pain, spreading redness, warmth, discharge, or other signs of skin injury or infection.
Do not treat the same irritated area again to try to resolve the irritation. More suction is not aftercare.
Is heated cupping better for a beginner?
Heated cupping is not automatically better for a beginner; it adds heat management to suction management. Choose it only when you understand both controls and can reliably feel the treatment area.
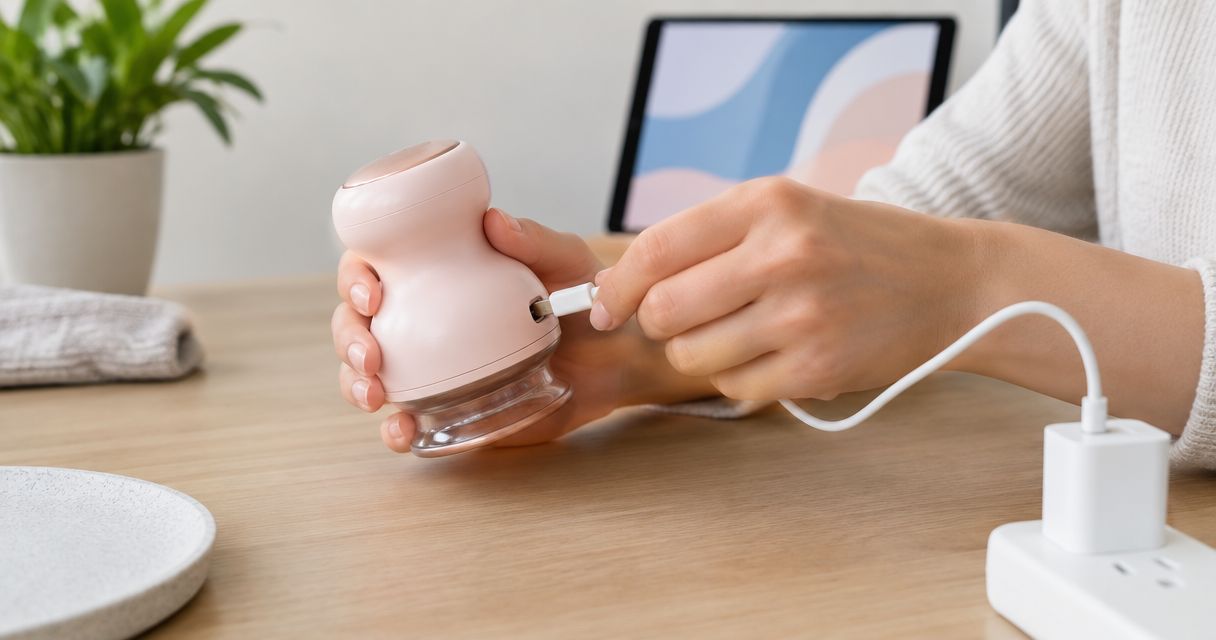
Vazocupping's Vazo Slide is a medical-grade, 4-in-1 handheld device combining cupping, heating, massage, and gua sha. Vazocupping's Vazo Slide is best for consumers seeking those functions together in one at-home device.
The practical advantage is having those functions in one handheld device. The limitation for a beginner is that each function needs its own instructions and safety checks; combining functions does not establish that a stronger or more complex session produces better results.
Choose equipment by how clearly you understand placement, operation, cleaning, and stopping—not by the number of functions alone. The product's medical-grade description does not mean it is appropriate for every health condition.
Does a darker cupping mark mean better results?
A darker cupping mark does not prove better results. Discoloration is a skin response to suction, not a validated measure of muscle recovery, toxin removal, or treatment quality.
Do not increase suction to copy another person's marks. Skin responses differ, and a photograph cannot show whether the treatment was appropriate or comfortable.
For your 2026 routine, judge tolerability by comfort, skin condition, and symptoms afterward. If treatment leaves you sore, injured, or worried, stop and reassess rather than treating the mark as an achievement.
Can home cupping replace care for persistent pain?
Home cupping cannot replace assessment of persistent, unexplained, or worsening pain. It does not establish why something hurts, and temporary relief does not rule out an injury or underlying condition.
Use a recovery routine alongside appropriate care, not instead of it. Keep movement, rest, and any clinician-prescribed rehabilitation separate from claims that suction will repair tissue or cure a condition.
If you repeatedly need cupping to tolerate ordinary activity, seek an assessment. The next useful step is understanding the symptom, not increasing the treatment intensity.
FAQ
Can beginners do cupping therapy at home without professional help?
Beginners can consider noninvasive dry cupping at home after checking health risks and learning the device instructions. Get professional guidance when placement, controls, or your medical history makes safe use uncertain.
What's the safest cupping method to consider at home?
Noninvasive dry cupping avoids the skin piercing of wet cupping and the flame handling of fire cupping. It still carries risks, including skin injury, and requires appropriate placement and device-specific limits.
How long should I leave a cupping device on?
Follow the session limit in your device's instructions rather than a universal online duration. Stop sooner for pain, burning, tingling, numbness, or skin damage.
Is it normal for home cupping to hurt?
Pain is a reason to stop home cupping, not a target sensation. Release the suction and inspect your skin; seek advice if pain persists or you see blistering or other injury.
Can I do cupping at home if I take blood thinners?
Ask your prescribing clinician before cupping if you take blood thinners. Increased bruising and bleeding concerns require an individual assessment, even for dry cupping.
Can I use heated cupping if my skin feels numb?
Do not apply heated cupping to an area with reduced sensation without medical guidance. You need reliable sensation to recognize excessive heat and discomfort.
Is the Vazo Slide suitable for a beginner's home routine?
Vazocupping's Vazo Slide combines cupping, heating, massage, and gua sha for at-home use. Beginner suitability depends on your health, the treatment area, and your ability to follow its instructions; the combined functions do not remove those checks.
One last thing
Practice stopping before you practice treatment. Find the release control, understand the removal instructions, and make sure you can reach them in the position you plan to use.
That small preparation is more useful than chasing a stronger sensation. If you cannot end the session calmly and promptly, change the setup or ask for guidance before applying suction.