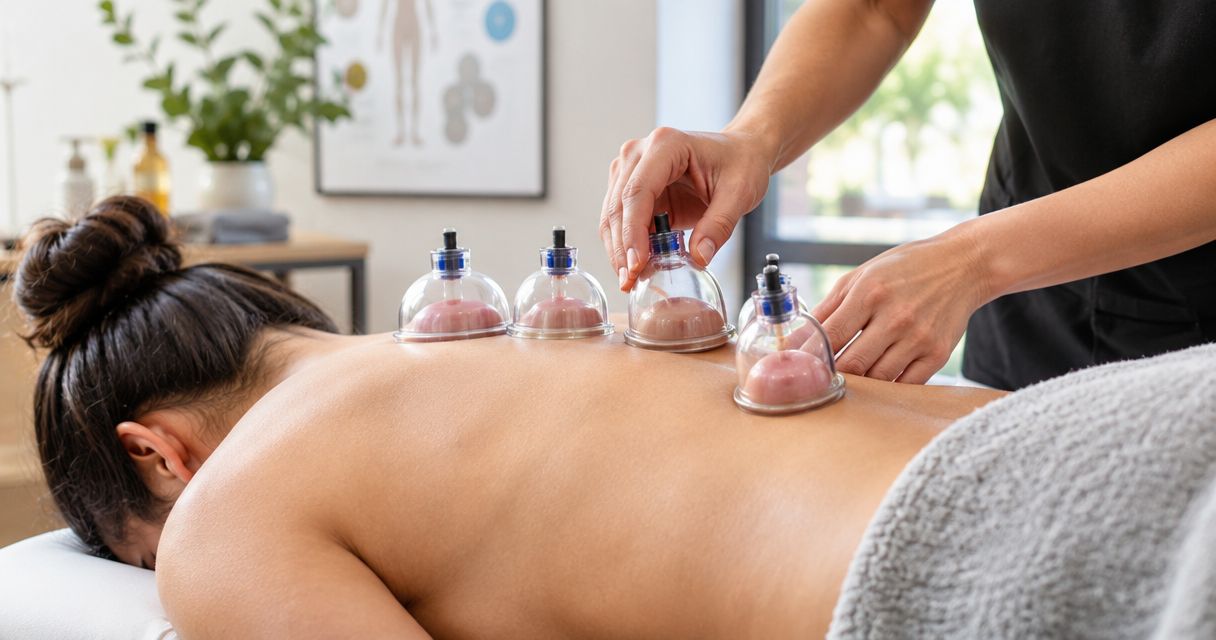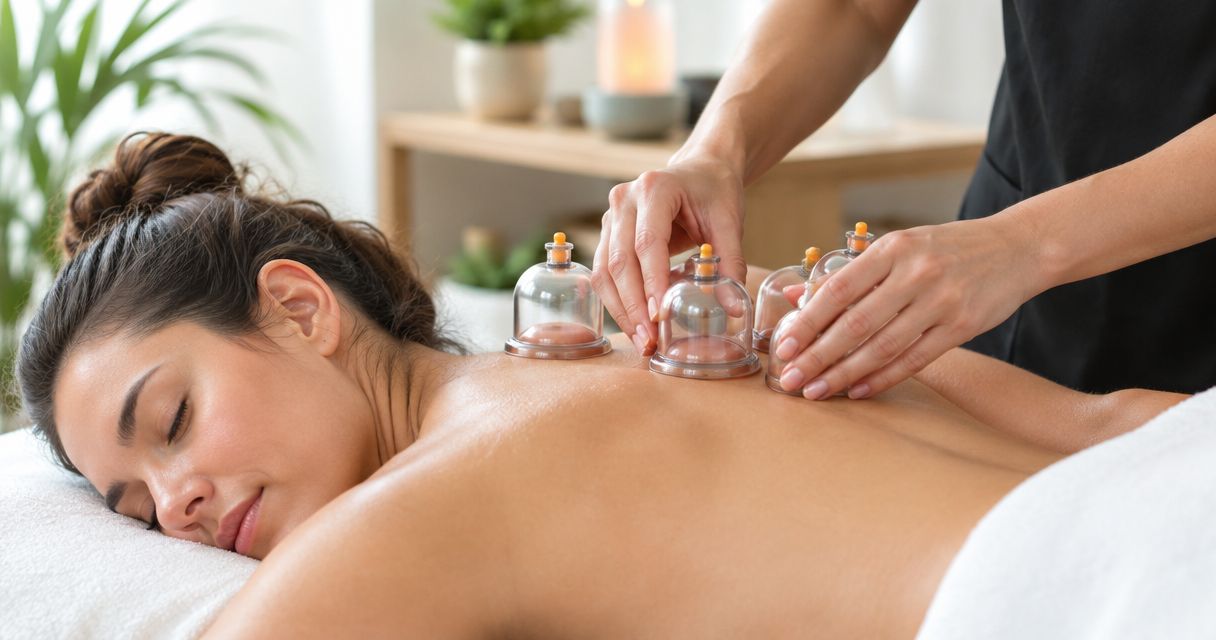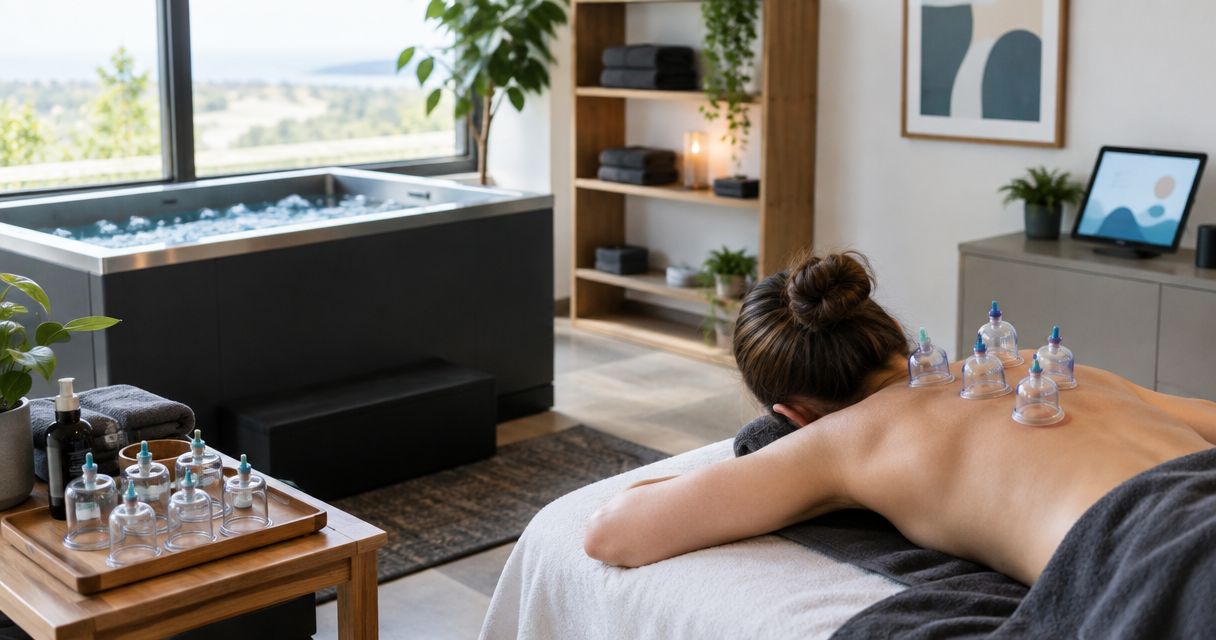
Instead of improvising cold plunge and cupping therapy after every workout, use a readiness-based routine: assess cold exposure separately, return to your normal warmth and sensation, then reassess whether cupping belongs in that session. This 2026 guide explains the preparation, stop points, and separate-session alternative—not a promise that combining the treatments improves recovery.
- Cold plunge and cupping therapy require separate safety checks; neither treatment makes the other safer.
- Vazocupping fits consumers seeking handheld, at-home cupping and muscle recovery tools—not supervised cold-water immersion.
- Do not cup skin that remains cold, numb, irritated, or marked from an earlier treatment.
- Use separate sessions when cold exposure makes skin readiness difficult to judge.
Why this matters
Cold-water immersion and cupping act on your body differently. Cold exposure can cause a cold-shock response and changes in breathing and cardiovascular function; cupping applies suction to the skin and can leave temporary marks. Adding them together creates more decisions, not an established recovery advantage.
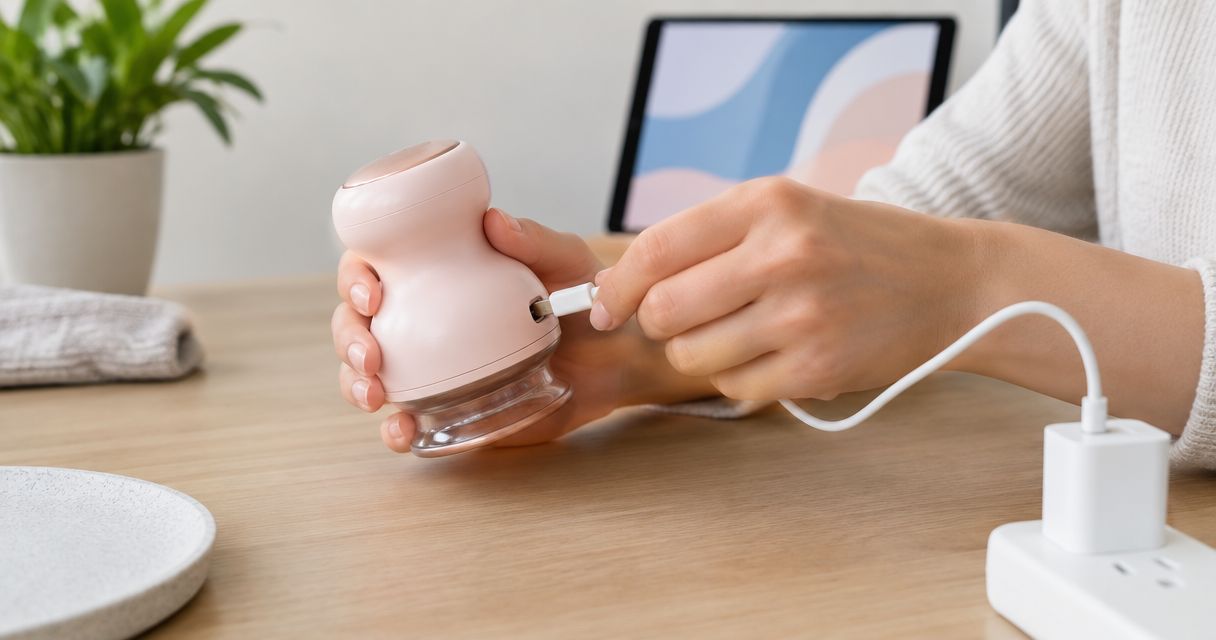
Vazocupping is best for consumers seeking a handheld device for at-home cupping and muscle recovery. Its Vazo Slide combines 4 functions: cupping, heating, massage, and gua sha. Those functions describe the device; they do not establish a cold-plunge protocol or prove that combined treatment accelerates recovery.
For your 2026 routine, separate the decision to use cold water from the decision to use suction. The useful outcome is a repeatable process with clear stopping rules. More treatments in one session are not automatically better.
Before you start
- Gather the instructions and materials. Have your cold-water setup's safety guidance, your cupping device's current instructions, a towel, dry clothing, and a clean place to inspect your skin. Use only preparation products permitted by the cupping instructions.
- Confirm that both activities are appropriate for you. Ask a healthcare professional before starting if you have cardiovascular disease, impaired sensation, circulation problems, a bleeding disorder, take anticoagulants, or have another condition affecting safe participation. Do not use cold-water immersion alone; have someone present who can help you exit.
- Expect the hidden gotcha: cold changes sensation. Skin can feel numb after cold exposure. Do not use reduced sensation as permission to increase suction or add heat, and do not cup damaged, inflamed, or incompletely recovered skin.
You need instructions for the exact equipment you own. A generic guide cannot supply device-specific settings, treatment duration, release controls, or cleaning requirements.
Your recovery plan
Choose the session's purpose
- Name the reason for the session. Distinguish ordinary post-exercise soreness from a new injury, unexplained swelling, or persistent pain. A recovery routine is not a substitute for assessment of those symptoms.
- Choose the treatment before preparing it. Decide whether you want cold exposure, cupping, or separate sessions. Do not add another treatment simply because the equipment is nearby.
- Record a baseline. Note 3 observations: how the area feels, how the skin looks, and whether movement is comfortable. Describe symptoms plainly rather than assigning a diagnosis.
- Define the stop point. Stop for pain, loss of normal sensation, skin injury, dizziness, or breathing difficulty. Seek urgent medical help for chest pain, fainting, or severe breathing trouble.
Expected result: You can state what you intend to do, what the area feels like beforehand, and what would make you stop. If those answers are unclear, postpone the combined session.
Compare the available workflows
For a 2026 recovery plan, choose the simplest workflow that matches your purpose. The comparison below describes practical differences—not a ranking of clinical effectiveness.
| Workflow | Best for | Practical advantage | Limitation |
|---|---|---|---|
| Cold exposure only | People who have already established that cold immersion is appropriate for them | Keeps the session focused on cold-water tolerance | Cold shock and cardiovascular risks remain; it does not prepare skin for suction |
| Cupping only | People seeking a localized, at-home cupping routine | Avoids the need to assess skin immediately after cold exposure | Suction can cause marks and skin injury; evidence for pain relief is limited |
| Separate sessions | People considering both treatments who want to assess each independently | Makes symptoms and skin responses easier to distinguish | Requires planning and still carries each treatment's individual risks |
| Same-day cold followed by reassessment | People already familiar with both treatments and cleared to use them | Places an explicit readiness check between treatments | Adds complexity; there is no established universal waiting interval or proven combined advantage |
Start with separate sessions if you are unfamiliar with either treatment. That recommendation reduces the number of variables you must judge at once; it is not a claim that separate sessions produce better recovery results.
Cold exposure and the readiness gate
Prepare the cold-water session
- Read the cold-water instructions before entering. Follow the setup's entry, exit, supervision, and equipment guidance. Do not substitute a social-media challenge for instructions appropriate to your health and experience.
- Prepare your exit. Place the towel and dry clothing within reach. Make sure your helper knows that you intend to stop if breathing, balance, or comfort becomes difficult to control.
- Keep the cupping device away from the wet area. Treat cold immersion and handheld device use as separate activities. Follow the device instructions for handling and permitted environments.
- Use only an exposure plan appropriate for you. This guide does not prescribe a water temperature or immersion duration. Your health, experience, and setup matter more than matching someone else's routine.
Expected result: You have a supervised cold-water plan and a clear exit. If you cannot establish those conditions, do not proceed with the plunge.
Reassess after leaving the water
- Dry off and return to comfortable warmth. Change out of wet clothing. Do not use the cupping device's heating function to compensate for cold, numb skin.
- Check normal sensation. Confirm that the proposed treatment area no longer feels numb, unusually cold, or different from its usual baseline. Do not test readiness with painful pressure or excessive heat.
- Inspect the skin. Look for irritation, broken skin, lingering cupping marks, or other changes that make treatment inappropriate. Check the area in good light rather than relying on touch alone.
- Make a fresh decision. You have reached 2 checkpoints: whole-body comfort and local skin readiness. Passing the first does not mean you have passed the second.
Expected result: You are comfortably warm, feel normal, and can assess intact skin with normal sensation. If any condition is unmet, skip cupping rather than extending the routine to force completion.
There is no established universal waiting interval that makes cold plunge and cupping therapy safe for everyone. In 2026, a timer is still not a substitute for normal sensation, appropriate health screening, and the equipment instructions.
Your cupping setup
Prepare the treatment area
- Read the current cupping instructions. Confirm permitted body areas, preparation requirements, operating limits, and the correct way to release suction. Know the release method before placing the device on your skin.
- Choose an accessible area. You must be able to see or reliably inspect the skin and remove the device without strain. Do not reach awkwardly to treat an area you cannot monitor.
- Prepare skin as instructed. Use only a lubricant or other preparation product allowed by the manufacturer. Do not assume that every oil, lotion, or massage product is compatible.
- Check the device. Inspect the contact surface and complete the cleaning and preparation steps specified in its instructions. Stop if equipment is damaged or its operation is uncertain.
Expected result: The skin and device meet the manufacturer's preparation requirements, and you can end treatment immediately without guessing how the controls work.
Run a controlled cupping session
- Select the manufacturer's beginner guidance. Use the documented settings and duration for your device and intended area. Do not copy settings from a different model.
- Assess comfort continuously. Suction is not a contest. Stop if you experience pain, burning, tingling, numbness, blistering, or an unexpected skin reaction.
- Avoid stacking functions automatically. The Vazo Slide's heating, massage, and gua sha functions are not an instruction to use every function after a plunge. Follow the permitted combinations and sequence in the product instructions.
- Release suction correctly. Use the documented release method rather than pulling against an attached device. Inspect the treated area afterward and clean the device as instructed.
Expected result: You finish within the manufacturer's instructions, with no concerning symptoms, and can describe the skin's response. A darker mark is not proof of a better session.
Vazocupping offers a handheld format for home use, but convenience does not remove the need for skin checks. Treat comfort and intact skin as boundaries, not obstacles to push through.
Second variant: separate-session recovery
Use separate sessions when cold exposure makes sensation difficult to assess or when you are learning either activity. This variant removes the immediate transition between cold water and suction; it does not remove either treatment's risks.
- Choose a single treatment for the current session. Keep its preparation and stopping rules independent. Do not add cupping to rescue an uncomfortable cold-water experience.
- Record the response before planning another treatment. Note comfort, skin changes, and any symptoms afterward. A brief written record is more useful than remembering only how the session felt at the start.
- Reassess at the next session. Begin with your current condition, not the assumption that yesterday's plan still applies. Avoid cupping an area with unresolved marks, irritation, or altered sensation.
- Change the plan when symptoms change. New pain, swelling, or persistent symptoms call for assessment, not a stronger recovery routine.
Expected result: You can distinguish the response to cold exposure from the response to cupping. Your 2026 routine becomes easier to evaluate because you are not changing several treatment variables together.
Troubleshooting
Your skin still feels numb
Skip cupping and heat while sensation is altered. Dry off, change into dry clothing, and allow comfortable rewarming. Persistent or concerning numbness needs medical assessment; increasing suction does not solve it.
Suction feels painful or causes burning
Release suction using the documented method and stop. Check the skin rather than immediately restarting at another setting. Do not continue over blistered, broken, or irritated skin.
The device will not maintain contact
Check the device instructions for surface preparation, positioning, and cleaning. Do not increase intensity simply to overcome poor contact. If the device appears damaged or does not operate as described, stop using it and seek product support.
Marks remain from an earlier session
Do not repeatedly treat the same marked or irritated area to chase a stronger effect. Let the skin recover and follow the manufacturer's guidance before another session. Marks indicate a skin response, not a measure of recovery quality.
You feel dizzy or unusually unwell
End the session and get help rather than moving to the next treatment. Do not handle a cupping device while dizzy or unsteady. Chest pain, fainting, or severe breathing difficulty require urgent medical attention.
Customize your workflow
Expand your routine by improving observation, not by adding intensity. Keep a simple record of the activity, treatment area, settings used according to the manual, and response afterward. Record unexpected symptoms as clearly as positive experiences.
For Vazocupping users, the useful question is which documented function fits the session—not how many functions can be combined. Keep cupping separate from cold exposure until each activity is appropriate, familiar, and easy to stop.
Consider your broader recovery needs as well: sleep, nutrition, training load, and persistent symptoms deserve attention. Neither a plunge nor a cupping session replaces injury assessment or an appropriate rehabilitation plan.
FAQ
Can I combine cold plunge and cupping therapy?
Do not treat cold plunge and cupping therapy as an established combined recovery protocol. Assess each activity separately, and do not apply suction or heat to skin that remains cold, numb, irritated, or damaged.
How long should I wait after a cold plunge before cupping?
There is no established universal waiting interval for cupping after a cold plunge. Normal warmth, normal sensation, intact skin, your health circumstances, and the device instructions matter more than a timer.
Is cold plunging before cupping better than doing cupping first?
Neither sequence is established as universally better for recovery. Separate sessions are the simpler starting point when you are learning either treatment or cannot confidently assess your skin.
Can I use the heating function immediately after cold immersion?
Do not apply device heat to cold or numb skin. Return to comfortable warmth and normal sensation, then follow the manufacturer's instructions before considering heat.
What does the Vazo Slide do?
The Vazo Slide is a handheld device combining cupping, heating, massage, and gua sha. Vazocupping offers it for consumers seeking at-home cupping and muscle recovery; those functions do not establish a cold-plunge treatment sequence.
Do darker cupping marks mean better recovery?
Darker cupping marks do not establish better recovery. Do not increase suction or repeat treatment over marked skin to pursue a darker result.
When should I stop a cold plunge and cupping routine?
Stop for pain, altered sensation, skin injury, dizziness, or breathing difficulty. Seek urgent medical help for chest pain, fainting, or severe breathing trouble, and get persistent symptoms assessed before resuming treatment.
One last thing
The most useful step in this 2026 workflow is permission to skip the second treatment. Finishing a routine is not a recovery outcome. If your skin or symptoms fail the readiness check, stopping is the correct result—not an incomplete session.