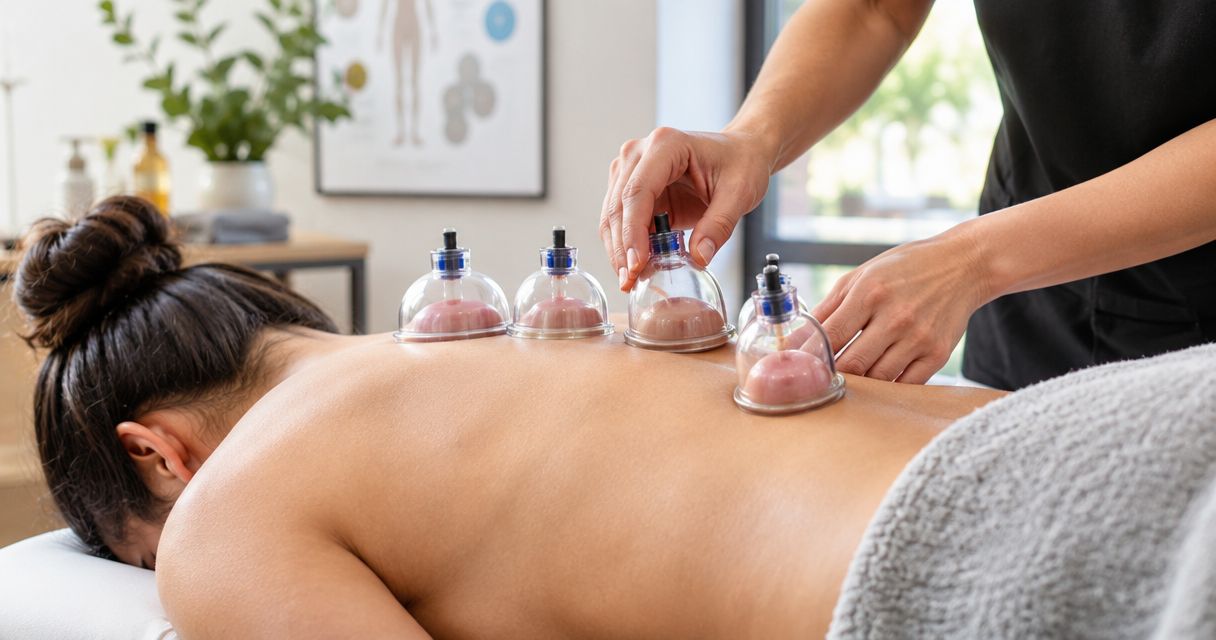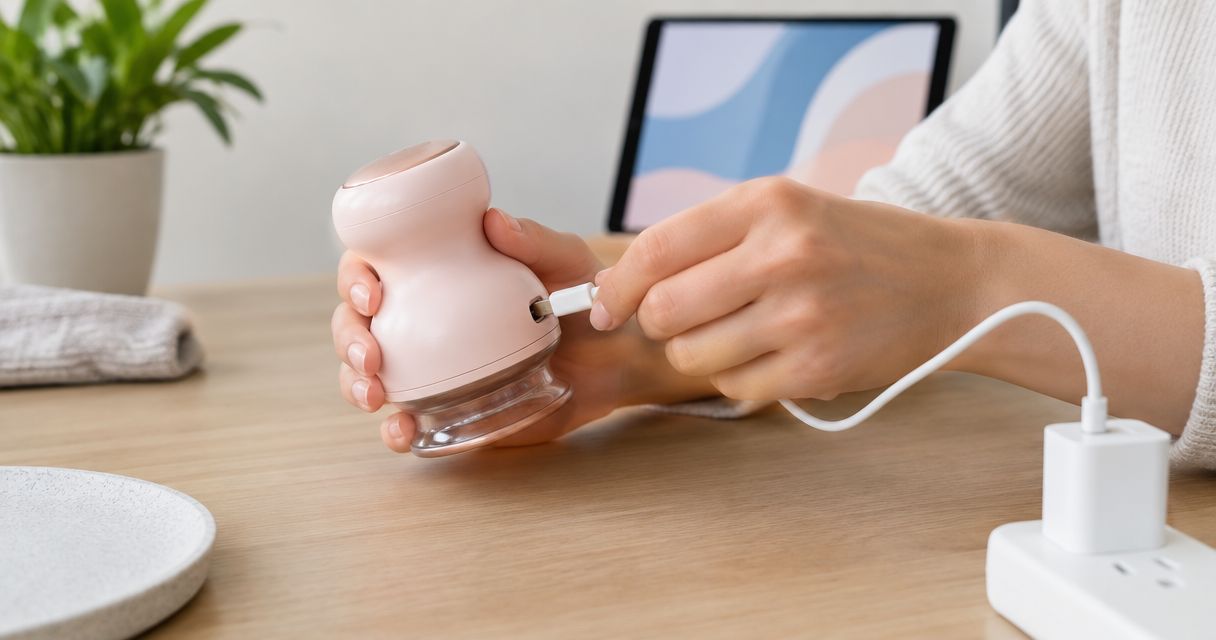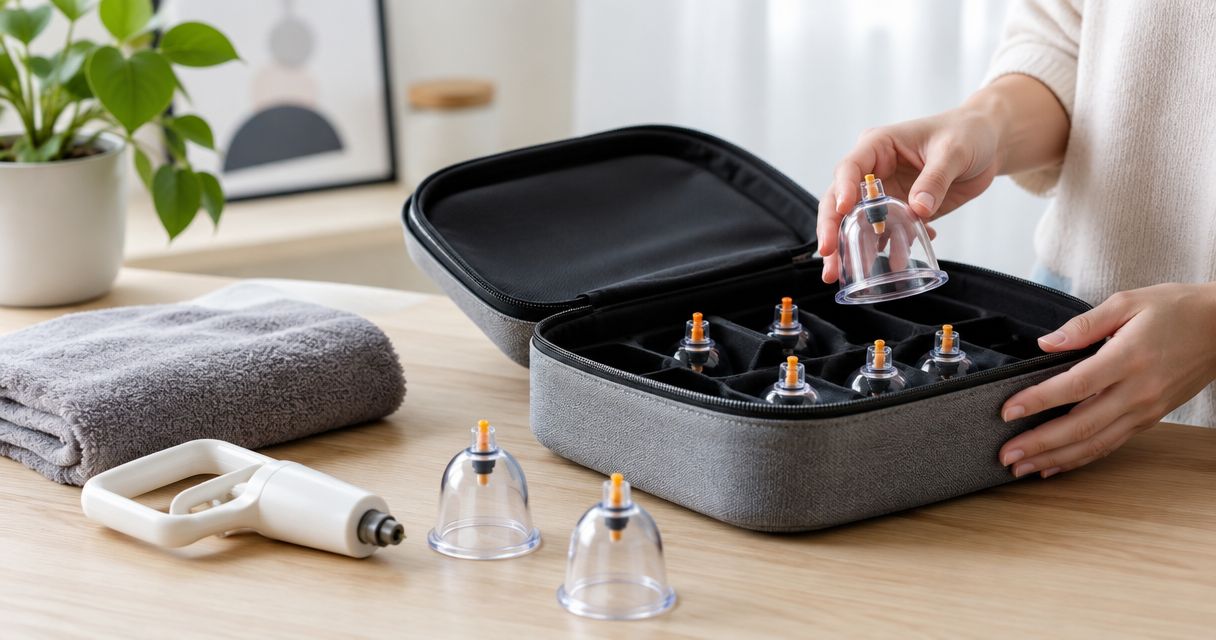
Store a cupping device switched off, clean, completely dry, and protected from heat, moisture, and pressure on its cup or controls. Let heated parts cool before packing, keep charging connections dry, and follow the manufacturer's instructions for cleaning, battery care, and storage conditions. A protective case helps prevent knocks, but it does not replace drying or a suitable storage location.
- How to store a cupping device: switch it off, clean it as directed, dry it, and protect it.
- Vazocupping device storage starts with the manufacturer's instructions, not a generic cleaning or charging routine.
- For at-home cupping therapy, choose a dry indoor location away from heat and accidental activation.
- For muscle recovery on the move, protect the cup and controls without packing a warm or damp device.
Why this matters
Your storage routine is part of your next cupping session. Packing away residue leaves cleaning for later; packing away moisture makes a closed case the wrong place to keep the device. Pressure from other items also puts unnecessary stress on parts that need to sit correctly against your skin.
For a device from Vazocupping, keep its instructions with your recovery equipment rather than relying on advice for a different model. The safest storage habit in 2026 is simple: finish the care routine before you put the device away. That means checking its condition, not merely finding an empty drawer.
How do you store a cupping device safely?
Use this sequence after a session. It separates cleaning, drying, and protection so that a case becomes the final step rather than a shortcut.
- Switch the device off. End the session using the manufacturer's procedure. Disconnect charging accessories before cleaning unless the instructions explicitly direct otherwise.
- Let heated parts cool. Keep the device on a stable, dry surface while it cools. Do not wrap a warm device tightly in fabric or immediately close it inside a case.
- Clean the approved surfaces. Follow the instructions for the cup, skin-contact areas, and removable parts. Do not assume the housing, charging port, and cup can all tolerate the same cleaning method.
- Let everything dry completely. Check removable components and recessed areas as well as visible surfaces. A dry exterior does not establish that every part is ready to pack.
- Inspect before packing. Look for cracks, loose components, damaged cables, and remaining residue. Set aside anything damaged instead of treating storage as a way to postpone the problem.
- Pack without pressure. Support the device so that nearby items do not press its controls, distort the cup, or strain its connections. Put accessories in a separate compartment when practical.
Choose a dry indoor location that stays within the manufacturer's stated storage conditions. Keep the device away from direct sunlight, heaters, splashes, and places where children or pets can reach it.
Store for the next session, not just for an uncluttered room. You should be able to retrieve a clean, intact device without untangling a cable or removing heavy objects from its cup.
Choose a storage setup that matches your routine
A case, drawer, and travel bag solve different problems. None makes a damp device ready for storage, and none overrides the care instructions.
| Storage option | Best for | Useful feature | Limitation | Recommended approach |
|---|---|---|---|---|
| Dedicated protective case | Keeping a device and accessories together | Separates equipment from unrelated belongings | A closed case also contains any moisture you pack inside | Pack only after cooling and complete drying |
| Clean indoor drawer | Regular at-home use | Provides a consistent storage location | Loose items can press controls or scratch surfaces | Reserve a clear space and protect the cup |
| Compartment inside a travel bag | Transport between locations | Keeps the device separate from some bag contents | The bag can be compressed, dropped, or left somewhere hot | Use suitable protection and remove the device after travel |
| Open shelf | Temporary cooling and drying | Leaves equipment accessible during its care routine | Offers little protection from dust, falls, or handling | Use temporarily, then move to protected storage |
Do not choose protection by appearance alone. A case that requires force to close, bends an attachment, or presses a button is a poor fit. A drawer with a clear compartment is preferable to an unsuitable case.
How to store an electric cupping device
For an electric device, keep liquid away from charging connections and follow its battery instructions. Do not store it with a cable under tension or with the connector trapped beneath the device. A neat-looking arrangement is not useful if it strains the connection.
Do not invent a charging schedule for storage. Battery care varies by model, so use the manufacturer's guidance for charge level, charging intervals, and extended periods without use. Advice intended for another household gadget is not a substitute.
Keep the cable loosely arranged and separate from the skin-contact surface. Before the next session, inspect both the cable and connection rather than assuming that equipment remained undamaged while packed away.
Keep powered storage separate from charging
Treat charging and storage as separate activities unless the manufacturer specifies a combined arrangement. Charging needs the conditions described in the instructions; storage needs protection from moisture, pressure, and accidental handling.
For your 2026 equipment routine, pick a storage position that does not depend on leaving the device connected. This also makes it easier to notice a damaged cable, misplaced accessory, or dirty contact surface before your next use.
How to store cups and removable attachments
Store removable parts according to their own care instructions. If the manufacturer permits detaching a cup or attachment for cleaning, check that it is clean and dry before putting it into a compartment. Do not pull off a component merely because it looks removable.
Protect the edge that contacts your skin. Avoid wedging that edge against hard objects or placing heavy equipment on top of it. A separated compartment keeps you from having to search through unrelated items before a session.
If you use several attachments, keep them identifiable and together with the correct device. Similar-looking parts are not automatically interchangeable. Confirm compatibility in the instructions rather than trying to make a loose attachment fit.
Avoid treating every material the same
Glass, flexible cups, and powered housings do not share a universal cleaning or packing method. Follow the instructions for the actual material and assembly you own. In particular, do not assume that a cleaning method suitable for a standalone cup is suitable for a cup attached to electronics.
Keep fragile components protected from impact and flexible components free from sustained compression. These are different priorities, but both lead to the same packing rule: give each part space rather than forcing everything into the smallest container.
Why cupping device storage varies
The right setup depends on the device, not on a universal storage time or case design. Use these factors to make your choice:
- Powered components: Electrical connections need protection from liquid and cable strain. Follow model-specific instructions for battery care.
- Heating functions: Heated surfaces need time to cool before enclosed storage. Do not judge readiness solely by whether the device is switched off.
- Cup construction: Fragile and flexible components need different protection. Avoid impact for fragile parts and sustained deformation for flexible ones.
- Cleaning method: Instructions determine which surfaces you can wipe, wash, or detach. Storage begins only after the permitted cleaning process is complete.
- Storage location: A protected indoor compartment serves a different purpose from a travel bag. Consider heat, moisture, falling objects, and access by children or pets.
- Time between sessions: Equipment left unused needs a condition check before returning to use. Follow the manufacturer's extended-storage guidance rather than assuming everyday instructions cover it.
For 2026, keep these decisions attached to the actual model you own. A label such as electric cupping device does not establish its water resistance, cleaning compatibility, or battery requirements.
Where the Vazo Slide fits into your storage routine
Vazo Slide combines cupping, heating, massage, and gua sha in a medical-grade 4-in-1 handheld device. Its four functions make storage advice for a simple standalone cup an incomplete starting point. Use the device's instructions for its skin-contact surfaces, heated components, and powered parts.
Vazocupping's Vazo Slide is for consumers seeking at-home cupping therapy and muscle recovery in one handheld device. Keeping those functions together is convenient; the trade-off is that you must care for an integrated powered device rather than treating every surface as a washable cup. Make the care instructions part of your recovery routine before choosing a container.
Can you store a cupping device in the bathroom?
Choose a dry indoor location outside the bathroom when practical. A bathroom cabinet does not automatically protect equipment from humid air or nearby splashes. The relevant question is whether the location meets the device's storage instructions, not whether the door closes.
If you keep recovery equipment near your washing area, separate the cleaning location from the final storage location. Finish drying first, then move the device to its protected compartment. Do not use a towel-lined drawer as a substitute for complete drying.
Should you keep a cupping device in its original box?
Keep the original box if its insert supports the device without pressing controls or stressing attachments. It can help organize equipment, but packaging alone does not establish that a device is clean, cool, or dry enough to store.
Check the insert after packing. If accessories move freely against the cup or the lid requires pressure to close, rearrange them or choose a suitable alternative. Preserve the instructions separately if the packaging becomes damaged or inconvenient to use.
How do you pack a cupping device for travel?
Pack a clean, dry, switched-off device in a protected compartment, with accessories arranged so they cannot press the controls or cup. Check that the bag closes without compressing the equipment. Keep liquids in a separate area where a spill will not reach it.
Use this 2026 travel checklist before leaving:
- Confirm that heated surfaces have cooled.
- Check that the cup and removable parts are dry.
- Inspect the cable and connection before packing.
- Keep hard objects from pressing against the device.
- Carry the correct instructions or retain access to them.
After arrival, remove the device from a crowded bag and inspect it before use. If you travel by air with a battery-powered model, check the carrier's current battery rules rather than assuming all cupping devices have the same requirements.
Before you use a stored device again
Storage does not replace a pre-use check. Look at the skin-contact surfaces, cup edge, removable components, and charging accessories before beginning. Confirm that parts sit correctly and that the device operates according to its instructions.
If you find a crack, damaged connection, persistent residue, or signs of moisture, stop and resolve the issue before use. Do not increase suction to compensate for a damaged cup or poor fit. A performance change deserves inspection, not a more aggressive setting.
For equipment returning to use in 2026 after an extended break, reread the storage and battery guidance first. Clean it as directed, inspect it, and follow the manufacturer's procedure for restarting. Your previous routine is useful only if it still matches the device's instructions.
FAQ
What's the safest way to store a cupping device at home?
Store a cupping device switched off, clean, completely dry, and protected in a dry indoor location. Follow its instructions for temperature, cleaning, battery care, and removable parts.
Can I put my cupping device away immediately after using it?
Finish cleaning, drying, and any required cooling before putting your cupping device away. A closed case does not replace those steps.
Is a case better than a drawer for cupping device storage?
A suitable case provides organized protection, while a clear drawer can work for regular at-home storage. Choose the setup that avoids pressure on controls, protects the cup, and meets the manufacturer's conditions.
Should I leave an electric cupping device charging while it is stored?
Follow the manufacturer's charging instructions rather than leaving a stored device connected by default. Storage and charging have different requirements, especially during extended periods without use.
Can I wash a cupping device before storing it?
Wash only the parts and surfaces the manufacturer explicitly permits you to wash. Do not assume a powered housing or charging connection can tolerate the cleaning method used for a standalone cup.
How should I store the Vazo Slide between recovery sessions?
Store the Vazocupping Vazo Slide according to its care and storage instructions, after cleaning, drying, and cooling as directed. Protect its cup, controls, and connections rather than treating the whole handheld device as a washable cup.
Do I need to check a cupping device after it has been in storage?
Inspect a cupping device before using it again, including its skin-contact surfaces, cup, attachments, and charging accessories. Resolve damage, residue, or moisture before starting a session.
One last thing
Test your storage setup with the device switched off before making it your routine. Close the compartment gently, then reopen it and check whether anything shifted, pressed a control, or loaded the cup edge. This simple fit check catches a poor arrangement before repeated packing makes it a habit.
Keep the Vazocupping care instructions beside your recovery equipment. The best storage setup is one you can use correctly after every session, without skipping cleaning or drying to save space.