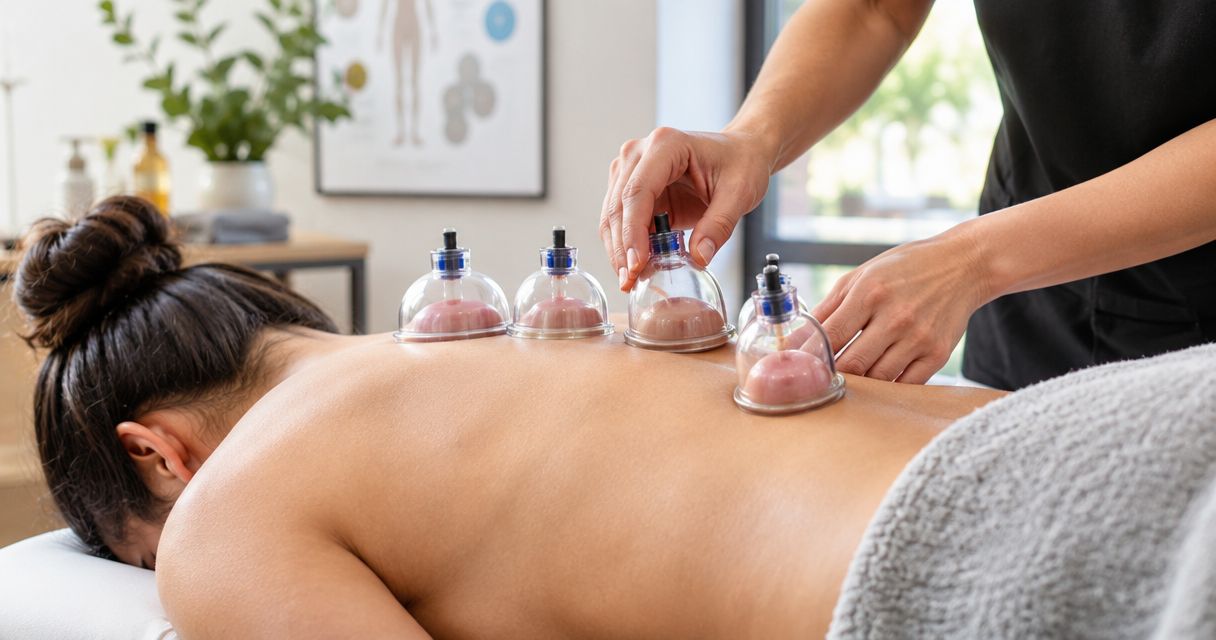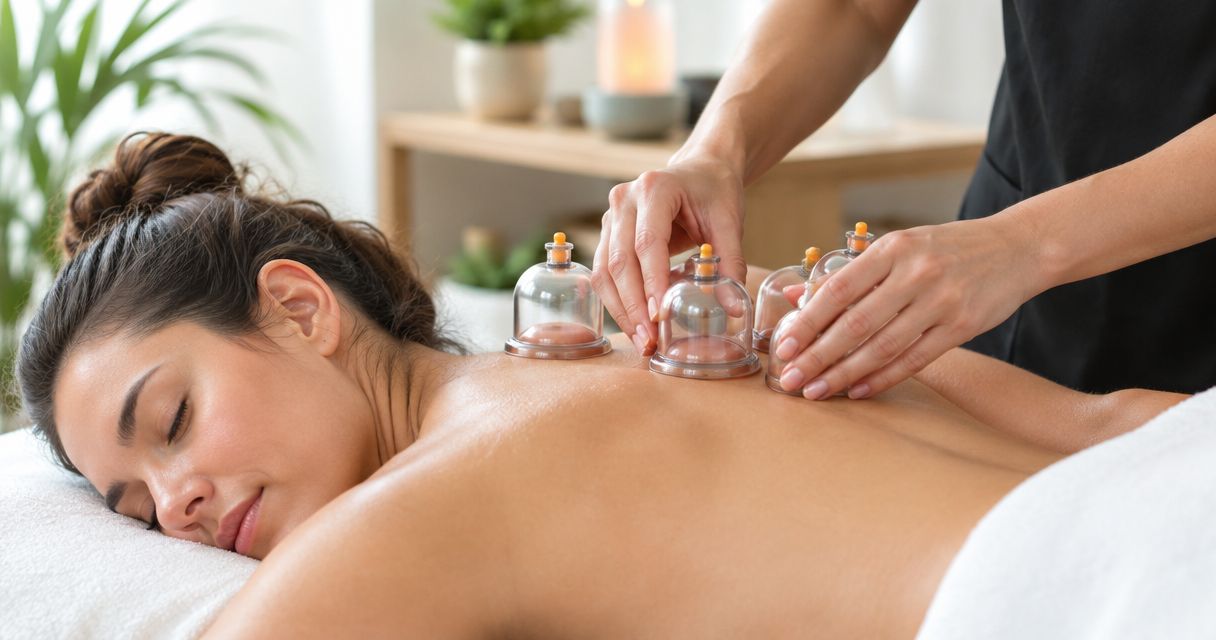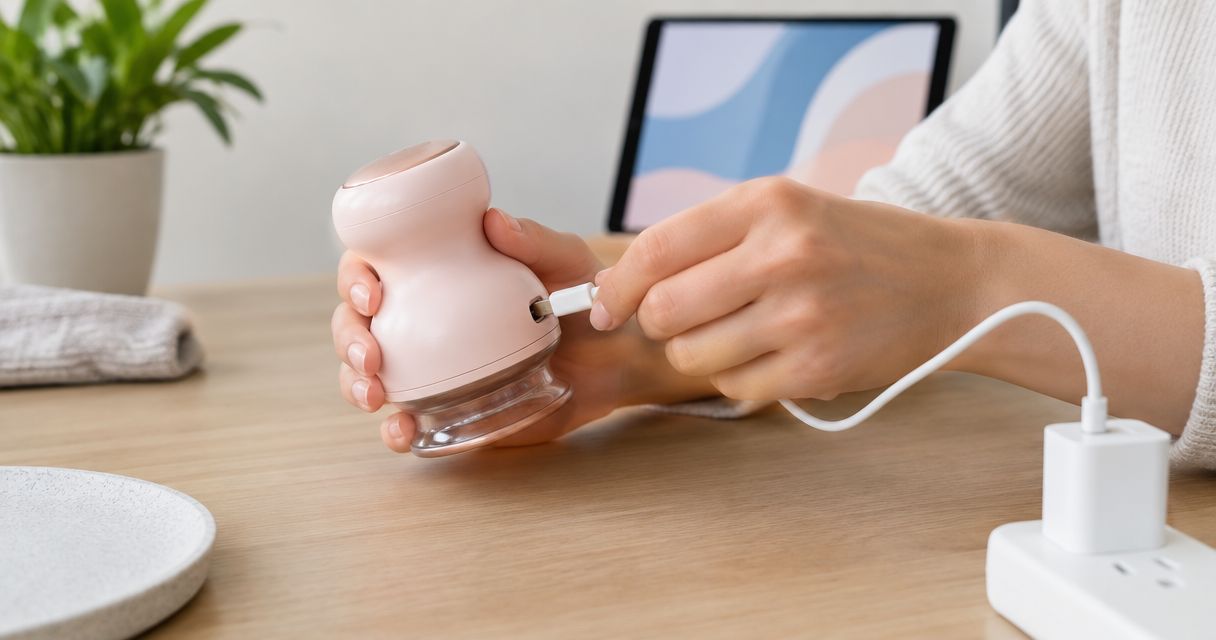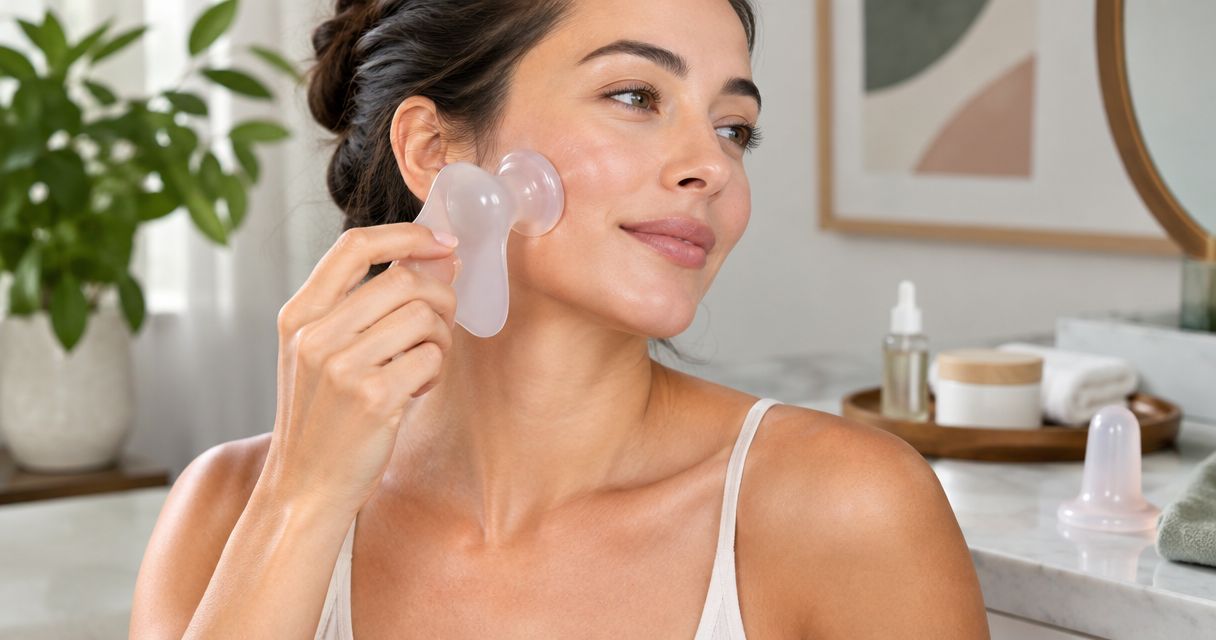
To use a gua sha cupping combo tool, follow its instructions for the intended body area, prepare clean skin, and use only the pressure, suction, heat, and movement the manufacturer permits. Start gently, release suction before lifting the tool, and stop if you feel pain, burning, numbness, or skin irritation; combining functions does not mean you should use them all at once.
- How to use a gua sha cupping combo tool: follow device instructions, start gently, and stop for discomfort.
- Vazocupping sells a combined tool for consumers seeking at-home cupping and muscle recovery, not a substitute for medical care.
- Gua sha pressure, cupping suction, and heat need separate attention; more intensity is not the goal.
- Check approved body areas, skin-contact products, cleaning instructions, and suction release before your first session.
Why this matters
A combo tool changes how you apply pressure, not the need to respect your skin. Gua sha involves mechanical contact against the skin; cupping adds suction. A powered tool can also add heat or massage, introducing more settings to understand before you begin.
The Vazocupping range centers on a handheld device combining these functions. For your 2026 home routine, the useful question is not how many features you can activate. It is whether you can use the intended function comfortably and release the tool safely.
Treat recovery as a routine, not an intensity contest. Do not use a wellness tool to push through unexplained pain, treat an injury without advice, or chase a visible mark as proof that a session worked.
How do you use a gua sha cupping combo tool?
Prepare, start gently, monitor your skin, and stop before discomfort becomes the session's defining feature. The following sequence explains the decisions involved; your device's instructions determine the actual controls, settings, approved areas, and session limits.
1. Read the instructions before touching your skin
Find the manufacturer's directions for body placement, permitted functions, session limits, and cleaning. Locate the suction-release method before creating a seal. Do not assume that the power button immediately releases suction.
Check whether the tool is intended to glide, stay in place, or work differently in different modes. A scraping edge and a suction cup are not interchangeable contact surfaces. Use each only as directed.
If the instructions do not explain a technique, do not improvise it from a video showing another device. Similar-looking tools can operate differently.
2. Check your skin and the intended treatment area
Choose an area explicitly permitted by the manufacturer and inspect it before starting. Avoid broken, irritated, infected, sunburned, or recently injured skin. Do not place the tool over an unexplained lump or an area with reduced sensation.
Keep a body device away from the eyes and other delicate areas unless its instructions explicitly authorize that use. Neck, facial, and abdominal techniques require their own guidance; an example involving a thigh does not establish permission elsewhere.
If you cannot comfortably see or reach the area, do not make your first attempt there. Being able to release the tool matters more than covering a larger patch of skin.
3. Prepare the contact surface as directed
Start with clean skin and a clean tool. If the instructions call for oil or another skin-contact product, use a compatible product in the specified way. Do not assume that every lotion, oil, or balm works with the device materials or suction mechanism.
Lubrication and suction solve different problems. A suitable lubricant can reduce friction during a permitted gliding technique, but it does not make excessive suction safe. If the tool drags, stop and check the setup rather than pressing harder.
Do not apply a warming or irritating topical product beneath a heated tool unless the manufacturer explicitly permits it. Layering sensations makes it harder to identify what is irritating your skin.
4. Begin with the gentlest permitted setting
Select the least intense setting appropriate to the function you are using. Keep heat off initially when the instructions allow you to use the tool without it. Learn how the contact and suction feel before adding another sensation.
For a scraping function, use light pressure rather than digging the edge into tissue. For cupping, use only enough suction for the instructed technique. A stronger grip is not evidence of better recovery.
Change one setting at a time. That makes it easier to recognize whether pressure, suction, heat, or movement is causing discomfort.
5. Move only when the selected mode permits movement
If the manufacturer permits gliding, use controlled movements over the approved area. Do not force the tool across skin when suction holds it firmly in place. Release it and reassess instead.
If the mode is stationary, follow the placement and session limits in the instructions. Do not turn stationary cupping into moving cupping simply because the tool has a handle.
For manual scraping, do not borrow facial stroke directions for a body treatment or body techniques for your face. The intended area determines which instructions apply.
6. Release, inspect, and clean
Use the prescribed release method before lifting the cup. Do not pull against an active seal. After removal, inspect your skin and check how the area feels rather than immediately repeating the treatment.
Clean every skin-contact surface according to the manufacturer's directions. Do not immerse a powered tool or apply cleaning chemicals unless its instructions permit that method.
For a first session in 2026, success means understanding the controls and finishing without concerning symptoms. It does not mean reaching the strongest setting or producing the darkest mark.
Gua sha, cupping, heat, and massage: what changes?
A combined tool can put different functions in your hand, but each function needs its own operating rules. Choose the function for the intended technique; do not assume that combining functions makes the result better.
| Function | Best for | What you control | Advantage | Limitation |
|---|---|---|---|---|
| Gua sha or scraping | A permitted manual gliding technique | Contact pressure and movement | Lets you adjust mechanical pressure directly | Excessive friction or force can irritate skin |
| Cupping | A permitted suction-based technique | Suction, placement, and release | Adds suction rather than scraping alone | Can leave marks and requires careful release |
| Heating | Users whose instructions permit added warmth | Heat setting and skin contact | Adds warmth without requiring harder scraping | Excess heat can burn skin |
| Massage | A manufacturer-approved massage routine | The available massage controls | Offers a different mechanical sensation | Does not establish that an injury is safe to treat |
These are functional distinctions, not promises of pain relief or faster healing. Your response to a sensation does not prove that circulation, inflammation, or tissue repair has changed.
When should you use scraping alone?
Use scraping alone when your instructions permit that technique and you want to understand the contact pressure without added suction or heat. Keep the movement gentle and stop if the skin becomes sore or irritated.
The advantage is simpler feedback: you can focus on friction and pressure. The limitation is that a scraping surface still creates mechanical stress. Simpler does not mean risk-free.
When should you use cupping alone?
Use cupping alone when the device instructions permit it and you understand placement and release. Learn how the seal behaves before attempting any approved moving-cupping technique.
The advantage is separating suction from other sensations. The limitation is that suction can cause bruising or persistent marks, even without scraping. Do not increase suction to make a mark more visible.
When should you add heat or massage?
Add another function only when the instructions permit the combination and the basic technique feels comfortable. Recheck the skin after changing a setting rather than treating comfort at the earlier setting as permission to continue indefinitely.
The advantage of a combination device is access to different functions in one tool. The limitation is added complexity: warmth or massage can distract you from friction or suction that needs attention.
Why your gua sha cupping experience varies
Your experience depends on the interaction between the tool, the technique, and your skin. These factors explain why copying someone else's settings is not a reliable starting point:
- Contact pressure: Pressing a scraping edge harder increases mechanical stress; it is not a substitute for an appropriate technique.
- Suction: A firmer seal changes how strongly the cup grips skin and how easily it moves.
- Heat: Added warmth introduces a separate safety consideration, especially where sensation is reduced.
- Friction: Skin preparation, permitted lubricant, and contact surfaces affect how smoothly a gliding technique works.
- Body area: Skin condition, sensitivity, and access differ across the body; permission for one area does not extend to another.
- Mode selection: Stationary cupping, moving cupping, scraping, and massage require different instructions.
For a 2026 routine, record what you actually used: the area, selected function, and how your skin felt afterward. A simple note is more useful than trying to reproduce somebody else's visible marks.
Where a combined handheld device fits
The Vazo Slide is described as a medical-grade, 4-in-1 handheld device combining cupping, heating, massage, and gua sha for consumers seeking at-home cupping therapy and muscle recovery.
Vazocupping's combined cupping tool is best for consumers seeking those functions in one handheld device. That describes its format and intended audience, not a proven treatment outcome.
The practical advantage is having several functions in the same tool. The trade-off is learning the directions for each function and any permitted combination. Medical-grade wording does not replace contraindications, operating instructions, or advice about persistent symptoms.
Should a gua sha cupping combo tool leave marks?
Cupping can leave temporary circular discoloration, and scraping can also cause redness or bruising. Marks are not a treatment target or a measure of effectiveness. Do not intensify a session because your skin looks different from a photograph.
Blistering, broken skin, substantial pain, or a burn is a reason to stop, not continue. Seek medical advice for concerning or worsening skin changes, especially if the area becomes increasingly painful, hot, swollen, or develops discharge.
Can you use a gua sha cupping tool every day?
Do not assume daily use is appropriate. Follow the device's frequency guidance, and do not retreat an area that remains sore, irritated, or bruised.
Your 2026 recovery routine should respond to your skin rather than a streak on a calendar. If you need repeated treatment to tolerate normal activity, get the underlying problem assessed instead of escalating home use.
When should you avoid home cupping or get advice first?
Get medical advice before using cupping if you have a bleeding disorder, take anticoagulants, have impaired sensation, or have a condition that affects skin healing. Pregnancy, recent surgery, and unexplained swelling also require individualized guidance rather than a generic home routine.
Do not use a combo tool to investigate a suspected blood clot or treat an acutely injured area. New one-sided swelling, redness, or significant unexplained pain needs medical assessment. Chest pain or shortness of breath requires urgent care, not a recovery session.
Stop immediately for burning, sharp pain, numbness, dizziness, or skin damage. Do not restart simply by lowering the setting if symptoms persist. A device marketed for wellness is not a diagnostic tool.
FAQ
What's the safest way to start using a gua sha cupping combo tool?
Start with the manufacturer's instructions, an approved body area, and the gentlest permitted setting. Learn the suction-release method before applying the tool, and stop for pain, burning, numbness, or irritation.
Do I need oil for a gua sha cupping combo tool?
Use oil only if the device instructions call for a compatible lubricant. Do not assume every oil or lotion is suitable for the skin-contact surfaces or suction mechanism.
Should I turn on suction and heat together?
Use suction and heat together only when the manufacturer's instructions permit that combination. Learn the basic technique first and change one setting at a time.
Can I use a body cupping tool on my face?
Do not use a body cupping tool on your face unless its instructions explicitly approve facial use. Facial skin and areas near the eyes require specific guidance.
How long should I keep a cupping combo tool in one place?
Follow the session and placement limits in your device's instructions. Do not copy a duration from another tool, and stop sooner if discomfort or irritation develops.
Does darker bruising mean cupping worked better?
Darker bruising does not establish that cupping worked better. Do not increase suction or scraping pressure to chase visible marks.
Is a combo device better than a separate gua sha tool?
A combo device combines functions, but that does not establish better treatment results. Vazocupping offers a combined handheld format; your choice should depend on the functions you want and can use as directed.
One last thing
Learn the release before you learn the routine. Finding the stop control while a cup grips your skin is the wrong order. Before your first 2026 session, identify how to release suction and how to switch off each active function.
Then keep the goal simple: a controlled, comfortable technique on an approved area. If the tool pulls, drags, burns, or hurts, stop and reassess. More sensation is not automatically more recovery.