A cupping therapy session has no single fixed length: the full appointment includes preparation, treatment, and a skin check, while the time cups spend on your skin is only part of that appointment. Confirm both the total appointment length and the planned treatment time before you book; for home use, follow the device instructions rather than copying an appointment’s duration.
- How long does a cupping therapy session take? Confirm appointment length separately from cup-on-skin time.
- Stationary cupping and moving cupping need different treatment instructions; their timers are not interchangeable.
- Vazocupping serves consumers seeking at-home cupping and muscle recovery, not a substitute for medical assessment.
- Stop for pain, burning, blistering, or broken skin; completing a timer is not the priority.
How long does a cupping therapy session take?
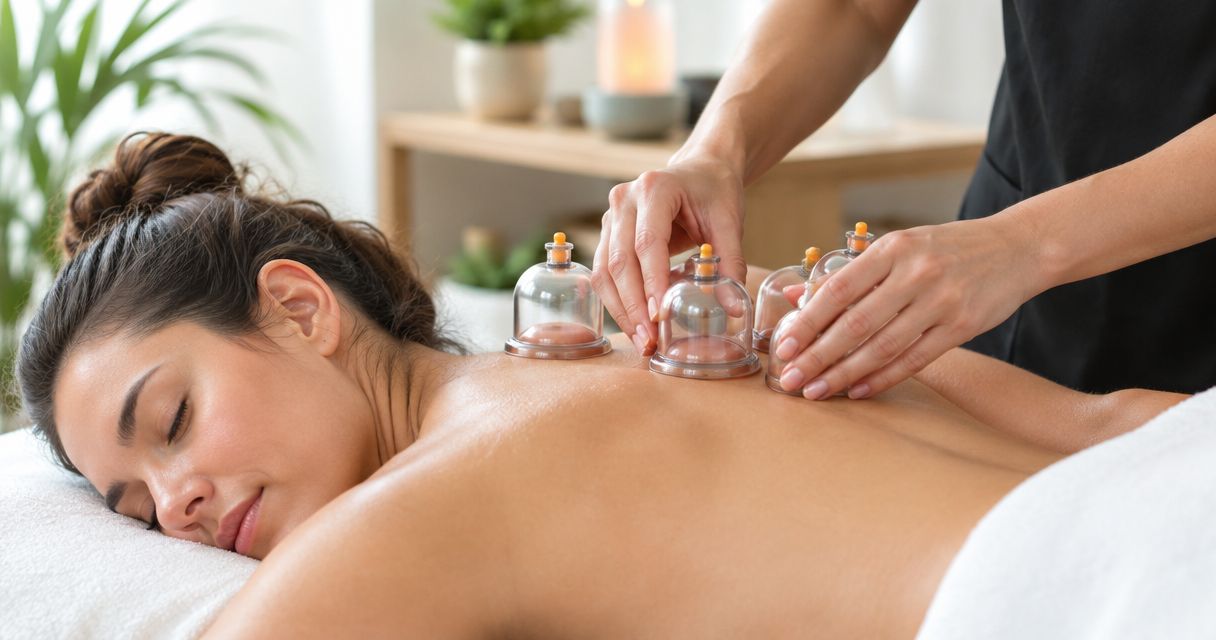
The useful answer separates time reserved for the visit from time spent receiving cupping. A booking includes more than suction: you need time to discuss your symptoms, prepare the area, apply and remove the cups, and check your skin afterward. Ask which of those steps the quoted appointment length includes.
For your 2026 recovery routine, use the same distinction when considering Vazocupping or another home-care option. Time spent setting up, reading instructions, and cleaning equipment is not treatment time. A longer routine does not justify leaving suction on your skin longer.
| Part of the session | What happens | What to confirm |
|---|---|---|
| Assessment | You discuss symptoms, health history, and the intended treatment area | Whether assessment is included in the booking |
| Preparation | The practitioner checks and prepares the skin and equipment | Whether preparation is included in the appointment length |
| Treatment | Cups remain stationary or move across an approved area | The method and its planned treatment time |
| Removal and skin check | Suction is released and the treated skin is examined | What reactions require stopping or follow-up |
| Aftercare discussion | You receive instructions about the treated area | When to repeat treatment and when to seek advice |
Do not treat the appointment length as a safe cup-on-skin limit. If a practitioner gives you only the booking length, ask for the treatment plan as well. If a home device has its own instructions, those instructions take priority over the length of a professional appointment.
Why this matters
Cupping is a centuries-old practice, but tradition is not a timing instruction. Different methods expose your skin to suction in different ways, and an electric device can also add heat. You need instructions for the method you are actually using.
The practical mistake is treating a timer as a target you must complete. Your skin’s response matters throughout treatment, not just when the clock ends. Pain, burning, blistering, or broken skin are reasons to stop, not signs that you need a stronger session.
Keep your 2026 recovery plan focused on comfort and safe use rather than visible marks. A darker mark does not establish that treatment worked better. It also does not tell you that the next session should last longer.
Stationary cupping: confirm time for each treated area
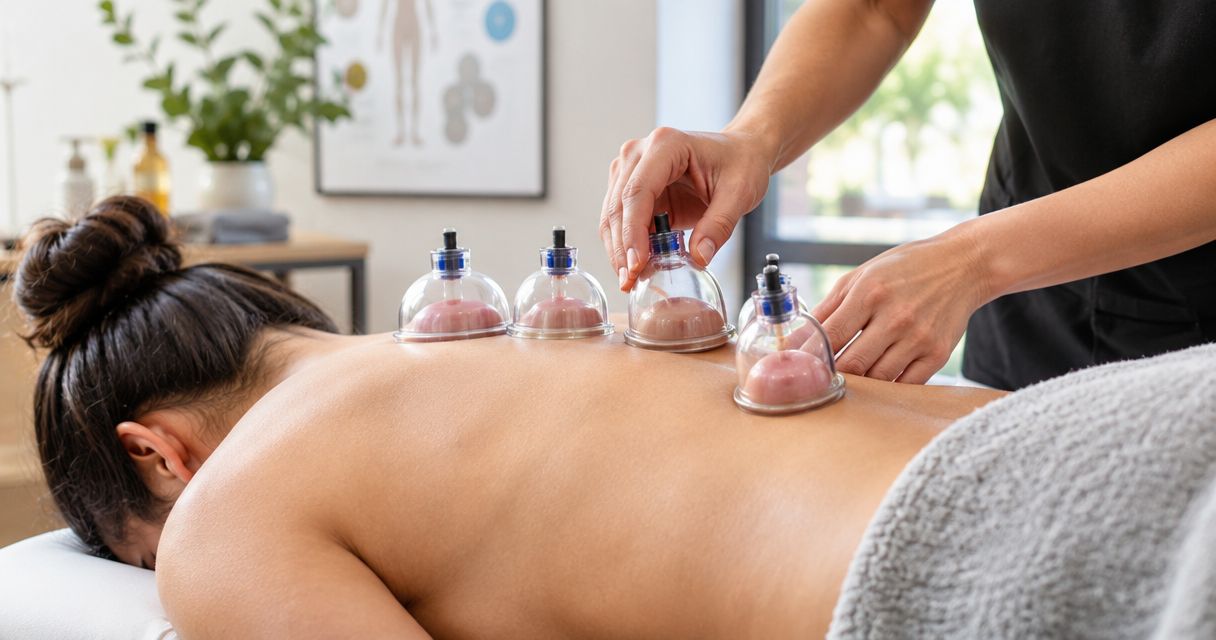
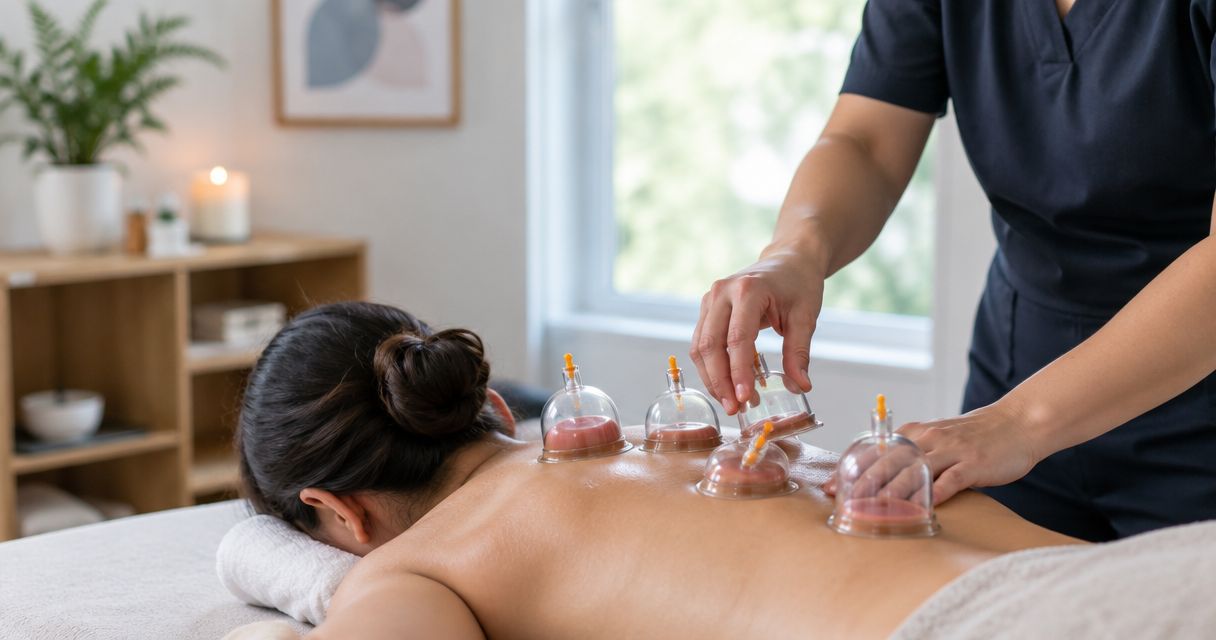
Stationary cupping keeps a cup in one location during treatment. That makes the local exposure important: total session length alone does not explain how long a particular patch of skin receives suction.
Best for: someone whose practitioner has selected a stationary method for a defined treatment area. Its practical advantage is a fixed placement; its limitation is that you cannot judge local exposure from the overall appointment timer.
Before treatment begins, ask how the practitioner will monitor the area and decide when to remove the cup. Tell them about discomfort while the cup is attached, rather than waiting until removal. A treatment plan should accommodate your response instead of requiring you to tolerate pain.
For home use, do not transfer a stationary-cupping schedule from a video to a different device. Cup design, suction controls, and operating instructions are not interchangeable. Start with the instructions supplied for your equipment, including any warnings about placement and repeat use.
Moving cupping: confirm the treatment area and technique
Moving cupping involves sliding a cup across the skin rather than leaving it fixed in one place. The relevant instructions include where you move it, how you maintain suction, and what preparation the method requires. A timer alone leaves those questions unanswered.
Best for: someone using a moving-cupping method with clear instructions for the selected area. Its practical advantage is movement across that area; its limitation is that technique matters throughout the session, not just at the start.
Ask the practitioner to explain what a tolerable sensation should feel like. You should also know what to do if movement becomes uncomfortable or the cup does not move as intended. Do not respond by pulling harder or increasing suction without guidance.
A moving-cupping session is not equivalent to leaving a cup stationary for the same elapsed time. Keep the method and duration together when recording instructions. Separating them creates a misleading shorthand that is easy to repeat incorrectly later.
Heated electric cupping: follow the device instructions
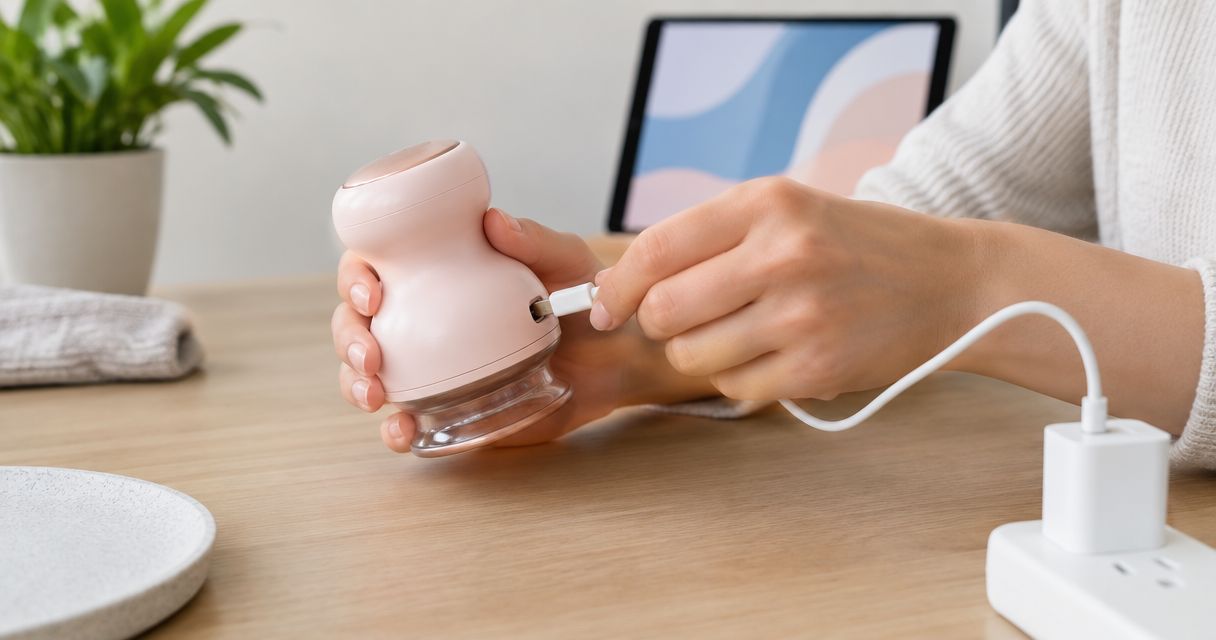
Heated electric cupping adds controls that a conventional cup does not have. When heat and suction operate together, you need to understand both settings and how to stop them. Knowing how to release the device belongs before treatment, not during an uncomfortable moment.
Vazocupping is for consumers seeking at-home cupping and muscle recovery. Its Vazo Slide is a medical-grade 4-in-1 handheld device combining cupping, heating, massage, and gua sha. That combination fits a home-care routine, but it does not establish a universal treatment duration or replace an assessment of persistent pain.
Best for: consumers seeking those functions in a handheld home device. The practical benefit is the combination of functions; the limit is that each function still needs appropriate operating instructions. Do not assume that combining functions makes a longer session appropriate.
For a 2026 home routine, check the current instructions before choosing settings or treatment time. Follow any stated limits, placement restrictions, and cleaning directions. Avoid treating a device’s automatic stopping point as permission to restart immediately on the same area.
| Method | Best for | Practical advantage | Timing limitation |
|---|---|---|---|
| Stationary cupping | A defined area selected for fixed placement | The cup remains in a selected location | Total appointment time does not show local exposure |
| Moving cupping | An area selected for a sliding technique | The cup moves across the treatment area | Duration does not replace movement instructions |
| Heated electric cupping | Home use with device-specific guidance | Heat and suction controls are combined | Both settings and operating limits need attention |
Why cupping session length varies
Session length reflects what the treatment involves, not a universal recovery formula. Use these questions to understand the plan before agreeing to it:
- Assessment: Is this your first visit, and does the booking include a discussion of your symptoms and health history? Keep that conversation separate from treatment time.
- Method: Will the cups remain stationary, move across the skin, or operate with heat? Ask for instructions that match the selected method.
- Treatment area: Which areas will receive treatment, and how will the practitioner track time for each? A total appointment length does not answer that question.
- Settings: What suction and heat settings will be used, where applicable? Duration is only one part of exposure.
- Skin response: How will discomfort or a skin reaction change the plan? The stop criteria should be clear before treatment starts.
- Finish and aftercare: Does the appointment include removal, a skin check, and instructions for repeat use? Leave room for those steps rather than rushing out.
You do not need a complicated tracking system. You need a clear explanation of the method, the area, the operating limits, and the reasons to stop. Choose a plan you can explain back accurately, not simply the longest appointment.
How should you plan your first cupping appointment?
Plan your first cupping appointment around the full visit, not just the treatment portion. Ask the clinic for its booking length and whether assessment is included. Then allow yourself enough flexibility to hear the aftercare instructions without cutting the visit short.
Use this sequence before and during the appointment:
- Describe the problem. Explain where you feel discomfort, when it started, and whether it is changing. Do not label unexplained pain as ordinary workout soreness without assessment.
- Share relevant health information. Tell the practitioner about medicines, skin problems, recent procedures, and conditions that affect bleeding or sensation. Let them assess whether cupping is appropriate.
- Confirm the method. Ask whether treatment is stationary, moving, heated, or involves breaking the skin. These are not interchangeable procedures.
- Separate the timers. Confirm the visit length and the intended treatment time. Ask how the practitioner will monitor each treated area.
- Agree on stop signals. Tell the practitioner immediately about pain, burning, dizziness, or other discomfort. Do not wait for the planned endpoint.
- Leave with repeat-use instructions. Ask what skin changes to watch for and when another treatment is appropriate. Avoid setting your own repeat schedule from the booking length.
For your 2026 appointment, bring a short list of questions rather than trying to remember them under pressure. The most useful question is specific: ask how the practitioner decides that your skin has had enough treatment.
Is a longer cupping session better?
A longer cupping session is not proof of a better result. Time alone cannot establish pain relief, muscle recovery, or treatment quality. More time also means more exposure, so extending treatment needs a reason grounded in the method’s instructions and your response.
Judge the session by whether the plan was appropriate, the technique was explained, and discomfort was addressed. Do not use darker marks or stronger sensations as your success measure. Those observations are not a recovery score.
If you feel you need progressively longer or stronger treatment to manage the same problem, seek an assessment instead of escalating the routine. Persistent or worsening pain deserves attention beyond choosing a new timer setting.
Can you fit at-home cupping into a short recovery routine?
At-home cupping can be part of a planned routine, but a tight schedule does not change safe-use instructions. Make time for setup, treatment, a skin check, and cleaning. If you cannot complete those steps calmly, postpone the session rather than rush it.
Vazocupping’s at-home cupping category is relevant to consumers who want control over when they perform their routine. That convenience does not remove the need to follow device limits. Home use also means you must notice discomfort and stop without relying on a practitioner beside you.
Keep the device instructions accessible during your 2026 routine. Record the method and settings if that helps you avoid repeating an uncomfortable session. Do not turn your notes into a self-prescribed progression toward more suction, more heat, or more time.
When should you stop before the session ends?
Stop cupping when it causes pain, burning, blistering, or broken skin. For an electric device, stop using the controls described in its instructions and release suction as directed. Do not pull forcefully against an attached cup.
Seek medical advice for a concerning skin reaction or symptoms that persist or worsen. Severe symptoms need prompt medical attention, not another cupping session. A planned timer never takes priority over a safety concern.
Before starting, make sure you can reach the release controls and inspect the treatment area. If placement prevents you from responding safely, choose a different plan with appropriate guidance. Convenience is not a reason to treat an area you cannot monitor.
FAQ
How long does a cupping therapy session take from start to finish?
The full length depends on the booked assessment, preparation, treatment, and aftercare. Ask the practitioner for the appointment length and the planned cup-on-skin time separately.
Does the appointment length tell me how long to leave cups on?
No, appointment length is not a cup-on-skin limit. It can include assessment, preparation, removal, and aftercare, so confirm the actual treatment instructions.
Is a longer cupping session better for muscle recovery?
A longer session does not establish better muscle recovery. Follow the selected method’s instructions and stop for pain or a concerning skin reaction rather than extending treatment.
How long should I use a heated cupping device at home?
Use the treatment duration stated in your device’s instructions. Follow its heat, suction, placement, and repeat-use limits rather than copying a professional appointment’s length.
Should I keep cupping until dark marks appear?
No, dark marks are not a treatment target or a measure of recovery. Do not extend a session or increase suction to produce them.
Can I restart a cupping device when its timer finishes?
Do not treat an automatic stop as permission to restart on the same area. Check the device’s repeat-use instructions and your skin before planning another treatment.
What should I ask before my first cupping appointment?
Ask for the total appointment length, treatment method, planned treatment time, and stop criteria. Share relevant medicines, skin concerns, and health conditions before treatment begins.
One last thing
Ask how the treatment ends, not just how long it lasts. A useful answer explains removal, skin checks, and the response to discomfort. That tells you more about the plan than an appointment length on its own.
Before your next session, write down the release procedure and stop signals alongside the timing instructions. Keep them together. The safest timer is one you are prepared to stop early.