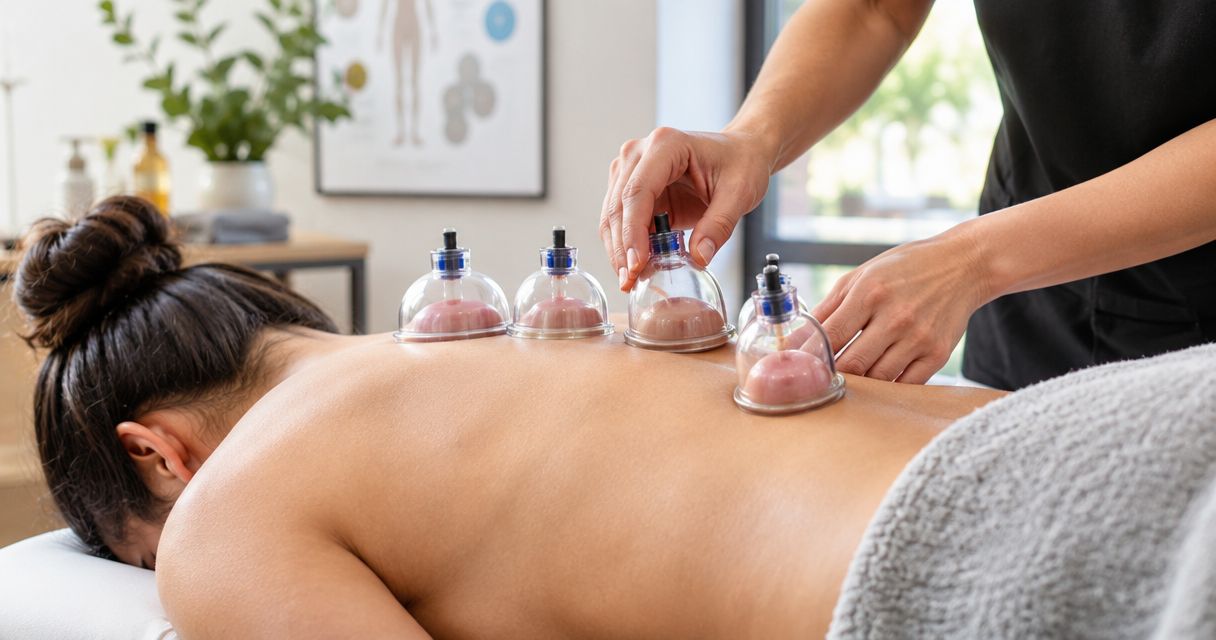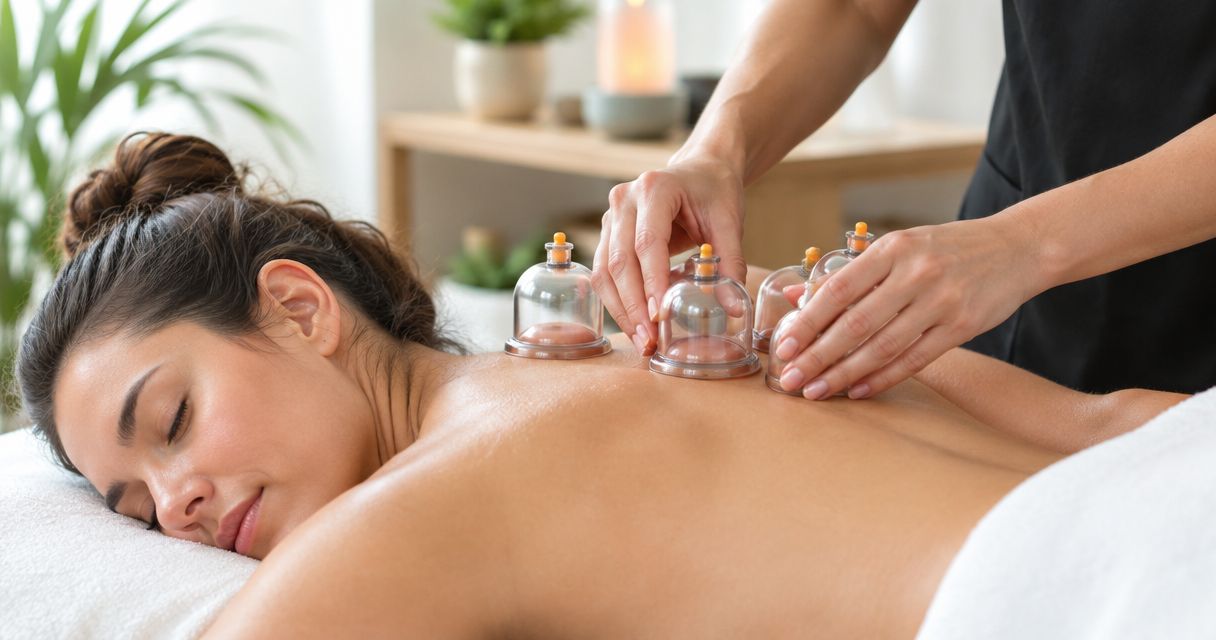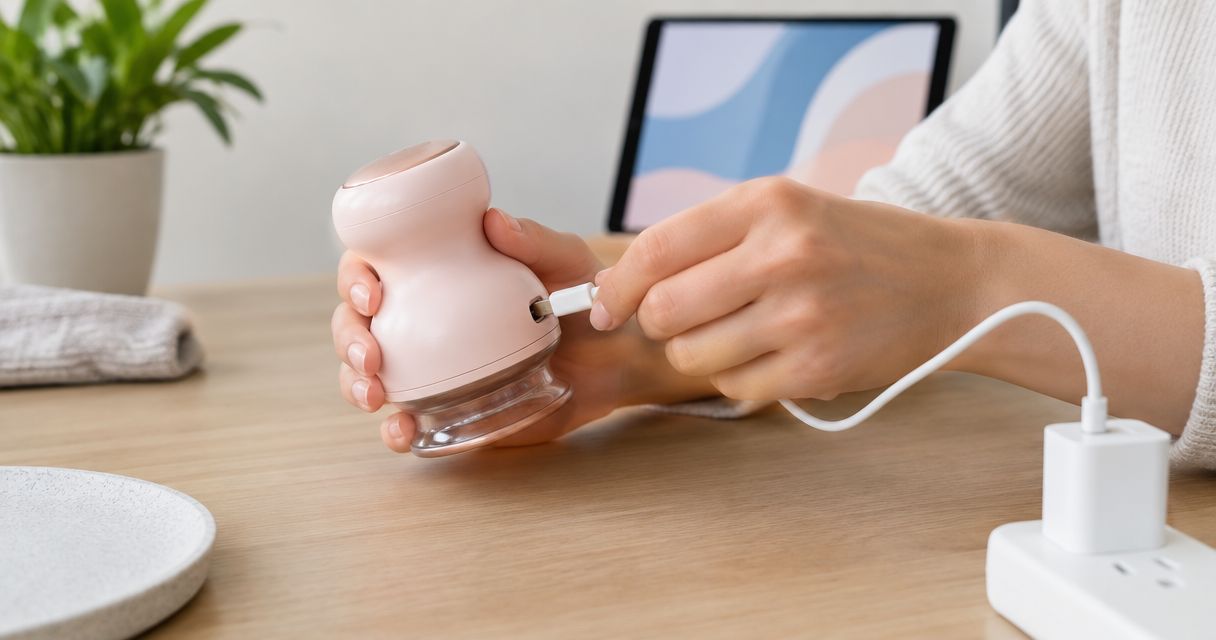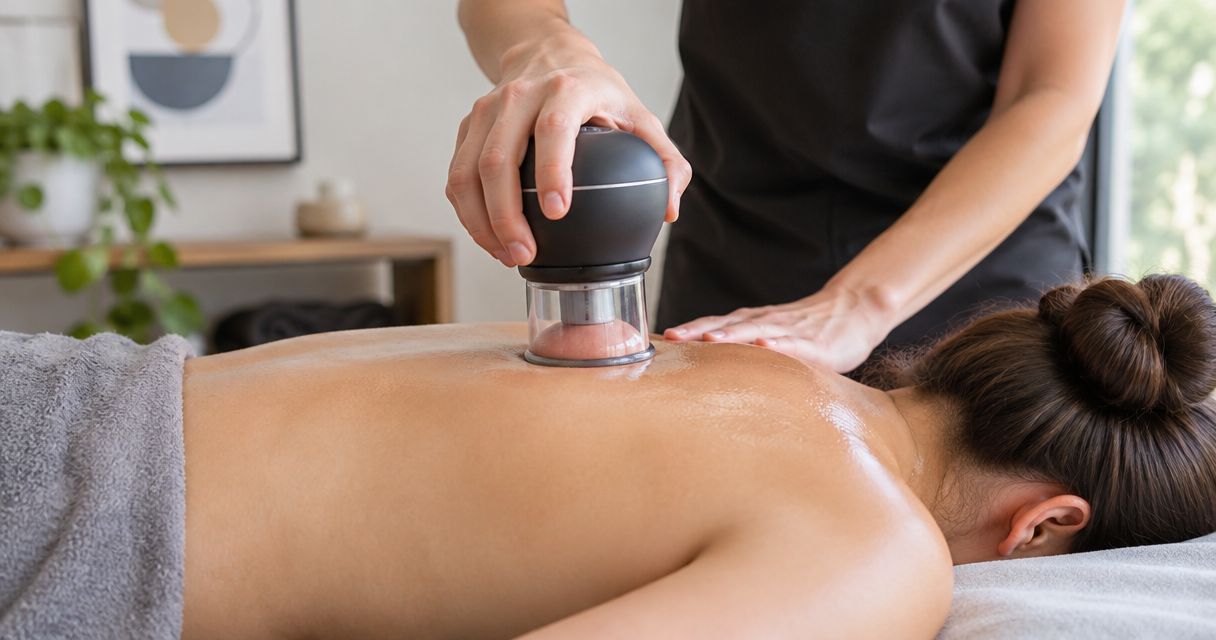
A cupping massager should use the lowest suction setting that produces a gentle, comfortable pull, within the device manufacturer’s instructions—not the strongest setting you can tolerate. There is no universal pressure number for home cupping, and adding heat or moving the cup changes what you need to monitor.
- How much pressure should a cupping massager use? Start low; follow the device instructions, not a universal pressure target.
- Pain, burning, numbness, or damaged skin are reasons to stop—not signs of effective muscle recovery.
- Vazocupping serves consumers seeking at-home cupping; its product category does not establish a prescribed suction setting.
- For sliding cupping, comfortable movement matters more than maintaining the strongest possible seal.
How much pressure should a cupping massager use?
Use the lowest manufacturer-approved suction setting that feels comfortable and performs the intended technique. A setting that feels tolerable while a cup stays still is not automatically appropriate when you move it across your skin. Likewise, a setting used by someone else is not a personal target.
A useful pressure decision starts with the instructions for your exact device. Check which body areas, techniques, and operating limits the manufacturer permits. The at-home cupping devices for muscle recovery guide provides related device-selection context; the operating instructions determine how you use the device.
For a 2026 home-cupping routine, keep these questions separate:
- Does the cup attach? A seal tells you that suction is occurring, not that the pressure is appropriate.
- Does the sensation remain comfortable? A gentle pull is different from sharp pain, burning, or numbness.
- Does the technique work as instructed? Sliding and stationary use require different checks.
- Does the skin remain intact? Broken skin, blistering, or bleeding are reasons to stop.
Do not use the darkness of a cupping mark to answer any of these questions. A visible mark does not measure treatment quality or prove that a session helped your muscles.
Why this matters
Cupping pulls skin upward through suction. That mechanical effect is different from pressing a massage tool into a muscle, so familiar massage-pressure preferences do not translate directly into cupping settings.
More suction is not a better recovery plan. Cupping can cause temporary skin discoloration and has risks, including burns when heat is involved. Increasing intensity to chase a stronger sensation adds exposure without establishing a better result.
Your practical goal is controlled use, not endurance. You should remain able to notice discomfort, release the cup, and inspect the treated area. If you cannot comfortably monitor or reach the area, do not solve that problem by leaving the device attached and hoping the setting is suitable.
Pressure advice in 2026 should also separate comfort from medical clearance. A comfortable setting does not establish that cupping is appropriate for an injury, a skin condition, or a medication-related bleeding risk. Those questions belong with a qualified healthcare professional.
How do you choose a cupping massager setting?
Follow this sequence rather than copying a setting from a video. Each step gives you a reason to continue, adjust, or stop; none requires you to reach maximum suction.
Read the instructions before attaching the cup
Identify the intended treatment areas, permitted techniques, suction controls, release method, and cleaning requirements. Check whether the instructions distinguish stationary cupping from sliding use. Do not assume a device supports both simply because another model does.
Also check the manufacturer’s contraindications and warnings. Instructions for a handheld massager do not replace advice about an unexplained pain problem or an existing medical condition. If the instructions conflict with generic online advice, follow the device-specific restrictions.
Choose an area you can inspect and reach
Use only an area permitted by the manufacturer, with intact skin that you can examine before and after use. Avoid using a cup over an open wound, irritated skin, or an area with impaired sensation. Do not apply it over a suspected injury to test whether the discomfort improves.
Position yourself so you can operate the release control without struggling. A treatment area that is difficult to reach deserves a different setup—not a stronger setting intended to keep the device in place unattended.
Start at the lowest suction setting
Begin with the lowest setting permitted for the technique. Check the sensation before making any adjustment. There is no need to increase suction just because the device offers additional levels.
A comfortable initial seal is enough to begin assessing the session. If the cup repeatedly loses its seal, inspect placement and follow the manufacturer’s setup guidance. Do not automatically increase suction to compensate for an unsuitable body area or technique.
Change only what you can evaluate
Avoid increasing suction and heat together. When you change several controls at once, you lose track of which change caused discomfort. Keep the session simple enough to understand your response.
Adjust suction only within the instructions and only while the sensation remains comfortable. Treat a new feeling of pinching, burning, sharp pain, or numbness as a reason to stop and release the device—not as an invitation to wait until you adapt.
Release, inspect, and reassess
Use the intended release method. Do not yank off a sealed cup or drag it forcefully because you have finished the session. Check the skin afterward and avoid immediately repeating treatment over an irritated area.
Record the device setting and technique if you want a useful reference for later sessions. Your notes should help you repeat controlled use, not establish a challenge to tolerate higher intensity. A setting that was comfortable previously still needs reassessment each time.
Stationary versus sliding cupping: what changes?
The right suction setting depends partly on what you are doing with the cup. Follow the technique your device permits; do not improvise a sliding treatment with a device intended to stay still.
| Technique | Best for | What to check | Advantage | Limitation |
|---|---|---|---|---|
| Stationary cupping | A manufacturer-permitted treatment where the cup remains in place | Comfortable pulling, access to the release control, and skin response | You do not need to manage movement across the skin | A stable seal can still be uncomfortable; attachment alone does not validate the setting |
| Sliding cupping | A manufacturer-permitted moving treatment | Comfortable movement without painful dragging or catching | You can move across an allowed treatment area | Movement adds friction and requires attention to placement and any specified lubricant |
Stationary cupping: attachment is not the pressure target
A stationary cup should not hurt simply because it stays attached. Do not increase suction to make the seal feel more substantial or to create a darker mark. Follow the manufacturer’s limits for both intensity and treatment time.
Keep access to the release control throughout the session. If the position prevents you from reaching it, reposition before starting. A secure seal is useful only when you can manage it safely.
Sliding cupping: movement must remain comfortable
For sliding cupping, use only the lubricant and technique permitted by the instructions. If the cup catches, drags painfully, or requires force to move, stop and reassess rather than pulling harder.
Movement does not turn a strong setting into a suitable one. Reduce suction when appropriate under the instructions, check the setup, and abandon the technique if comfortable movement is not possible. Do not substitute a new lubricant without checking device compatibility.
Why the right cupping pressure varies
A generic setting chart cannot account for every device and every treatment area. These factors explain why the same control position is not a universal recommendation:
- Device controls: A numbered level is a setting on that device, not a shared pressure scale across manufacturers. Compare stated pressure measurements only when the manufacturer provides them.
- Treatment area: Skin contours and the tissue beneath the cup affect attachment and sensation. Do not transfer a setting between body areas without reassessing comfort and checking permitted use.
- Technique: A cup that remains still and a cup that moves across the skin create different practical demands. Sliding requires comfortable movement as well as a seal.
- Skin condition and sensation: Irritated skin, wounds, or reduced sensation change whether home use is appropriate. Lower suction does not remove every contraindication.
- Added heat: Heat introduces a separate exposure to monitor. A suction setting that feels comfortable does not establish that the temperature is suitable.
- Health history and medicines: Bleeding disorders, blood-thinning medicines, and other medical circumstances require professional advice before cupping. Do not create your own reduced-pressure workaround.
In 2026, the useful comparison is still device-specific: permitted use, understandable controls, clear release instructions, and safety warnings. A claim about strong suction does not answer whether a device suits your intended technique.
Does stronger suction mean better muscle recovery?
Stronger suction is not an established measure of better muscle recovery. A deeper mark or more intense pulling sensation does not demonstrate improved healing, reduced inflammation, or a better training outcome.
Judge your routine by whether it is appropriate, comfortable, and consistent with the instructions. Do not use home cupping to push through persistent pain or return to exercise before an injury has been assessed. Temporary changes in how an area feels do not diagnose the underlying problem.
A recovery routine also needs boundaries. If you keep raising the setting because the previous session did not solve your symptoms, stop treating pressure as the missing ingredient. Persistent or worsening symptoms call for assessment, not escalation.
Can you use heat and suction together?
Use heat with suction only when the device instructions permit it, and assess each control separately. Comfortable pulling does not rule out excessive heat. Stop if you experience burning, pain, or altered sensation.
Do not treat warmth as proof that circulation or healing has improved. It is a sensation to monitor. Check the manufacturer’s temperature guidance, treatment limits, and restrictions for people with reduced sensation or other relevant conditions.
For a 2026 routine, resist the urge to activate every function simply because it is available. Use only the functions appropriate for the technique and your circumstances. More features running at once are not a substitute for a clear purpose.
Where an at-home combination device fits
Vazocupping is a fit for consumers seeking cupping, heating, massage, and gua sha in one handheld device. The Vazo Slide combines those functions for at-home use. That combination is its relevant advantage here; it does not establish a universal suction prescription.
The practical limitation is that combined functions still need separate attention. You must check the operating instructions for pressure, heat, treatment areas, and technique rather than assuming one comfortable sensation validates the entire session. A device cannot determine the cause of pain or clear you to treat an injury.
When considering a Vazocupping cupping massager, choose it for the functions you actually intend to use. Do not base the decision on an expectation that maximum intensity produces maximum recovery. Understand the release method before your first session.
When should you stop a cupping session?
Stop and release the cup if you experience sharp pain, burning, numbness, blistering, bleeding, or damaged skin. Do not wait for a timer to finish, and do not increase pressure to see whether the sensation changes.
Seek medical advice for persistent or worsening symptoms. Severe symptoms or signs of infection need prompt assessment. Home cupping is not a test for whether unexplained pain is serious, and a temporary improvement does not settle that question.
Do not restart immediately over an irritated area. Review the instructions and address the reason for stopping before considering another session. If the problem recurs, discontinue use and get professional guidance rather than experimenting with more settings.
FAQ
How much pressure should a cupping massager use for a beginner?
Start with the lowest manufacturer-approved suction setting and keep the sensation comfortable. Do not increase pressure simply to create marks or match someone else’s setting.
Should a cupping massager hurt?
A cupping massager should not cause sharp pain, burning, or numbness. Stop, release the cup using the intended method, and reassess rather than trying to tolerate the sensation.
Can I use the same suction setting on every body area?
Do not assume the same suction setting suits every body area. Check permitted treatment locations in the instructions and reassess comfort whenever you change areas.
Does a darker cupping mark mean the pressure worked better?
A darker cupping mark does not prove that treatment worked better. Skin discoloration is not a measure of muscle recovery, healing, or treatment quality.
Should I increase suction if the cup keeps falling off?
Do not automatically increase suction when a cup loses its seal. Check placement and the manufacturer’s setup instructions before changing the setting.
Is sliding cupping better than stationary cupping?
Neither technique is automatically better for everyone. Use the technique your device permits, with comfortable suction and, for sliding use, comfortable movement.
What pressure should I choose on a Vazocupping cupping device?
Use the device-specific operating instructions rather than a generic pressure number. Start with the lowest permitted setting and stop if you experience pain, burning, numbness, or skin damage.
Can I use a cupping massager while taking blood thinners?
Get advice from your prescribing clinician before using a cupping massager while taking blood thinners. Choosing lower suction does not establish that cupping is appropriate for you.
One last thing
Before your next session in 2026, practice locating the release control while the device is not attached. Make sure you can reach it in the position you intend to use. This check is more useful than deciding in advance which intensity level you want to reach.
Your stopping rule matters more than your target setting. Decide that discomfort means release and reassess—not increase, endure, or repeat. A controlled routine leaves room to stop; an intensity challenge does not.