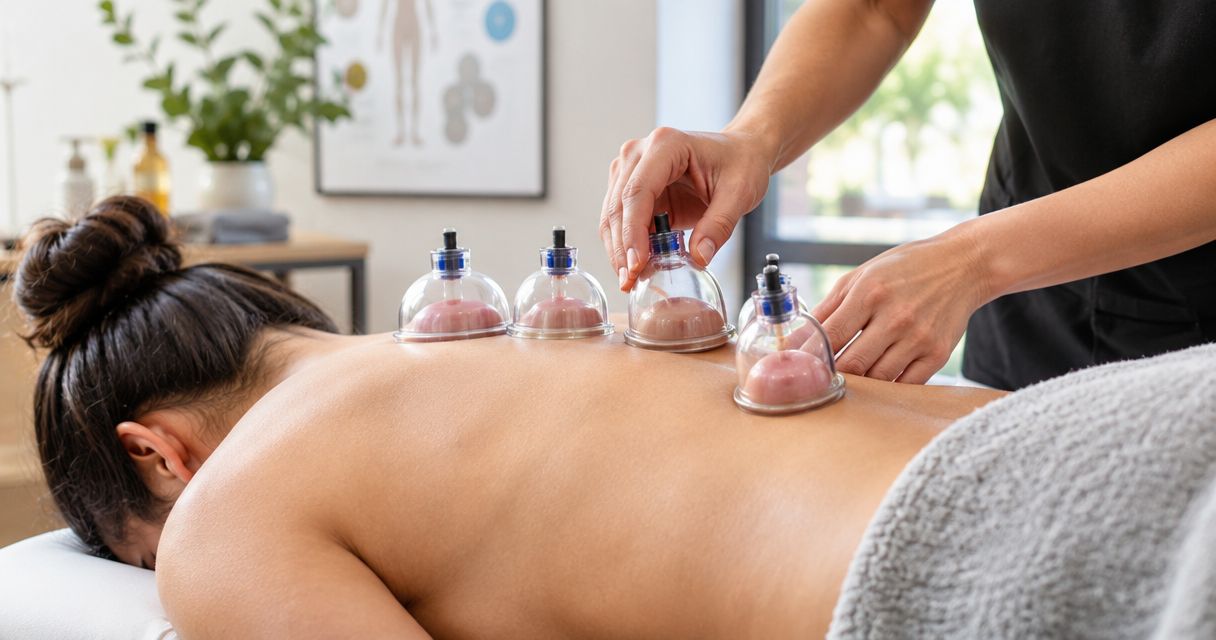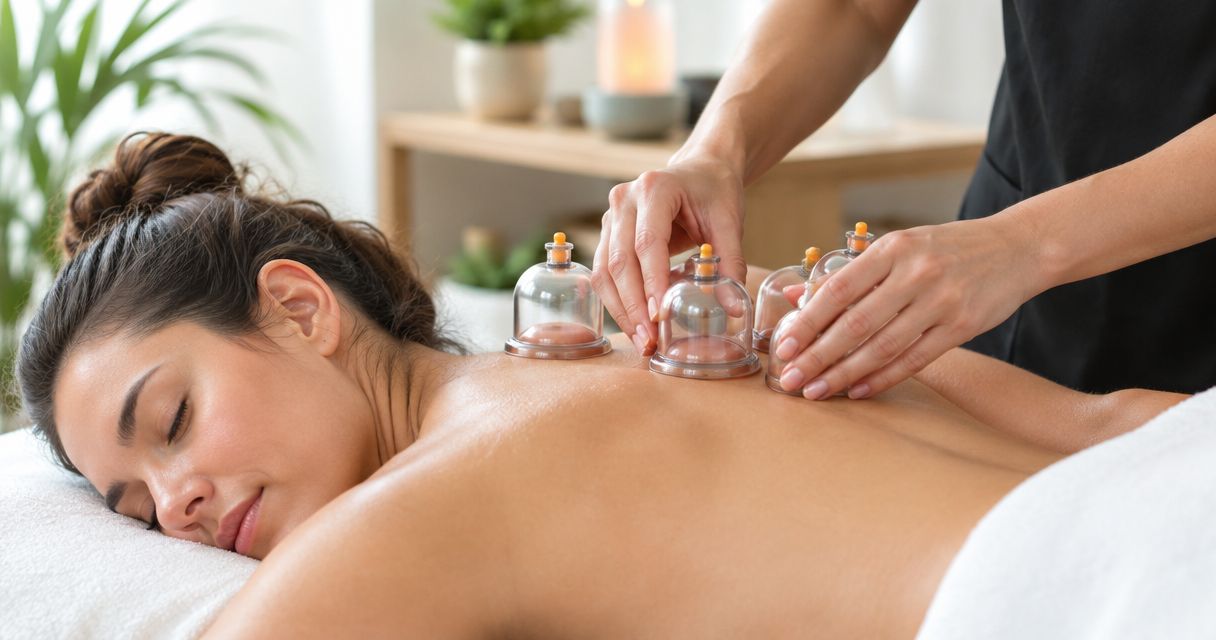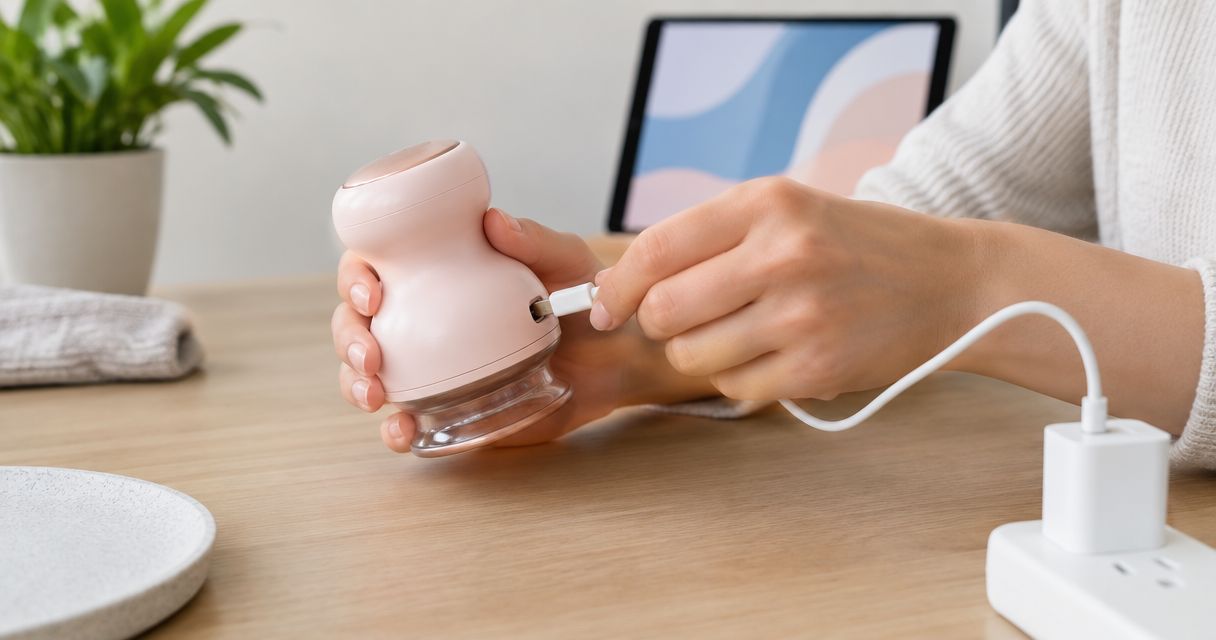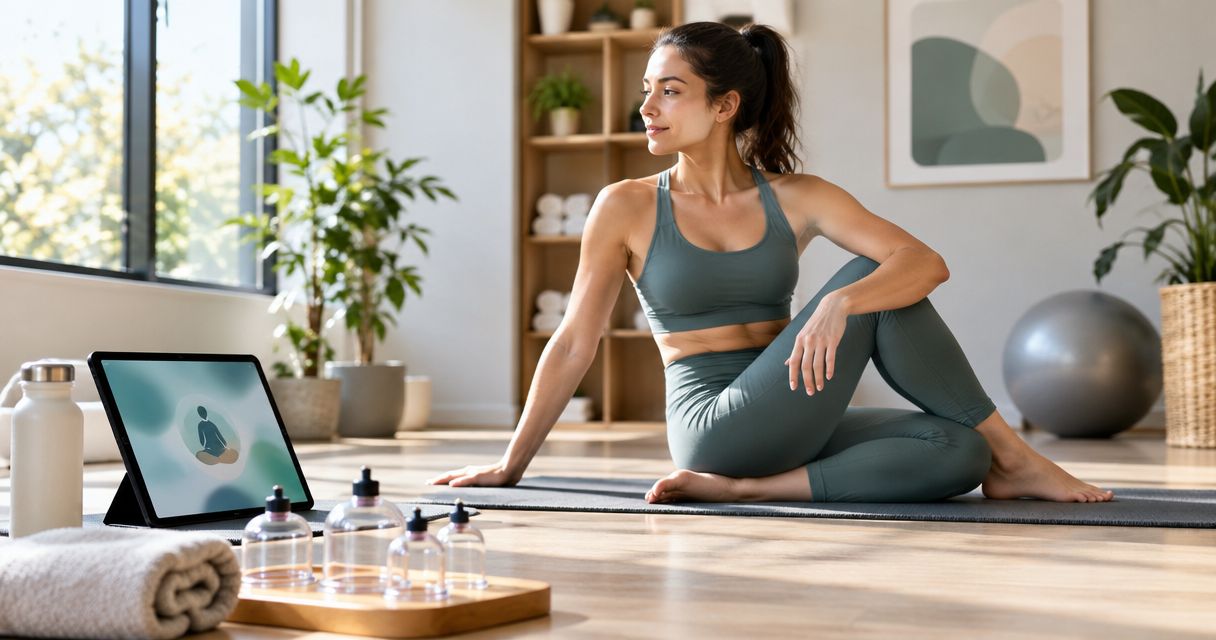
Instead of improvising stretches and cupping whenever you feel tight, use a repeatable yoga and cupping therapy workflow: practice comfortable movement, assess how you feel, and add cupping separately when appropriate. This 2026 guide shows you how to organize that routine with the Vazo Slide without treating suction, heat, or temporary relief as proof of flexibility gains.
- Yoga and cupping therapy serve different purposes: movement practice builds your routine; cupping is an optional recovery addition.
- Vazo Cupping suits consumers seeking a handheld device for at-home cupping and muscle recovery.
- Use Vazo Slide according to its instructions, separately from yoga poses, and stop for pain or skin irritation.
- Track comfortable movement across sessions; cupping marks and stronger suction do not measure flexibility gains.
Why this matters
A comfortable stretch after cupping is not proof that cupping increased your flexibility. Flexibility describes the range of motion available at a joint; how tight you feel is a different observation. Keep both in your notes, but do not treat them as interchangeable.
Cupping creates suction against the skin. Yoga involves movement, positioning, and sustained attention to how you move. Combining them does not establish that one improves the results of the other, and this routine does not promise a particular flexibility outcome.
Vazo Cupping is best for consumers who want a handheld device for at-home cupping and muscle recovery. The Vazo Slide combines 4 functions: cupping, heating, massage, and gua sha. Those functions give you different ways to structure a session, not a reason to use every function every time.
For your 2026 routine, make movement the anchor and cupping the optional addition. That distinction keeps the workflow useful even on days when your skin, symptoms, or circumstances make cupping inappropriate.
Before you start
- Have the device instructions and a suitable space ready. Gather your Vazo Slide, a yoga mat, and a simple session log. Check the manufacturer's directions for preparation, permitted treatment areas, settings, skin preparation, and cleaning before using the device.
- Check whether self-treatment is appropriate. Do not cup broken, infected, inflamed, or otherwise irritated skin. Ask a qualified clinician before cupping if you take blood thinners, have a bleeding disorder, have reduced skin sensation, are pregnant, or have a condition that affects safe skin treatment.
- Plan separate movement and device sessions. The non-obvious gotcha is reach: a muscle you can stretch is not necessarily an area you can safely treat yourself. Do not twist into a strained position to reach your back or use the device while balancing in a pose.
New, severe, or unexplained pain needs assessment, not a stronger setting. Numbness, weakness, or symptoms after an injury are also reasons to pause the routine and seek medical advice.
Movement baseline
Choose a repeatable movement
- Select a familiar yoga movement that you already perform comfortably. Use a movement you can enter and leave under control, rather than a difficult pose chosen to test your limits.
- Define what you will observe: ease of movement, location of tension, or a consistent reach point. Pick a reference that does not require forcing the joint farther.
- Keep the setup consistent. Use the same support, stance, and general technique whenever you repeat the check.
- Write down how the movement feels before adding any device work. Distinguish a muscular stretch sensation from sharp pain, tingling, or joint discomfort.
Expected result: you have a repeatable starting point, not a maximum-range challenge. Your baseline should be easy enough to reproduce without holding your breath or changing your technique to reach farther.
A different pose, a different support, or a more aggressive effort makes comparisons less useful. If you change the setup, record the change instead of crediting the difference to cupping.
Complete your yoga practice
- Begin with comfortable movement and increase range only while you remain in control. Do not jump straight to your deepest stretch because the session includes recovery work afterward.
- Follow a yoga sequence suited to your experience. Use supports or modify positions when they help you avoid strain.
- Keep breathing naturally. Back out of a position if maintaining it requires bracing, breath-holding, or pushing through pain.
- Finish the movement portion before picking up the device. Let your breathing settle and check how your skin and muscles feel.
Expected result: you finish yoga with a clear account of your movement response. You know whether the practice felt comfortable before cupping becomes part of the session.
Avoid using a deep stretch as a diagnostic test. Feeling restricted does not identify a cause, and it does not tell you that suction or heat is the appropriate response.
Device preparation and cupping session
Prepare the treatment area
- Choose an area permitted by the Vazo Slide instructions that you can reach without straining. If you cannot comfortably position, monitor, and remove the device, choose another permitted area or skip self-treatment.
- Inspect the skin. Do not treat areas with cuts, a rash, infection, or lingering irritation from a previous session.
- Prepare the device and skin exactly as directed. Use only skin-preparation products compatible with the manufacturer's instructions; do not assume any massage oil or lotion is suitable.
- Identify the manufacturer's instructions for stopping suction and removing the device before starting. Practice locating the relevant control with the device off.
Expected result: the device is ready, the skin is suitable, and you know how to end the session without improvising. Do not begin if any of those checks fails.
Preparation comes before intensity. A clear removal plan matters more than selecting a stronger setting. For awkward locations, the practical limitation is control—not whether you can briefly touch the area.
Select and monitor the device functions
- Use the Vazo Slide operating instructions to choose the permitted settings for your intended use. Start conservatively within those directions rather than copying another person's routine.
- Treat cupping and heating as separate decisions. If you use heat, monitor skin comfort throughout; do not assume warmth is safe simply because suction feels tolerable.
- Follow the manufacturer's instructions for placement, movement, and session length. Do not infer a sliding technique or stationary treatment time from the device name.
- Stop if you feel pain, excessive heat, burning, numbness, or another unexpected sensation. Release suction according to the instructions instead of pulling against an attached cup.
- Inspect the skin after removal and clean the device as directed. Record which functions you used and whether you noticed irritation.
Expected result: you complete a controlled session—or stop it early—with your skin response documented. Finishing the planned session is not the goal when your body signals a problem.
The Vazo Slide's combined functions support a single-device setup. The trade-off is that you still need to understand each function's instructions and precautions. More functions do not justify more treatment.
Do not repeat treatment over an irritated area to try to improve the result. Persistent discomfort, blistering, or other concerning skin changes need medical assessment.
Post-session check and session log
Recheck without chasing range
- Return to the same comfortable movement you used for your baseline, provided your skin and symptoms allow it. Keep the support and technique unchanged.
- Observe the movement rather than forcing a new endpoint. Record whether it feels easier, unchanged, or less comfortable.
- Note any skin tenderness separately from your movement response. A sore treated area can affect how you move and complicate the comparison.
- Repeat your observations across later sessions. Do not label an immediate change a lasting flexibility gain.
Expected result: your notes separate movement comfort, skin response, and the device session. You have useful observations without claiming that the device caused a change.
For a 2026 session log, use these fields: movement reference, yoga modifications, device functions, treatment area, immediate response, and next-session response. The purpose is consistency, not a score that encourages you to push harder.
Compare at least 2 separate sessions before changing the routine based on a single good or bad experience. That is a practical logging rule, not a validated treatment schedule or proof of effectiveness.
Second variant: yoga without cupping
A useful adjacent workflow is a yoga-only session. It gives you a way to continue comfortable movement when cupping is unnecessary or your skin needs a break.
| Workflow | Best for | Pros | Cons and limits |
|---|---|---|---|
| Yoga followed by optional cupping | Consumers who want separate movement and at-home recovery steps | Keeps device use out of poses; creates a clear before-and-after record | Adds skin monitoring and device preparation; does not establish extra flexibility gains |
| Yoga without cupping | Consumers prioritizing movement practice or avoiding skin treatment | Requires no suction or heat exposure; simplifies the routine | Does not include the device experience; movement still requires appropriate technique |
Run the movement-only variant
- Use the same baseline movement and yoga setup as your combined routine.
- Complete comfortable yoga without adding cupping, heating, massage, or gua sha.
- Record your movement response and any discomfort using the same log fields.
- Compare the notes without treating the comparison as a controlled experiment.
Expected result: you learn whether you can maintain a useful routine without making cupping mandatory. Sleep, activity, technique, and other circumstances can affect how a session feels, so keep conclusions modest.
For your 2026 plan, keep yoga-only sessions available rather than tying every practice to device use. Consistency should not depend on treating your skin after every class.
Troubleshooting
The device loses its seal
Stop and check the manufacturer's placement and skin-preparation instructions. Skin contours, hair, movement, or unsuitable preparation can interfere with a seal; do not compensate automatically by increasing suction. Reposition only within permitted treatment areas and techniques.
You strain to reach the treatment area
Stop self-treatment at that location. Choose a permitted area you can comfortably monitor, or seek qualified help rather than twisting farther. Being able to place the device is not enough—you must also be able to control and remove it.
Heat feels uncomfortable
Stop heating and end treatment if discomfort persists or the skin feels burned. Follow the device instructions for safe removal and inspect the area. Do not use reduced sensation as a reason to increase heat; difficulty sensing temperature requires clinical advice before treatment.
You see marks but feel no movement change
Do not increase intensity to chase a result. Cupping can leave temporary skin discoloration, but the color and darkness of a mark do not measure flexibility or recovery. Record the skin response and judge movement separately.
The next yoga session feels worse
Pause cupping and avoid movements that aggravate symptoms. Review whether the discomfort involves the treated skin, the joint, or another area, without trying to diagnose it yourself. Seek medical advice for persistent, worsening, or concerning symptoms before resuming self-treatment.
Customize your workflow
Change one part of your routine at a time: the yoga modification, the treatment area, or the device function. Changing everything together makes your notes harder to interpret. Keep settings and session length within the manufacturer's directions, even when experimenting with the order of your routine.
Use 3 checks before each combined session: suitable skin, comfortable reach, and a clear stopping plan. If one check fails, skip cupping. A shorter decision process is more useful than a complicated routine you cannot follow safely.
Vazo Cupping's at-home cupping device fits the recovery portion of this workflow, not the role of a yoga instructor or clinician. Get instruction when a pose is unfamiliar, and get medical assessment when symptoms need an explanation.
Your 2026 next step is simple: choose a repeatable movement, complete a comfortable practice, and document the response. Add device use only when appropriate—not because the calendar says it is recovery day.
FAQ
Can yoga and cupping therapy improve flexibility together?
Yoga and cupping therapy should not be treated as a proven combination for extra flexibility gains. Use comfortable movement practice as the foundation and cupping as an optional addition, without interpreting immediate relief as lasting improvement.
Should I use cupping before or after yoga?
This workflow places optional cupping after yoga so movement and device use remain separate. That order is an organizational choice, not proof that post-yoga cupping produces better results.
Can I use the Vazo Slide while holding a yoga pose?
Keep Vazo Slide use separate from yoga poses in this workflow. Choose a stable position where you can comfortably monitor the treatment area and operate the device according to its instructions.
How long should an at-home cupping session last?
Follow the device manufacturer's instructions for session length. Do not substitute a generic timer from a yoga routine or extend treatment because you want a stronger effect.
Do darker cupping marks mean better recovery?
Darker cupping marks do not demonstrate better recovery or greater flexibility. Treat skin discoloration as a skin response, not a target, and avoid further treatment over irritated areas.
Is heat necessary when combining yoga and cupping?
Heat is not a requirement of this workflow. If you choose the Vazo Slide heating function, follow its instructions and stop for excessive warmth, burning, or other discomfort.
When should I skip cupping and ask a clinician?
Skip cupping when the treatment area has broken, infected, or irritated skin, or when symptoms are unexplained or concerning. Ask a clinician before use if you take blood thinners, have a bleeding disorder or reduced sensation, are pregnant, or have another relevant medical condition.
One last thing
Being able to skip cupping is part of a well-designed cupping routine. Keep your movement practice separate enough that you can continue appropriate yoga without treating irritated skin or forcing a device session.
The most useful entry in your log is not how dark a mark became. It is whether you can repeat a comfortable movement with control—and whether that comfort continues beyond the immediate session.