No—do not use a cupping device over clothing; place the cup directly on clean, intact skin as directed by its instructions. Fabric interferes with the seal needed for suction and hides the skin you need to monitor; a heated device also requires the manufacturer's specified contact conditions. This 2026 guide explains what to move out of the way, how to prepare, and when to stop.
- Using a cupping device over clothing interferes with suction and prevents you from seeing the treated skin.
- Keep shirts, leggings, underwear edges, and towels outside the cup's contact area.
- Vazocupping portable cupping devices do not make fabric a substitute for proper skin contact.
- For your 2026 at-home cupping routine, follow the device instructions for placement, suction, heat, and cleaning.
Why this matters
A cup needs a seal, not extra force. When clothing interrupts that seal, turning up suction does not correct the placement problem. Before changing settings, check the contact area and review how much suction pressure is safe for cupping.
You also need to see what is happening underneath the device. Clothing conceals redness, pinching, and other changes that tell you to stop or reassess. For a 2026 home routine, prioritize visible skin and correct placement over getting through a session without changing clothes.
Can you use a cupping device over clothing?
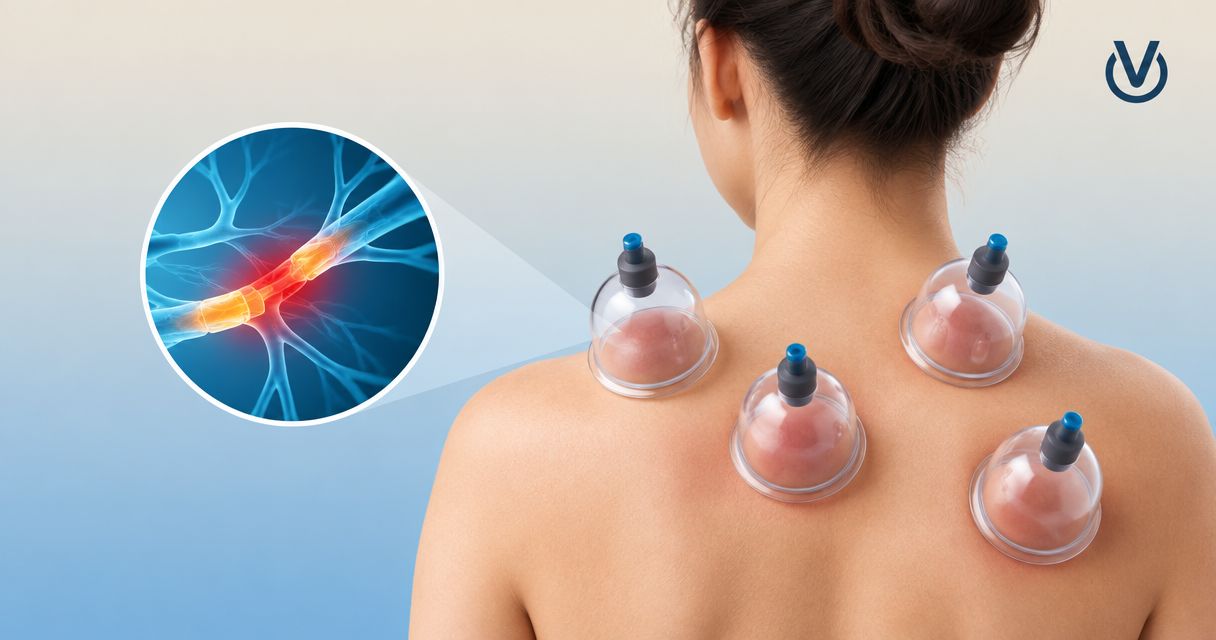
Use a cupping device on exposed skin, not through a shirt, leggings, or a towel. Cupping works by creating reduced pressure inside a cup sealed against the skin. A garment introduces another surface between the cup's rim and your body.
Breathable fabrics let air pass through. Seams, folds, and textured weaves also interrupt contact around the rim. Even if a device appears to grip a particular fabric, that does not establish that using it over the garment is appropriate.
| Contact surface | What it means for cupping | Best for | Main limitation |
|---|---|---|---|
| Clean, intact, exposed skin | Allows direct contact and visual checks | Device use permitted by the instructions | Skin still needs monitoring; marks and irritation remain possible |
| T-shirt or sweatshirt | Adds fabric and possible air paths beneath the rim | Keeping untreated areas covered | Not a substitute for direct skin contact |
| Leggings or compression clothing | Adds a barrier even when the garment fits tightly | Wearing before or after the session | Tightness does not establish a suitable cup seal |
| Towel or drape | Provides coverage outside the working area | Privacy around exposed treatment areas | Must stay clear of the cup's rim and contact surface |
The practical distinction is simple: cover the areas you are not treating, and expose the area beneath the cup. You do not need to undress completely to create a clear working area.
Does thin clothing make a difference?
Thin clothing is still clothing. A lightweight shirt can feel almost absent to your hand while remaining a porous, textured layer beneath a suction cup. Fabric thickness alone does not tell you whether a device has appropriate contact.
Do not judge placement by whether the motor runs or the device stays in place briefly. Those observations do not confirm correct use, and fabric prevents you from checking the skin underneath. Follow the manufacturer's placement instructions instead of experimenting with different shirt materials.
The same rule applies to seamless athletic wear. Removing a seam eliminates a raised edge, but it does not remove the fabric barrier. Seamless is not the same as skin contact.
Can you use cupping over leggings or compression gear?
No—move leggings or compression clothing away from the intended contact area before cupping. Stretch fabric can look smooth while still introducing fibers, tension, and folds between the rim and your skin. A snug fit does not make the garment part of the device.
If rolling up a leg opening creates a tight band near the area, choose clothing that gives you easier access instead. You should be able to position and remove the cup without fighting a waistband, cuff, or fabric edge.
Compression garments and suction cups also work differently. A garment pressing against the body does not reproduce a cup's lifting action. Do not treat the sensation of pressure through clothing as evidence that cupping is happening correctly.
Why the seal varies between placements
If a cup grips one area but loses contact somewhere else, inspect placement before changing intensity. Several ordinary contact conditions affect the seal:
- Fabric coverage: A shirt edge or waistband beneath part of the rim prevents full skin contact.
- Seams and folds: Raised material creates gaps and uneven contact around the cup.
- Body contour: A rim needs suitable contact around its circumference; an awkward angle interrupts that contact.
- Hair and surface texture: Hair beneath the rim can interfere with the seal. Do not repeatedly increase suction to compensate.
- Movement: Reaching, twisting, or shifting clothing can disturb a cup after placement.
- Contact-surface condition: Residue or a damaged rim requires attention according to the cleaning and inspection instructions.
A seal problem is not a reason to keep increasing suction. Release the cup, check the contact area, and reposition only if the site and device are suitable. Stop if you cannot achieve the placement described in the instructions.
How to prepare exposed skin in 2026
Use this 4-step sequence before starting. It separates access, inspection, placement, and monitoring so you do not skip straight from changing clothes to increasing intensity.
- Expose the intended area. Move clothing completely outside the cup's footprint. Keep cuffs, straps, and underwear edges away from the rim rather than trying to work around them mid-session.
- Inspect skin and equipment. Do not cup over broken, infected, or irritated skin. Check the contact surface for residue or damage, and clean it according to the manufacturer’s directions.
- Follow the specified setup. Use only the placement, settings, and skin-preparation method permitted for your device. Do not assume every cup needs oil or that every heated device permits the same accessories.
- Keep the area observable. Position yourself so you can notice discomfort and inspect the skin. Stop for pain, burning, numbness, blistering, or other concerning changes rather than pushing through.
These are preparation steps, not a treatment prescription. Your device's instructions determine permitted body areas, session limits, and operating settings. A generic online routine should not replace those directions.
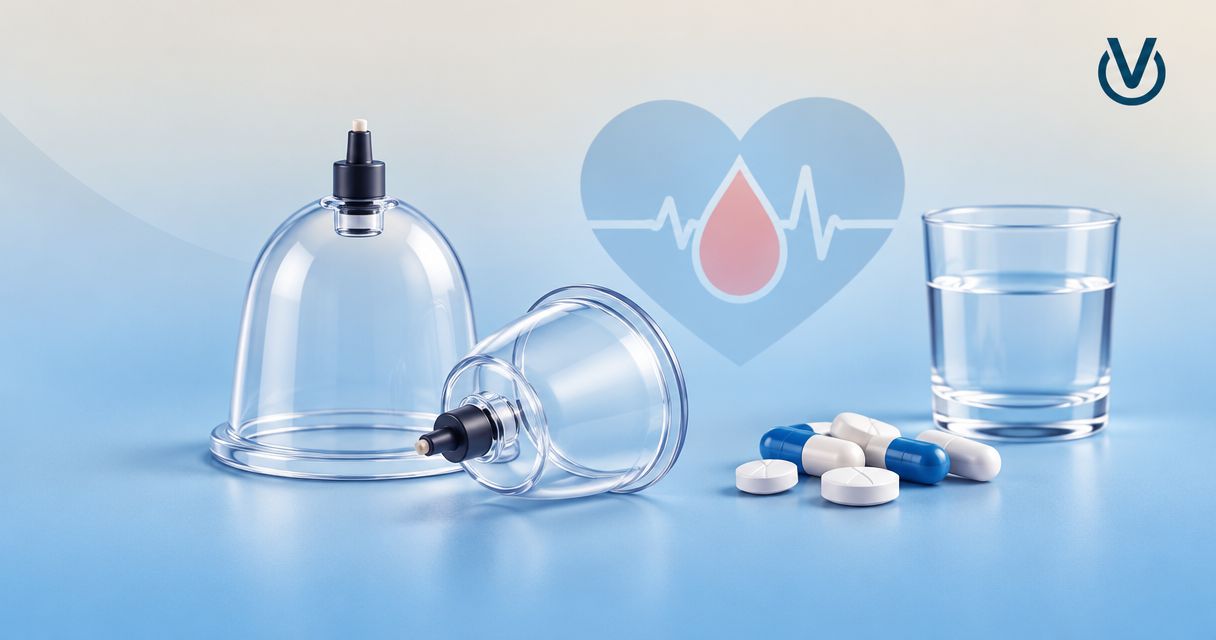
If you take blood thinners, have reduced sensation, or have a condition affecting skin integrity, ask a qualified clinician whether home cupping is appropriate before starting. Exposing the skin solves the clothing barrier; it does not remove medical precautions.
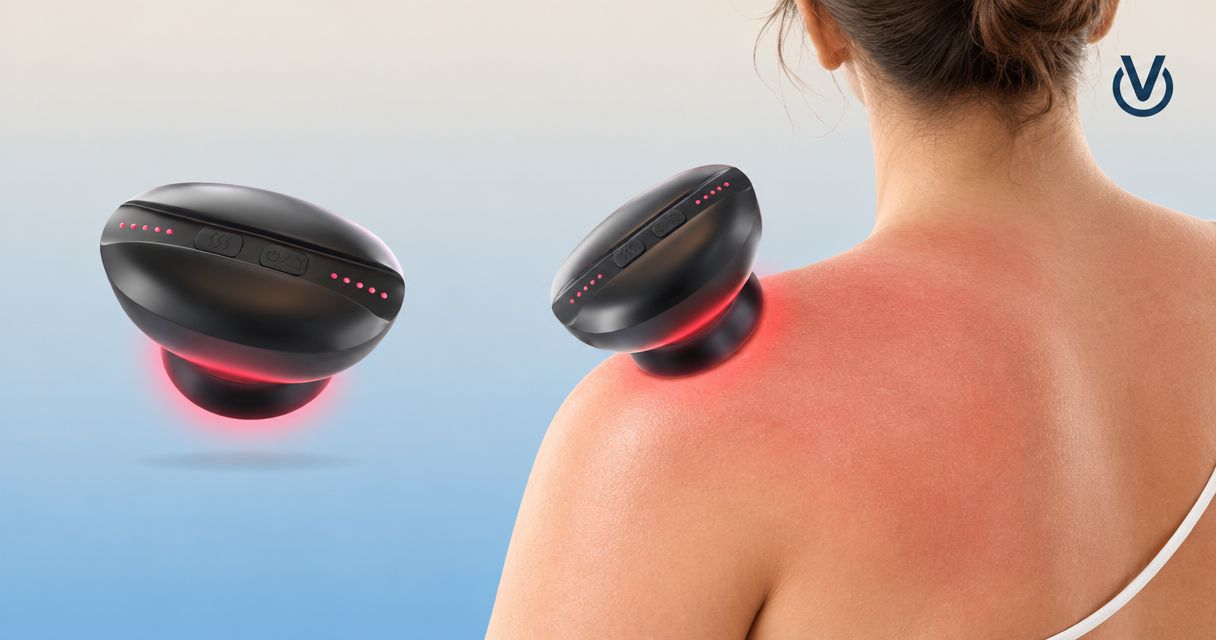
What changes when the cupping device also heats?
A heated cupping device still needs the contact conditions specified by its manufacturer. Do not put clothing, a towel, or another improvised layer underneath it to soften the sensation. A barrier changes the setup without telling you what is happening at the skin.
If heat feels uncomfortable, stop instead of adding fabric. Release and remove the device according to its instructions, inspect the area, and reassess whether heat is appropriate. Do not continue on the assumption that discomfort means the session is working.
Avoid borrowing rules from unrelated heating products. A heating pad with a supplied cover and a heated suction device are different designs. Instructions for one do not establish how to operate the other.
For your 2026 routine, treat suction and heat as separate settings that both need attention. A secure seal does not prove the temperature is comfortable, and comfortable warmth does not prove the cup is positioned correctly.
Where portable cupping devices fit
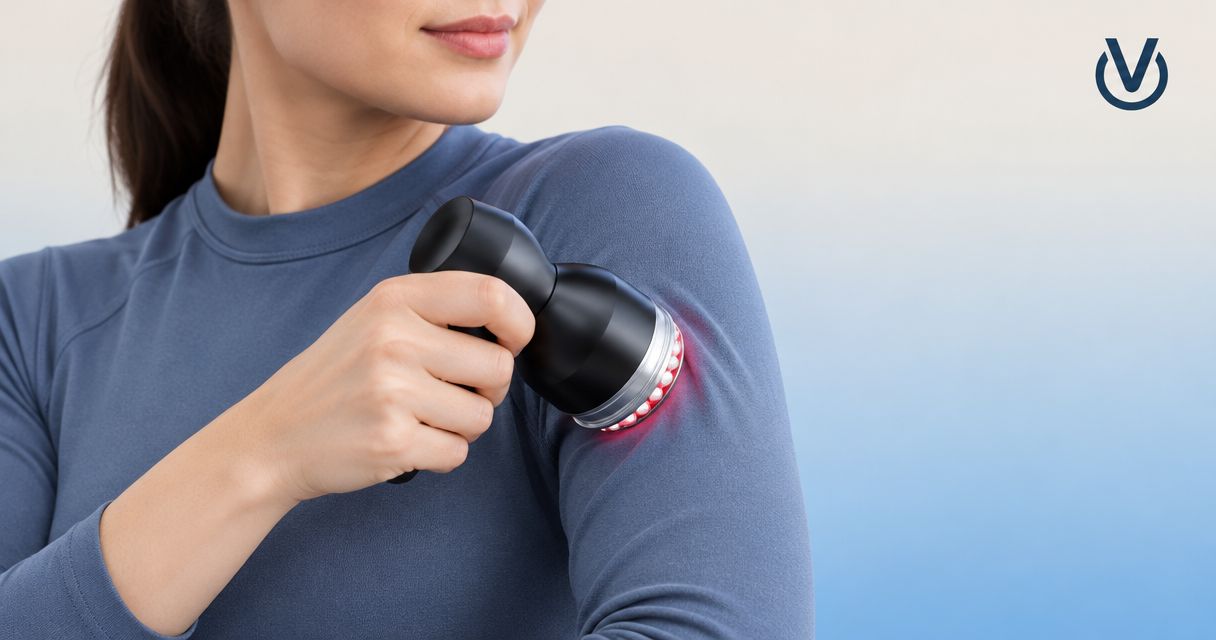
Vazocupping is best for shoppers seeking portable cupping devices for at-home use, not a way to cup through clothing. The clothing rule remains the same whether you choose a larger handheld device or a smaller portable model.
| Portable cupping device | Best for | Confirmed distinction | Limit to remember |
|---|---|---|---|
| Vazo Slide | Shoppers seeking cupping, heating, massage, and gua sha in one handheld device | Larger device with 4-in-1 functions | Combined functions do not make use over clothing appropriate |
| Vazo Lume | Shoppers who prefer the smaller portable cupping device | Smaller than Vazo Slide | Smaller size does not remove the need for correct skin contact |
Vazocupping confirms that both portable cupping devices have a base made from medical-grade alloy. That describes the base material only—not certification of the whole device, regulatory approval, or a guarantee of medical results.
Choose between the devices on the basis of the functions and size you want, then read the relevant operating instructions. Neither the material description nor portability changes the need to expose and monitor the skin.


How can you stay covered during cupping?
Expose only the intended working area and keep the rest of your body covered. A loose shirt, shorts, or a drape can make access easier without putting fabric underneath the cup. Privacy does not require treating through clothing.
For a shoulder or back area, arrange your clothing before picking up the device. Avoid a setup that requires holding a shirt aside while reaching awkwardly to place or release the cup. If you cannot comfortably reach and monitor the area, do not force a self-treatment position.
Keep towels beside the contact area rather than beneath it. If you need to change position, release the cup first according to its instructions instead of dragging it across a clothing edge.
What if the device loses suction halfway through?
Stop and check the placement. Look for fabric under the rim, a changed body position, or a contact surface that needs cleaning. Do not press harder or repeatedly increase intensity to make the device stay attached.
If clothing has slipped underneath, release the cup before moving the fabric away. Pulling a garment against an attached cup adds avoidable movement and makes it harder to control removal.
Repeated loss of suction after correct setup calls for the manufacturer's troubleshooting guidance. Do not improvise with tape, plastic wrap, or a homemade liner. A workaround that changes the contact surface is not a substitute for resolving the original problem.
FAQ
Can I use a cupping device over a thin T-shirt?
No—move the T-shirt away so the cup contacts clean, intact skin as instructed. Thin fabric still introduces a barrier and hides the skin beneath the device.
Can I use a cupping device over leggings?
No—expose the intended area before placing the cup. Tight leggings do not replace the direct contact needed for cupping.
Can I put a towel under a heated cupping device?
Do not add a towel unless the manufacturer explicitly instructs you to use one. If heat feels uncomfortable, stop rather than changing the contact setup with fabric.
Do I have to take all my clothes off for cupping?
No—you only need to expose the intended contact area. Keep clothing and drapes clear of the rim while covering untreated areas.
Should I turn up suction if the cup will not stick?
No—check placement and the contact surface before changing settings. Fabric, folds, body contour, or residue can interfere with the seal.
Do I need oil before using a cupping device?
Use oil or another skin-preparation product only as directed by your device's instructions. Do not assume stationary cupping and moving cupping require identical preparation.
Does a medical-grade alloy base make cupping through clothes safe?
No—a base-material description does not establish that a device can be used through clothing. Follow the manufacturer's contact and operating instructions.
What should beginners remember about cupping in 2026?
Beginners should use exposed, intact skin and follow the device instructions rather than improvising barriers or settings. Stop for pain, burning, numbness, or concerning skin changes.
One last thing
Clothing is not a reliable way to hide or prevent cupping marks. Putting fabric beneath a cup changes its contact with your body; it does not create a controlled, mark-free version of cupping. If visible marks would be a problem, reconsider the timing or skip the session.
For 2026, make your setup easier before making your settings stronger: choose accessible clothing, expose the working area, and keep the skin visible. That small preparation decision removes the reason to attempt cupping through a garment in the first place.