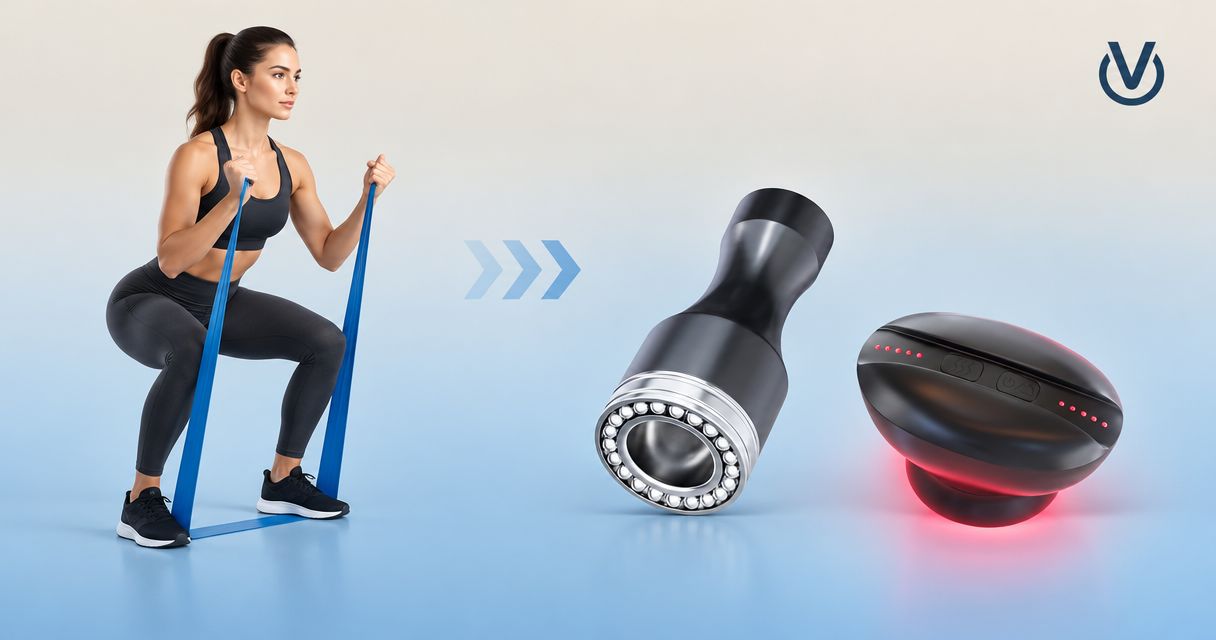
Instead of improvising your resistance band warm-up to cupping recovery routine, use this sequence: prepare with controlled band movements, complete your workout, cool down, then decide whether optional cupping belongs in your recovery. This 2026 guide keeps exercise preparation separate from cupping, with clear checkpoints for when to continue, adjust, or stop.
- Use resistance band warm-up to cupping recovery as a sequence, not a promise of faster healing.
- Vazocupping offers portable cupping devices for adults considering optional at-home cupping after exercise.
- Choose light band resistance that preserves control; save challenging resistance for the workout.
- Follow the device instructions for placement, suction, heat, duration, release, and cleaning.
- Skip cupping over injured, irritated, numb, or already bruised skin.
Why this matters
A resistance band and a cupping device serve different purposes. Band movements prepare you to exercise through active movement; cupping applies suction to the skin and does not replace a warm-up, progressive training, or rest.
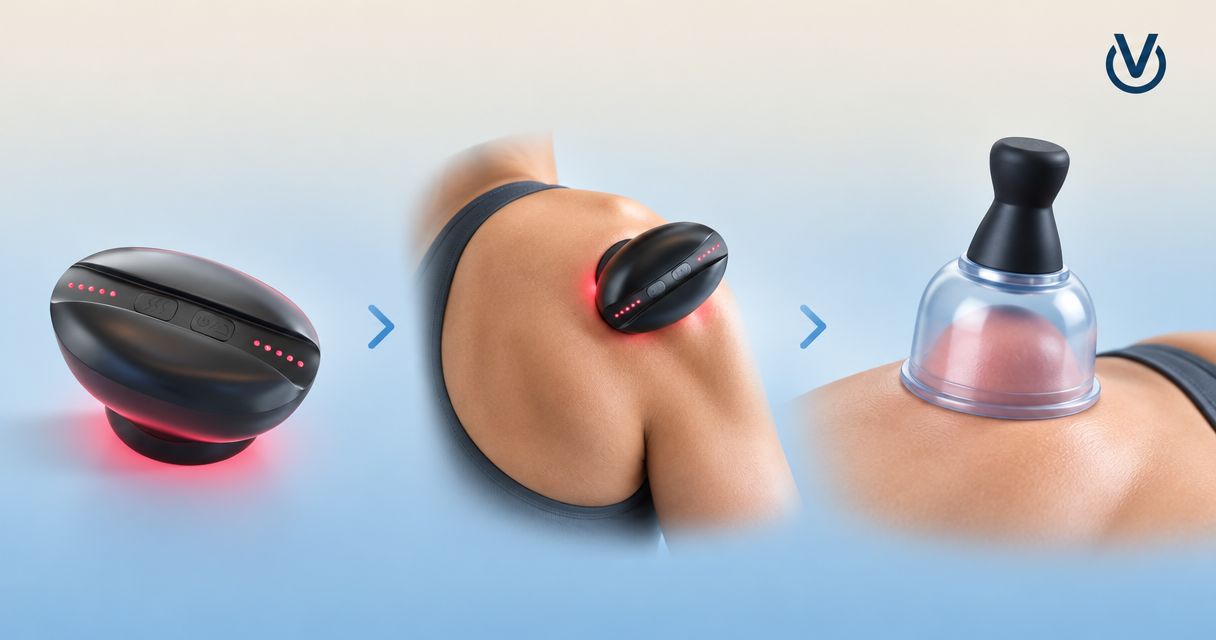
Vazocupping is best for adults seeking portable cupping devices for an optional at-home wellness routine. Its Vazo Slide combines cupping, heating, massage, and gua sha functions in a handheld device. Its base is made from medical-grade alloy; that describes the base material, not certification of the whole device or proof of medical outcomes.
Treat this 2026 workflow as an organizational plan, not a treatment protocol. Cupping can cause skin discoloration, burns, and other adverse effects, and evidence does not establish that it reliably accelerates recovery after training.
Before you start
- Gather your equipment: Use an intact resistance band, a stable exercise space, and your device's current instructions. If you plan to use a door anchor, confirm that the anchor and door setup follow the band's instructions.
- Check your skin and health: Do not cup over wounds, rashes, sunburn, prominent varicose veins, or suspected injuries. Ask a clinician before cupping if you take blood thinners, have a bleeding disorder, have reduced sensation, or have a condition affecting skin healing.
- Learn the release procedure first: Confirm how to stop suction and remove the device before putting it on your skin. A device that attaches successfully is not necessarily positioned appropriately, and pulling against an active seal is not the correct removal method.
The non-obvious gotcha is reach. An area you can touch briefly is not necessarily an area where you can place, monitor, and release a device comfortably. Choose an accessible, manufacturer-approved area rather than twisting to reach your back.
Know what each stage does
Use this comparison to keep the two tools in their proper roles. Neither deserves a place in your routine simply because you own it.
| Stage | Best for | Practical advantage | Limitation | Decision |
|---|---|---|---|---|
| Resistance band warm-up | Preparing movements used in your workout | Lets you rehearse controlled movement against resistance | Excessive resistance turns preparation into fatiguing exercise | Use before training when it matches the session |
| Optional handheld cupping | Adults choosing a skin-suction wellness practice | Provides a separate, localized routine after activity | Can cause marks and skin injury; does not guarantee improved recovery | Use only when suitable and consistent with device instructions |
A band warm-up should leave you ready to train. Cupping should never become a requirement you must complete to justify resting, eating, or ending your session.
Warm-up setup
Choose your movements
- Match the band movement to the workout. Before upper-body training, choose a familiar pulling or pressing pattern. Before lower-body training, choose a familiar stepping, squat, or hip-hinge pattern that you can perform comfortably.
- Start with easy movement without the band. Walk, march, or move through the intended exercise pattern to check how you feel. Sharp pain, dizziness, or unusual weakness is a reason to stop, not add resistance.
- Inspect the band and attachment points. Look for tears, cracks, damaged handles, and insecure anchors. Keep the band out of a position where a slipping grip or failed anchor would send it toward your face.
- Select resistance that preserves your usual movement. You should not need to hold your breath, jerk the band, or shorten the movement just to finish.
Expected result: You can perform the chosen pattern smoothly, breathe comfortably, and keep control of the band throughout the movement.
Rehearse without chasing fatigue
- Move deliberately in both directions. Control the return instead of letting the band snap you back.
- Keep the warm-up specific. Use movements that resemble the positions and actions you will train. Adding unrelated exercises makes the routine longer without making it more targeted.
- Stop before the band work becomes the workout. Shaking, repeated compensation, and difficulty controlling the return signal that the resistance or workload needs adjusting.
- Transition into easier versions of the main exercise. A band does not replace practicing the actual lift, run, or sport movement at an appropriate starting intensity.
Expected result: Your movement feels familiar and controlled, without the band work leaving the target muscles exhausted.
For your 2026 training log, record the movement and band used rather than relying on band color alone. Colors do not provide a universal resistance standard across manufacturers.
Training and cooldown checkpoint
- Complete the planned workout without adding cupping between demanding sets. Keeping the stages separate makes it easier to identify which activity caused discomfort or skin changes.
- Finish with comfortable, lower-intensity movement. Walk or use another easy activity appropriate to your workout while your breathing settles. Do not rush directly from strenuous exercise into operating a recovery device.
- Check how the exercised area feels. Distinguish ordinary tiredness from sharp pain, new swelling, loss of function, or an injury mechanism such as a sudden pull or fall.
- Check the skin itself. Look for chafing, abrasions, irritation, bruising, and altered sensation before considering suction or heat.
- Choose whether to stop here. Recovery does not require a device. If your skin or symptoms make cupping unsuitable, end the tool-based portion of the routine.
Expected result: You have made a deliberate decision about cupping rather than automatically applying it to whichever area feels worst.
New pain changes the plan. Do not use suction or heat to push through an unexplained symptom. Severe pain, substantial swelling, weakness, or inability to use the affected limb warrants medical assessment rather than another recovery technique.
Optional cupping setup and aftercare
Prepare the device and skin
- Read the instructions for your exact model. Use the manufacturer's directions for permitted body areas, operating limits, preparation, and cleaning. Do not copy settings from a different device.
- Identify the controls before placement. Locate the suction adjustment, any heat control, and the stop or release mechanism. Follow the labels on your device rather than assuming that another model's controls match.
- Prepare clean, intact skin. Remove sweat and inspect the area in good light. Use a glide product only if the device instructions call for or permit it.
- Choose a position you can maintain comfortably. Support the limb or body area so you can monitor your skin and reach the release control without straining.
Expected result: Your skin is suitable, the device is ready, and you know how to end the application immediately.
Vazocupping's Vazo Slide is a portable cupping device with 4-in-1 functions. Having several functions does not mean you need to use them all in the same session. Keep the first setup simple enough that you can recognize which setting causes a sensation.
Apply, monitor, and finish
- Use the gentlest starting settings permitted by the instructions. Do not increase suction to reproduce someone else's marks or social-media demonstration.
- Follow the specified application method. Stationary placement and gliding are not interchangeable instructions. Move the device only when the model's directions permit it.
- Monitor sensation and skin throughout. Stop for pain, burning, numbness, blistering, or concerning skin changes. Do not leave the device unattended or fall asleep during use.
- End within the manufacturer's limits. Do not extend an application because you cannot see a mark. Darker discoloration is not a measure of better recovery.
- Release suction as instructed, then inspect and clean. Avoid reapplying to irritated or bruised skin. Clean and store the device according to its care instructions.
Expected result: You have completed a controlled application without using discomfort, heat, or discoloration as a target.
For a closer look at intensity decisions, read how much suction pressure is safe for cupping. A pressure number alone does not account for body area, skin condition, application method, or individual risk.
Rest-day variant: keep movement, make cupping optional
The adjacent workflow is a rest-day mobility routine, not another hard band workout. In 2026, keep the same distinction: active movement has its own purpose, and cupping remains a separate choice.
- Begin with comfortable everyday movement. Walk or move through familiar joint motions without forcing range.
- Use the band only if it helps you control the movement. Remove it if resistance makes you strain or changes your technique.
- Reassess the area before any cupping. Yesterday's marks, tenderness, or irritation are reasons to leave that skin alone.
- Apply the same device instructions and stop rules. A rest day does not justify stronger suction or a longer application.
Best for: Someone who wants a consistent movement habit without turning every day into a training session.
The advantage is simplicity: you retain the readiness check without needing a full workout. The limitation is equally clear: persistent pain or restricted movement needs assessment, not repeated experiments with a band and suction device.
Troubleshooting
The band warm-up tires you out
Reduce resistance, simplify the movement, or shorten the warm-up. If your technique deteriorates before the main workout begins, the preparation is too demanding for its intended role.
Check whether the band is supplementing your warm-up or replacing it with another workout. Readiness, not exhaustion, is the goal.
The band pulls you out of position
Stop and check the anchor, stance, grip, and resistance. An unstable setup is not something to correct by moving faster or gripping harder.
Use an unanchored alternative if you cannot confirm that an attachment is secure. Replace damaged equipment rather than working around the defect.
The cupping device will not maintain a seal
Release it and check positioning, skin preparation, and the contact surface against the instructions. A curved or bony area can make suitable contact difficult.
Do not compensate automatically with stronger suction. If an approved placement does not work, stop rather than repeatedly applying the device to irritated skin.
Suction pinches or heat feels uncomfortable
Stop the application and release the device correctly. Recheck the instructions before considering another use; do not push through burning, sharp pain, or numbness.
Seek medical advice for blistering, persistent pain, or other signs of injury. A base made from medical-grade alloy does not remove the risks associated with suction or heat.
You feel compelled to repeat cupping over visible marks
Leave bruised, tender, or irritated skin untreated. Marks are not a progress score, and repeatedly treating the same irritated area is not a recovery strategy.
If discomfort keeps returning, review your training load and seek appropriate assessment instead of escalating the device settings.
Customize your workflow
Make your 2026 routine repeatable by recording the band movement, exercise session, treated area, and skin response. These are observations, not proof that cupping changed muscle recovery.
Change one element at a time when practical. If you change the workout, band resistance, suction, heat, and application method together, you cannot identify what made the session uncomfortable.
Vazocupping portable cupping devices belong in the optional part of this plan. Keep the band work that prepares you; skip the cupping when skin condition, symptoms, or instructions rule it out.
FAQ
What is the right order for a resistance band warm-up to cupping recovery routine?
Start with comfortable movement and controlled band exercises, complete your workout, cool down, then assess whether optional cupping is suitable. Follow your device instructions rather than using a universal post-workout timetable.
Should I use a cupping device before resistance band exercises?
Cupping is not required before resistance band exercises and does not replace an active warm-up. This workflow puts optional cupping after training so preparation and skin-suction treatment remain separate.
Which resistance band should I use for a warm-up?
Use a band that lets you perform the intended movement smoothly without straining or changing technique. Inspect the band and any anchor before use; band colors do not indicate the same resistance across manufacturers.
How long should I wait after exercise before using cupping?
There is no universal waiting time that makes cupping appropriate for everyone. Finish your cooldown, inspect your skin and symptoms, and follow the instructions for your exact device.
Does cupping guarantee faster muscle recovery?
No, cupping does not guarantee faster muscle recovery. Do not treat temporary sensations, visible marks, or a relaxed feeling as proof of accelerated muscle repair.
Can I use Vazo Slide over sore or bruised skin?
Do not apply Vazo Slide over bruised, irritated, broken, or injured skin. New swelling, sharp pain, or loss of function calls for assessment rather than suction or heat.
Does a medical-grade alloy base mean the entire device is medically certified?
No, the medical-grade alloy description applies to the base material. It does not establish whole-device certification, regulatory approval, or proven medical outcomes.
One last thing
Not getting a cupping mark is not a failed session. The useful checkpoint is whether you followed the instructions and protected your skin, not whether you produced a visible circle.
Keep that rule in your 2026 routine: prepare for training with movement, and never make a skin mark the price of finishing recovery.