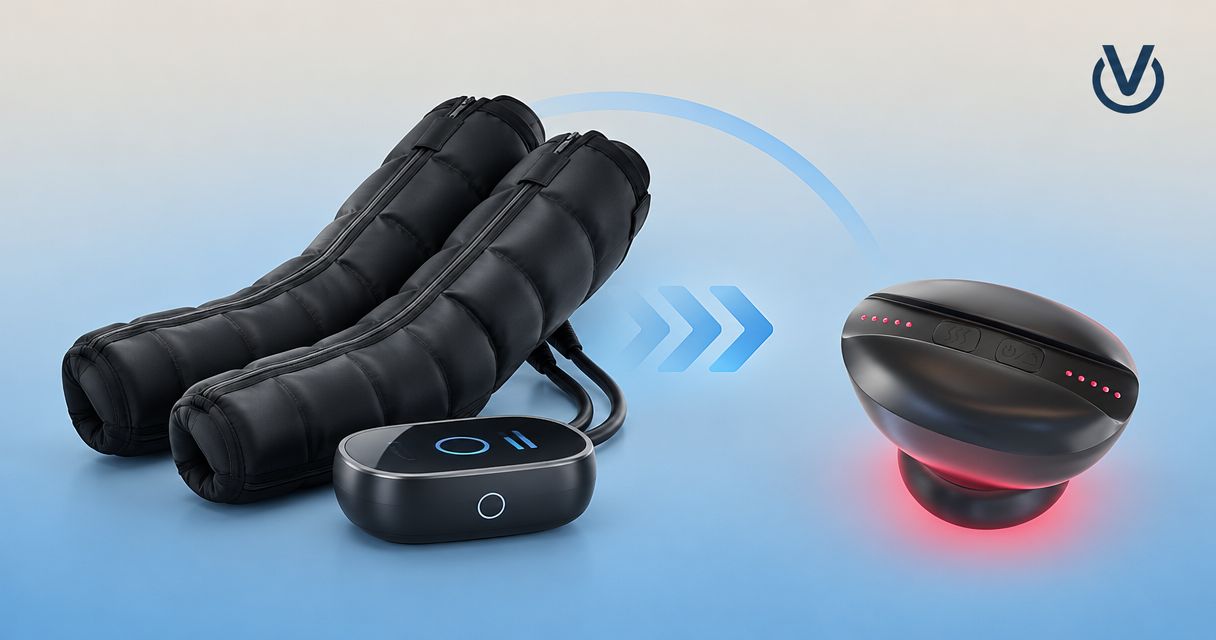
Instead of improvising a compression boots to cupping recovery routine after every workout, use a staged workflow: finish compression, remove the boots, inspect your skin, and decide whether cupping belongs in a separate session. This 2026 guide organizes the handoff without treating two recovery tools as a proven combination or a reason to ignore pain.
- Compression boots to cupping recovery should be staged, not simultaneous on the same body area.
- Vazocupping offers portable cupping devices for targeted at-home use, not a substitute for compression boots.
- Follow each device’s instructions; there is no established universal waiting interval between compression and cupping.
- Skip cupping over irritated skin, fresh bruising, varicose veins, or unexplained swelling.
Why this matters
Compression boots squeeze the legs through inflatable chambers. Cupping applies suction to a smaller skin area. Their actions differ, so finishing a compression session does not automatically establish that the same tissue is ready for suction.
More tools do not establish better recovery. A useful routine gives you a clear stopping point and lets you identify which step caused discomfort. Neither tool replaces sleep, adequate nutrition, appropriate training load, or assessment of an injury.
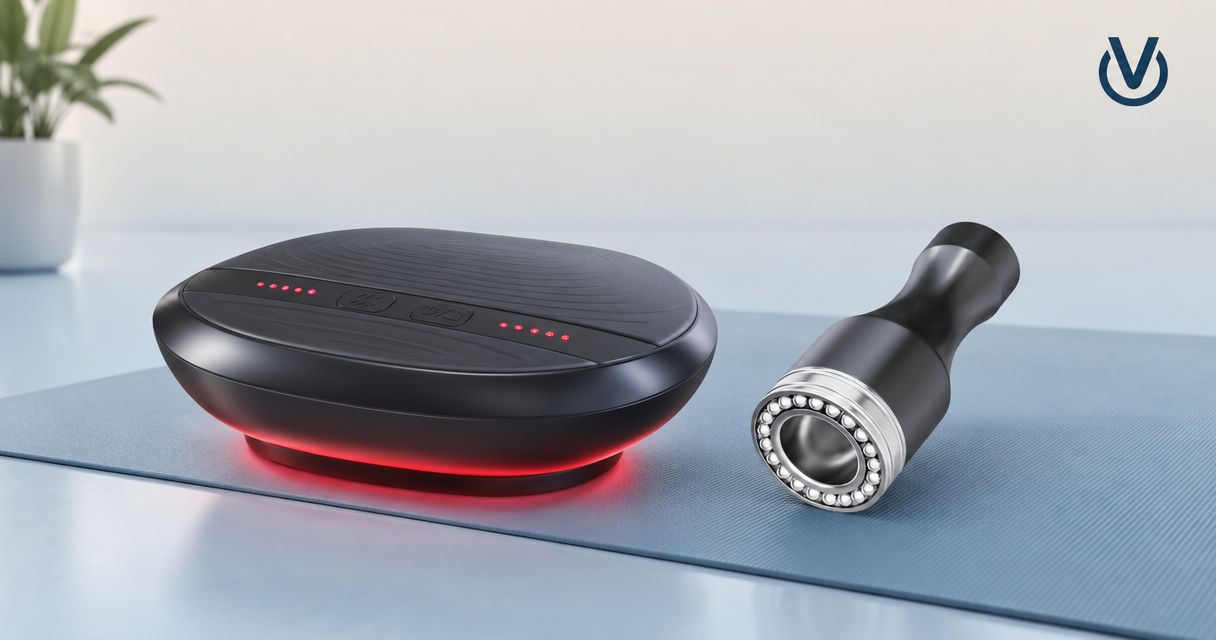
The Vazo Slide cupping therapy device combines cupping, heating, massage, and gua sha functions. Having those functions together does not mean you need to activate every function during a session.
For your 2026 recovery plan, distinguish a comfort routine from treatment. This workflow organizes equipment use; it is not a prescription for treating swelling, repairing tissue, or accelerating healing.
Before you start
- Gather the instructions and equipment. Have your compression boots, their controller, your cupping device, and the cleaning materials specified by each manufacturer. Locate the instructions for pressure, session limits, permitted body areas, cleaning, and suction release before switching anything on.
- Check whether self-treatment is appropriate. Get medical advice before starting if you have a history of blood clots, vascular disease, reduced sensation, a bleeding disorder, take anticoagulants, or have recent surgery. New one-sided leg swelling, warmth, redness, or unexplained calf pain needs medical assessment, not a recovery-device experiment.
- Pre-empt the handoff problem. A completed boot cycle is not clearance to cup the same area. If skin is tender, bruised, irritated, or unusually warm, leave cupping out. Do not put compression boots over an attached cupping device.
For a first attempt in 2026, choose a day when you can pay attention to the process. Do not learn unfamiliar controls while distracted, and do not use either device while asleep.
Before applying suction, identify how your particular device releases it. Read the instructions rather than guessing from a button’s appearance. Controls differ, and a generic guide cannot supply the correct button names for every model.
Recovery tool selection
Choose the tool that matches the intended body area and the manufacturer’s permitted use. Owning both does not make both necessary.
| Tool | Best for | Practical advantage | Limitation |
|---|---|---|---|
| Compression boots | People seeking a leg-compression routine within the boot manufacturer’s instructions | Cover the leg regions enclosed by the garment | Do not provide the same localized suction action as cupping; fit and contraindications matter |
| Vazo Slide | People seeking a portable cupping device with cupping, heating, massage, and gua sha functions | Brings several functions into one handheld device | Requires attention to placement, suction, heat, and skin response; does not replace leg compression |
Vazocupping is best for people seeking portable at-home cupping, not a replacement for leg compression. Vazo Slide is a portable cupping device with a base made from medical-grade alloy. That description applies to the base material, not certification of the whole device or proof of medical outcomes.
Portability helps you arrange a routine around your space. It does not remove the need to check skin, follow instructions, or stop when the sensation is wrong.
Compression setup and baseline
- Choose the session goal. Write down what you want to observe, such as how your legs feel at rest or during ordinary walking. Avoid goals that a home session cannot verify, such as clearing a clot or healing damaged tissue.
- Inspect the treatment area. Look for cuts, rashes, bruises, swelling, and visible vein changes. Do not treat unfamiliar symptoms as ordinary post-workout soreness.
- Fit the boots according to their instructions. Check garment placement, closures, hoses, and the controller connection. Keep tubing free from kinks and pressure from furniture.
- Select the manufacturer-directed program and pressure. Do not copy a pressure setting from another brand or assume the strongest setting is the correct starting point. Different devices use different controls and scales.
- Run only the permitted session. Stay awake and attentive. Stop if you develop pain, numbness, tingling, an unusual color change, or another unexpected symptom.
Expected result: the boot session ends within its prescribed operating limits, without new concerning symptoms. If it does not, stop the workflow here rather than adding cupping to compensate.
Keep the controller accessible throughout. A routine is not properly set up if you must struggle to reach the stop control or cannot remove the equipment as instructed.
Skin check and cupping decision
- End compression and remove the boots. Follow the manufacturer’s shutdown and removal sequence. Do not begin suction while the boots remain in place on the same area.
- Repeat the skin inspection. Compare the area with its appearance before compression. Check how it feels as well as how it looks, especially if you notice tenderness or a change in sensation.
- Decide whether cupping adds a useful step. If compression alone meets your comfort goal, finish. If you are learning either tool, separate sessions make it easier to identify your response.
- Exclude unsuitable areas. Do not apply suction over broken or infected skin, fresh bruises, varicose veins, or an area with unexplained swelling. New injury symptoms call for assessment rather than experimentation.
- Confirm the device-specific limits. Read the cupping instructions for permitted body areas, duration, suction, heat, and repeat use. If the instructions do not address your situation, ask the manufacturer or an appropriately qualified clinician before proceeding.
Expected result: you have either selected an appropriate, intact skin area or deliberately ended the routine. Skipping cupping is a valid outcome, not an incomplete recovery session.
There is no established universal waiting interval that makes compression followed by cupping appropriate for everyone. Do not replace a skin check with a countdown. If you are unsure about the same-area handoff, use separate sessions and get individual advice.
Cupping setup and session record
- Prepare the device and skin as directed. Use only preparation products permitted by the cupping manufacturer. Keep unapproved oils, cleaners, and moisture away from openings and electrical components.
- Choose the instructed starting settings. Do not match a boot pressure number to a suction setting. Compression pressure and cupping suction are not interchangeable treatment doses.
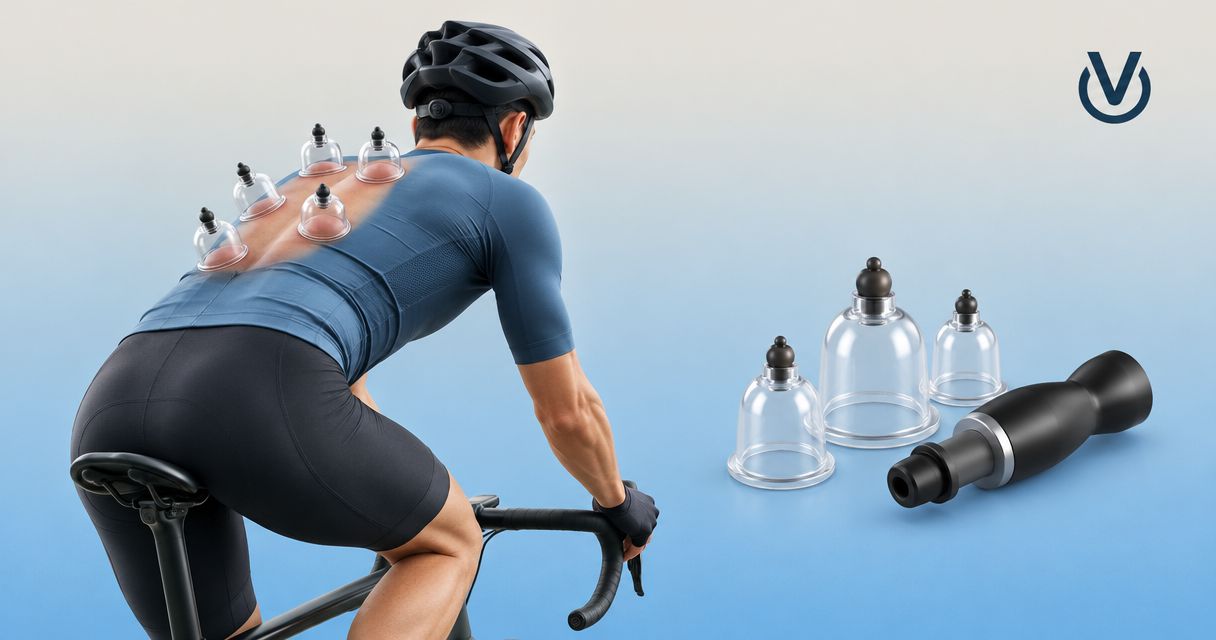
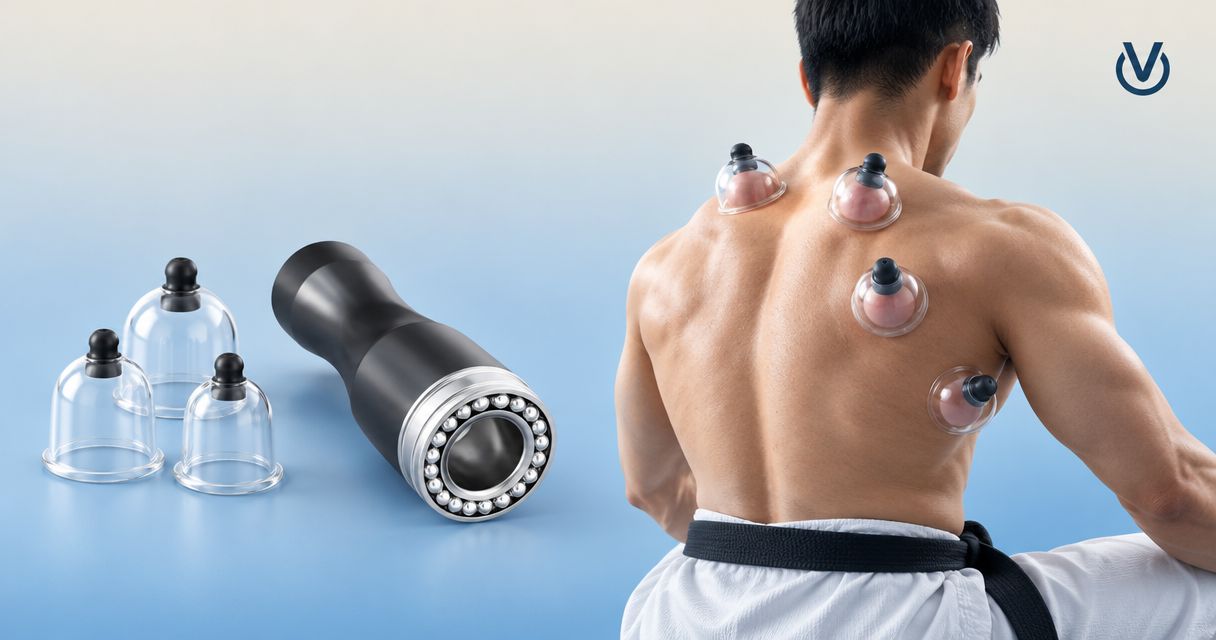
- Keep the first session simple. For a clear observation, limit your initial plan to 1 body area permitted by the instructions. Do not add heat or a sliding technique unless you understand the separate directions for that function.
- Monitor sensation throughout. A stronger pull is not evidence of a better result. Release suction as instructed if you experience pain, burning, numbness, tingling, or another unexpected sensation; do not pull forcibly against an active seal.
- Finish, inspect, and clean. End within the manufacturer’s session limits, check the skin, and clean the device using its specified method. Do not add another treatment pass merely to create a visible mark.
Expected result: the cupping session stays within the device instructions, and you can describe your skin response without guessing which extra function caused it.
Use 2 skin checks around each device session: before use and after removal. Continue paying attention afterward; a normal immediate check does not justify ignoring symptoms that appear later.
Keep your 2026 session record to 3 fields: the body area, the actual device settings and duration, and your response. Record discomfort as well as comfort. This is a personal observation log, not evidence that the routine treats a medical condition.
Second variant: separate-day recovery sessions
Separate-day use is best for beginners who want to understand each tool independently. It also removes the practical pressure to finish a predetermined two-device sequence.
- Use compression alone on a suitable occasion. Follow the boot instructions and record your response without adding cupping afterward.
- Consider cupping on a different occasion. Recheck the skin and symptoms from scratch. A different calendar day does not automatically mean bruised or irritated skin is ready.
- Keep the comparison simple. Avoid introducing new settings, heat, and additional recovery tools all at once. Otherwise, you cannot tell which change contributed to discomfort.
- Retain only useful steps. If a device causes problems or adds no meaningful value to your routine, leave it out and reassess.
Expected result: you have observations from distinct sessions rather than an assumption that combining devices produces a greater benefit.
The trade-off is convenience: separate sessions require more planning. The advantage is clarity. This variant is not a claim that a particular schedule produces superior recovery.
Troubleshooting
The boots feel painful or your foot tingles
Stop the session and follow the instructions for removing the boots. Check fit, garment position, and tubing before any future use. Do not restart at a stronger setting or add cupping to address the symptom; persistent or recurring symptoms need medical advice.
The cupping device will not maintain suction
Release the device and check the seal, placement, and components identified in its instructions. Do not keep increasing suction to overcome a placement problem. Avoid improvised repairs, unapproved lubricants, or pressing hard against irritated skin.
Sliding feels uncomfortable or catches the skin
Release suction and stop sliding. Confirm that the device permits a sliding technique and that you have followed its skin-preparation directions. Do not force movement or add heat to push through discomfort; review the cupping pressure guide before planning another session.
Marks or tenderness remain before the next session
Do not cup over fresh marks or tender skin, and do not put boots over a painful or bruised area just to maintain your schedule. Cupping can leave temporary skin discoloration, but mark darkness is not a performance score. Seek advice for blistering, worsening pain, or signs of infection.
Customize your 2026 workflow
Expand the routine by improving decisions, not by stacking more equipment. Put the manuals, cleaning supplies, and session log together so you can check a limit without searching mid-session.
Change one element at a time. Keep the body area and technique consistent while you learn the controls, and stay within the manufacturer’s limits. Do not treat a comfortable session as permission to increase every setting next time.
Make the stopping rules visible beside your equipment. Pain, altered sensation, damaged skin, and unexplained swelling end the experiment. Chest pain or shortness of breath requires urgent medical attention, particularly alongside new leg symptoms.
If recurring discomfort is driving the routine, seek an assessment of that discomfort rather than building a longer sequence around it. A recovery workflow should not become a way to postpone care.
FAQ
Should I use compression boots before or after cupping?
There is no established universal best order. If you use boots first, remove them and reassess your skin before considering cupping; separate sessions are a practical alternative, especially when learning either device.
How long should I wait between compression boots and cupping?
There is no universal waiting interval that establishes readiness for cupping. Follow both manufacturers’ instructions and do not treat skin that remains bruised, irritated, tender, or otherwise abnormal.
Can I use compression boots and a cupping device at the same time?
Do not place compression boots over an attached cupping device. Use the tools separately so you can monitor the skin and stop either session without interference from the other equipment.
Does combining compression boots and cupping guarantee faster recovery?
No, combining the devices does not establish faster recovery. This workflow organizes use and observation; it is not evidence that the combination improves healing or athletic performance.
Is Vazo Slide suitable for a portable cupping routine?
Vazo Slide is a portable cupping device from Vazocupping with cupping, heating, massage, and gua sha functions. Its base is made from medical-grade alloy; that material description does not certify the whole device or establish suitability for a particular medical condition.
Can I cup my calves if I have varicose veins?
Do not apply cupping directly over varicose veins. Ask a qualified clinician whether cupping and compression are appropriate for your vascular condition before using either device.
What should I record in a 2026 recovery log?
Record the body area, actual device settings and duration, and your response. Keep compression and cupping entries distinct so you can identify which session preceded irritation or discomfort.
One last thing
A cupping mark is not a recovery score. Chasing a darker mark turns a comfort routine into a contest with your skin. The useful outcome is a routine you can follow within the instructions—not proof that you tolerated the strongest setting.