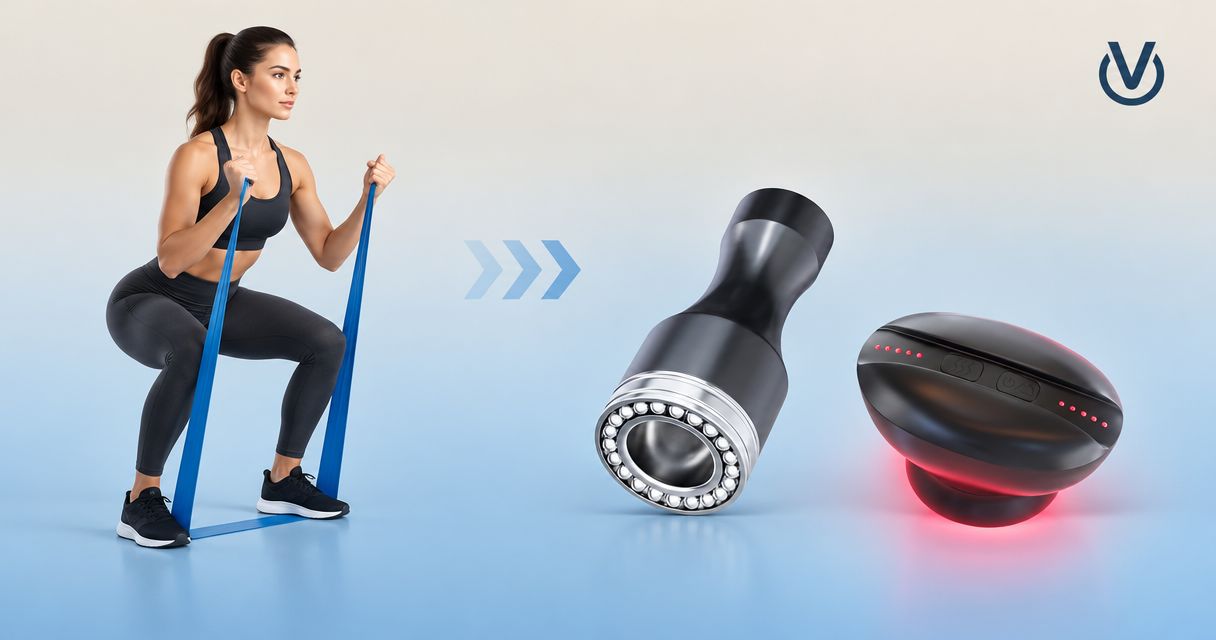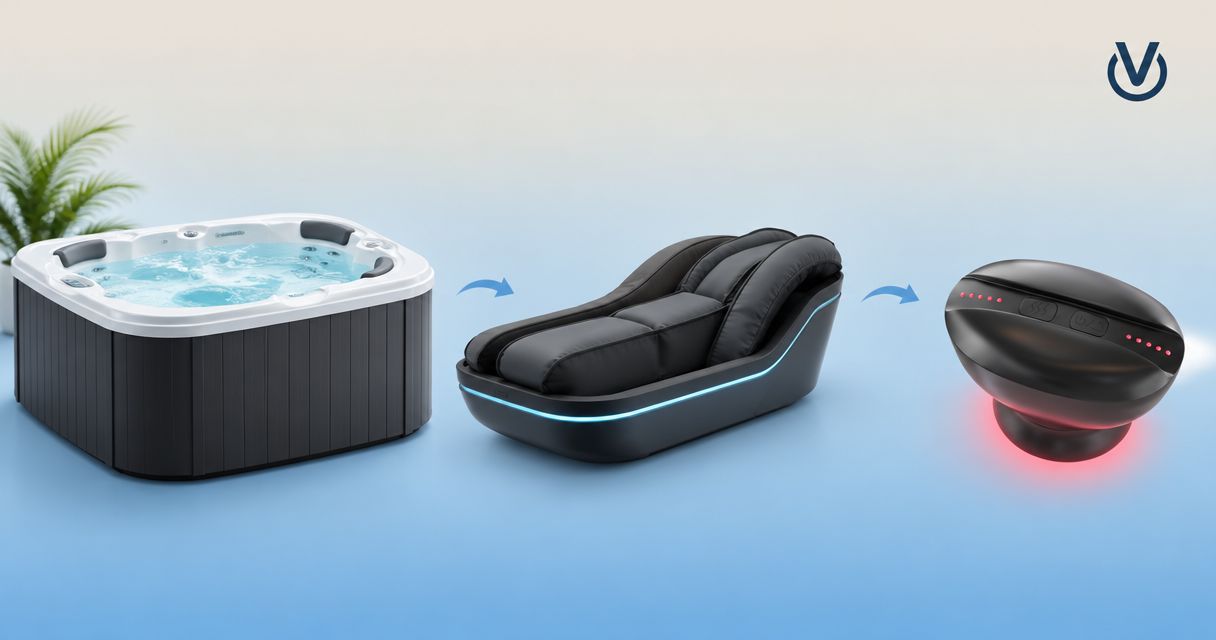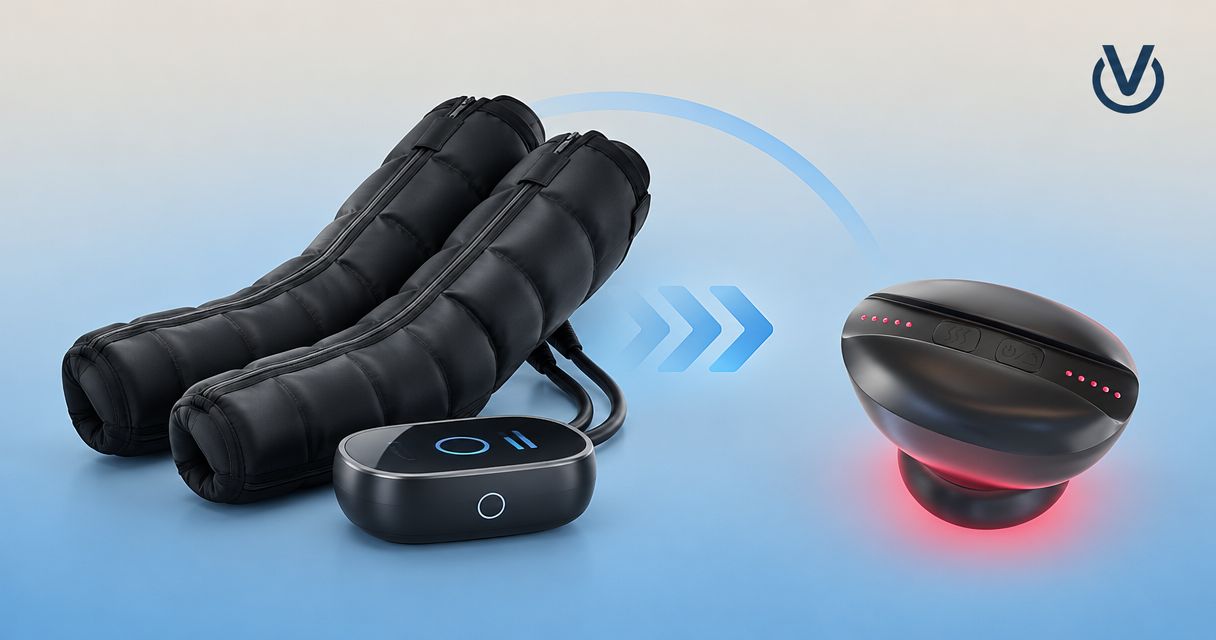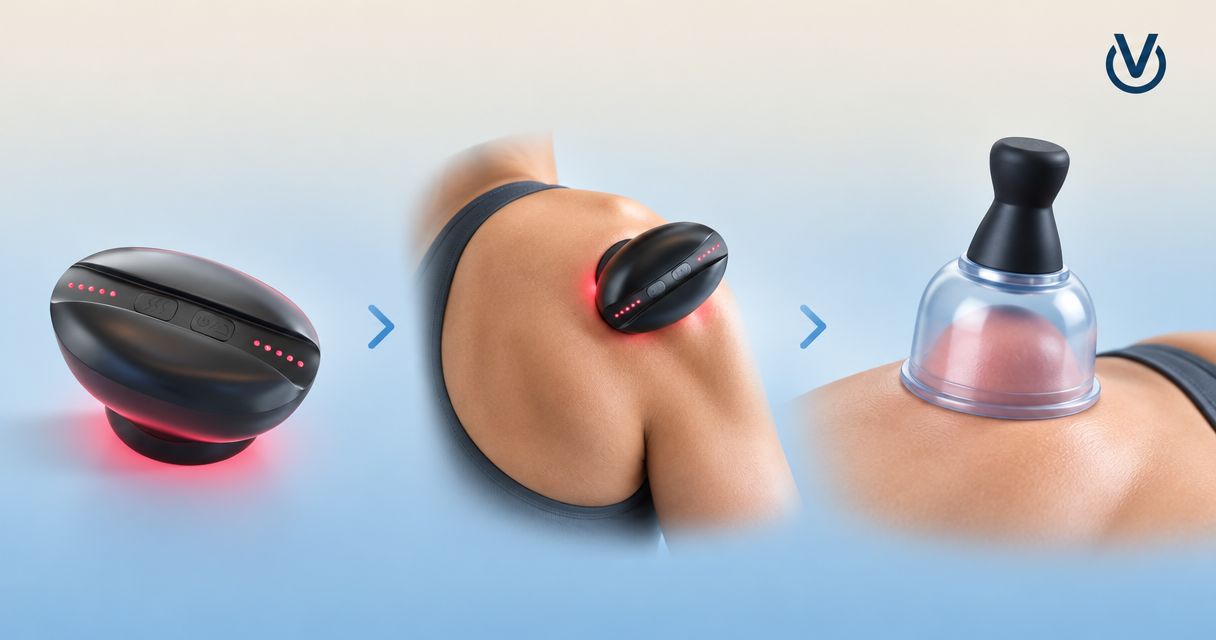
Instead of repeatedly pressing a tender spot and adding suction without a plan, use this trigger point ball to cupping release workflow for 2026: assess the area, try gentle ball pressure, reassess, and add cupping only if your skin, symptoms, and device instructions allow it. The Vazo Slide is a portable cupping device with cupping, heating, massage, and gua sha functions; this guide explains where it fits—and when to leave it out.
- Trigger point ball to cupping release means checking your response between pressure and suction, not stacking intensity.
- Vazocupping offers portable cupping devices for adults considering an at-home cupping routine; suitability depends on individual health.
- Ball pressure and cupping act differently; combining them does not establish better muscle recovery.
- Skip irritated skin, unexplained pain, and injured areas. Stop for burning, numbness, or worsening symptoms.
Why this matters
A massage ball presses into tissue. A cupping device creates suction at the skin surface. Different sensations do not mean the tools cancel out each other's effects or make a tender area ready for more treatment.
For your 2026 recovery routine, treat the transition as a decision point—not an automatic next step. The goal is comfortable movement, not deeper soreness or darker marks. Neither tool diagnoses the cause of pain, and this sequence is not a treatment plan for an injury.
Before you start
- Gather the right materials: a clean massage ball, your cupping device, its instructions, and a stable chair or wall. Use only skin products and accessories permitted by the device manufacturer.
- Check whether self-treatment is appropriate: avoid broken, infected, inflamed, bruised, or numb skin and visible varicose veins. Ask a clinician before cupping if you take blood thinners, have a bleeding disorder, impaired sensation, circulation problems, or another condition affecting skin healing.
- Know the non-obvious gotcha: skin that looks normal before ball work can become tender afterward. Recheck it before suction; completing the ball step does not mean you should complete the cupping step.
Read the device's release instructions before placing it on your body. If you cannot explain how to remove suction promptly, you are not ready to begin.
Choose each tool's job
For this workflow, Vazocupping is best suited to readers considering a portable cupping device for an at-home routine. That describes the product category, not a promise that cupping will resolve a painful condition.
Vazo Slide has a base made from medical-grade alloy. That detail describes the base material only; it does not establish certification, regulatory approval, or a proven medical outcome.
| Tool | Best for in this workflow | Practical advantage | Limitation |
|---|---|---|---|
| Massage ball | Controlled external pressure on an accessible muscle area | You adjust pressure by changing your position | Body weight can make pressure harder to control; small contact areas can feel intense |
| Vazo Slide portable cupping device | A separate suction step when the instructions and your skin response permit it | Combines cupping, heating, massage, and gua sha functions in one handheld device | More functions add decisions; suction and heat introduce skin risks and are not appropriate everywhere |
Choose a tool for a specific purpose, not because you feel obliged to use both. In this 2026 workflow, stopping after the ball—or using neither tool—is a valid outcome.
Configuration 1: Your starting area and movement check
- Choose 1 accessible muscle area. Pick an area you can see, reach, and monitor without twisting or straining. Do not start on the front or side of the neck, directly over the spine, or over a joint.
- Inspect the skin. Look for cuts, rashes, bruising, swelling, and prominent veins. If you find a concern, leave that area untreated rather than working around it at close range.
- Choose 1 ordinary movement to reassess. Use a comfortable movement you already perform, such as gently raising your arm. Do not force a stretch or provoke pain to establish a baseline.
- Describe the starting sensation. Distinguish general muscle tightness from sharp, burning, radiating, or unexplained pain. The latter symptoms need assessment, not increasingly forceful self-treatment.
Expected result: you have an appropriate starting area, intact skin, and a comfortable movement to compare afterward. If you cannot identify these, stop before using either tool.
Configuration 2: Controlled ball pressure
- Use a position you can exit easily. For an accessible upper-back muscle area, a ball against a wall gives you a way to reduce pressure by stepping away. Keep it off the spine and other bony points.
- Introduce pressure gradually. Lean gently rather than dropping your full body weight onto the ball. Keep breathing normally and maintain control of your position.
- Avoid chasing a painful spot. A tender point is not proof of a muscle knot that must be broken apart. Do not repeatedly grind into the most sensitive location.
- Stop and reassess. Remove the ball, inspect the skin, and repeat your chosen movement comfortably. Stop immediately for tingling, numbness, sharp pain, or symptoms spreading away from the contact area.
Expected result: you can move comfortably without new symptoms or skin irritation. More tenderness is a reason to stop, not evidence that you reached the right intensity.
There is no universal ball-pressure dose for every body area and health history. Follow any instructions supplied with your ball and any guidance from your treating clinician.
Configuration 3: The cupping readiness check
- Look at the area again. Do not apply suction over a spot that is now bruised, irritated, swollen, or unusually tender after ball work.
- Decide whether cupping adds a clear purpose. If movement already feels comfortable, end the session. You do not need suction to complete a successful routine.
- Check the device instructions for the intended body area. Confirm permitted placement, session limits, skin preparation, cleaning, and suction-release procedures. Do not substitute advice for another device.
- Keep the first attempt simple. Do not combine suction, added heat, aggressive scraping, and further ball pressure in the same experiment. Follow the manufacturer's instructions for the function you select.
Expected result: either you have a clear, permitted cupping setup on suitable skin, or you have decided to skip it. Both decisions satisfy the workflow.
The available product information does not establish a universal suction setting or treatment duration. Your 2026 routine should follow the current instructions supplied with your device, not a guessed setting from a general article.
Configuration 4: Suction, release, and reassessment
- Position yourself for control. Keep the device reachable and the treatment area visible where possible. Do not place it somewhere you cannot promptly release it yourself.
- Apply the device according to its instructions. Use the permitted introductory setting and placement method. Do not increase suction to imitate marks you have seen on someone else.
- Monitor the sensation throughout. Stop for burning, sharp pain, numbness, blistering, or increasing discomfort. Do not wait for a planned session to finish when a warning symptom appears.
- Release suction using the instructed method. Do not pull forcibly against an active seal. After removal, inspect the skin and repeat your original comfortable movement without forcing extra range.
- Finish rather than retest repeatedly. Clean the equipment as directed and record whether the area felt better, unchanged, or worse. Include any skin reaction, not just the immediate sensation.
Expected result: the device is removed safely, your skin is intact, and ordinary movement has not become more painful. A comfortable finish matters more than completing every step.
Second variant: Separate the tools across sessions
Use separate sessions when you are learning how you respond to each tool. This version avoids making ball pressure and suction one continuous challenge to the same area.
- Start with one method. Use the ball alone, or use cupping alone according to the device instructions. Do not introduce several unfamiliar functions together.
- Record the response. Note the body area, method, immediate comfort, skin appearance, and later symptoms. A short note is enough.
- Wait for irritation to resolve. Do not treat bruised, tender, or otherwise irritated skin again simply because your calendar says it is recovery day.
- Reconsider the second tool independently. If the first method causes a problem, do not use the second to try to undo it.
Best for: beginners who need to understand their response before combining methods. The trade-off is a slower experiment, but it makes the source of an unwanted reaction easier to identify.
You do not need a same-day sequence to have a useful recovery habit. Gentle movement, appropriate training adjustments, sleep, and professional assessment when needed remain separate priorities.
Troubleshooting
The ball feels manageable, but cupping hurts
Release the suction and stop. Tolerance for pressure does not establish tolerance for suction. Check the skin and review the device instructions before considering another session; do not increase heat or suction to push through discomfort.
The device will not maintain a seal
Remove it and check the contact surface, positioning, and manufacturer-approved skin preparation. Body contours and hair can interfere with a seal. Do not compensate by pressing harder, using unapproved products, or repeatedly treating the same patch of skin.
Marks make you think you need stronger treatment
Cupping can leave temporary skin discoloration, but mark darkness does not measure treatment success or prove that toxins have left the body. Do not chase a darker result. Leave marked or tender skin alone until it has recovered.
The area feels worse later
Stop both tools rather than adding another recovery technique. Persistent or worsening pain, spreading redness, swelling, blistering, or broken skin needs clinical advice. Sudden severe pain, weakness, or other concerning symptoms require prompt medical assessment.
You cannot comfortably reach the area
Choose a different setup or leave the area untreated. Do not twist into an unstable position or attach a device where you cannot release it. A qualified practitioner can assess whether treatment is appropriate and help with inaccessible areas.
Customize your workflow
Build your 2026 routine around the response you can observe, not a fixed promise of release. Keep 3 checkpoints: skin before treatment, symptoms between tools, and movement afterward. These checkpoints organize your decisions; they are not a validated treatment protocol.
Change one element at a time. If you change the body area, suction function, heat use, and ball pressure together, an uncomfortable result gives you little useful information about which change mattered.
For portable cupping devices from Vazocupping, keep the distinction between functions clear: having cupping, heating, massage, and gua sha available does not mean every session needs all of them. Use fewer inputs until you understand your response.
FAQ
Should I use a trigger point ball before or after cupping?
There is no established universal order that makes the combination better. If you use a ball first, reassess your skin and symptoms before considering suction, and skip cupping over irritated or tender skin.
Can I cup the exact spot I just worked with a massage ball?
Do not apply cupping over a spot that has become bruised, irritated, swollen, or unusually tender. Normal-looking skin alone does not establish suitability; follow your device instructions and seek individualized advice when symptoms persist.
How long should I wait between ball pressure and cupping?
A fixed waiting period does not establish that your skin is ready for suction. Follow the device instructions and leave any irritated or tender area untreated until it has recovered.
What suction setting should a beginner use?
Use the introductory setting specified in your device's instructions for the intended body area. Settings are not interchangeable across devices, and painful suction is a reason to stop rather than continue.
Does this routine break up knots or scar tissue?
This routine does not establish that knots or scar tissue are being broken apart. Tenderness has different causes, and persistent pain or restricted movement deserves assessment rather than repeated forceful treatment.
Can I add heat during the cupping step?
Add heat only when your device instructions permit it and your health circumstances allow it. Heat adds a separate skin risk, so do not use it to overcome painful suction or apply it to an acutely injured area.
Is the Vazo Slide medical-grade?
The Vazo Slide has a base made from medical-grade alloy. That statement applies to the base material, not certification or regulatory approval of the whole portable cupping device, and it does not prove medical outcomes.
One last thing
The most useful transition is sometimes from the ball straight back to ordinary movement. If you can move comfortably and your skin feels normal, adding another tool is optional—not a reward you have earned by tolerating pressure.
Judge the routine by comfortable function and the absence of unwanted effects. Neither soreness nor a visible mark is a completion badge.