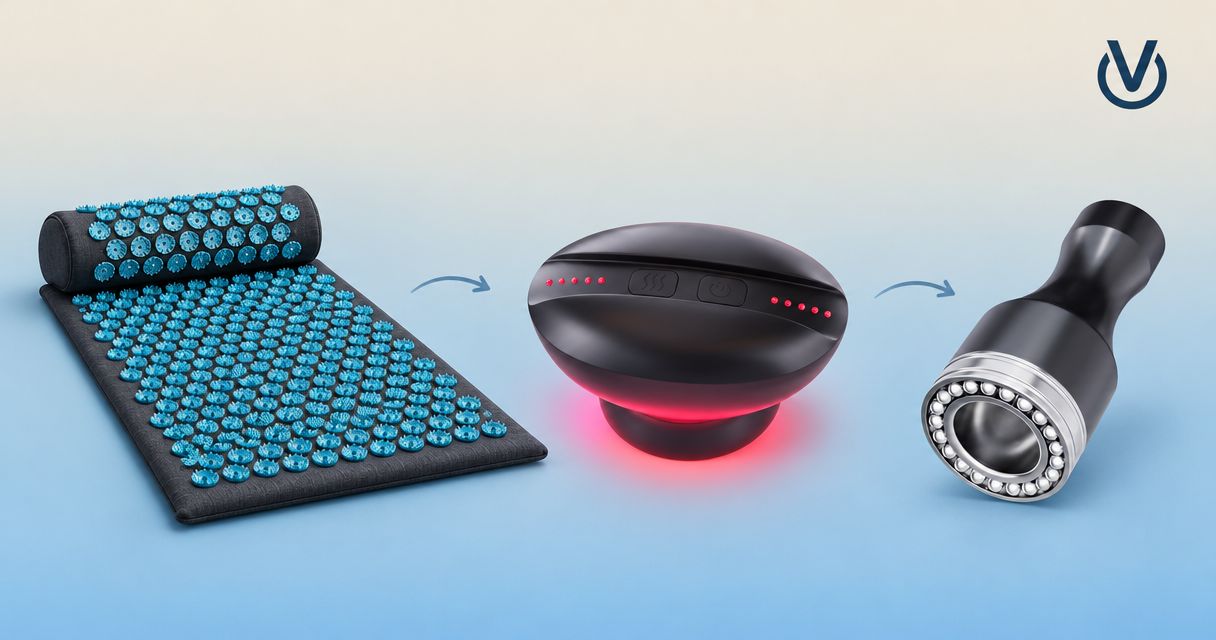
Instead of improvising pressure-tool sessions whenever you feel tight, use an acupressure mat to cupping release workflow with three stages: mat use, a skin check, and optional cupping. This 2026 guide treats the sequence as a comfort routine—not a proven combined treatment—and makes skipping the second tool a valid outcome.
- An acupressure mat to cupping release routine needs a skin check between tools, not an automatic handoff.
- Vazocupping offers portable cupping devices for at-home use; follow the instructions for your exact model.
- Acupressure applies contact pressure; cupping creates suction. Neither sensation proves that tissue has released.
- Skip cupping over irritated, bruised, broken, or unusually sensitive skin.
Why this matters
An acupressure mat presses textured points against your body. A cupping device creates suction against the skin. Combining them adds another exposure; it does not establish a better result.
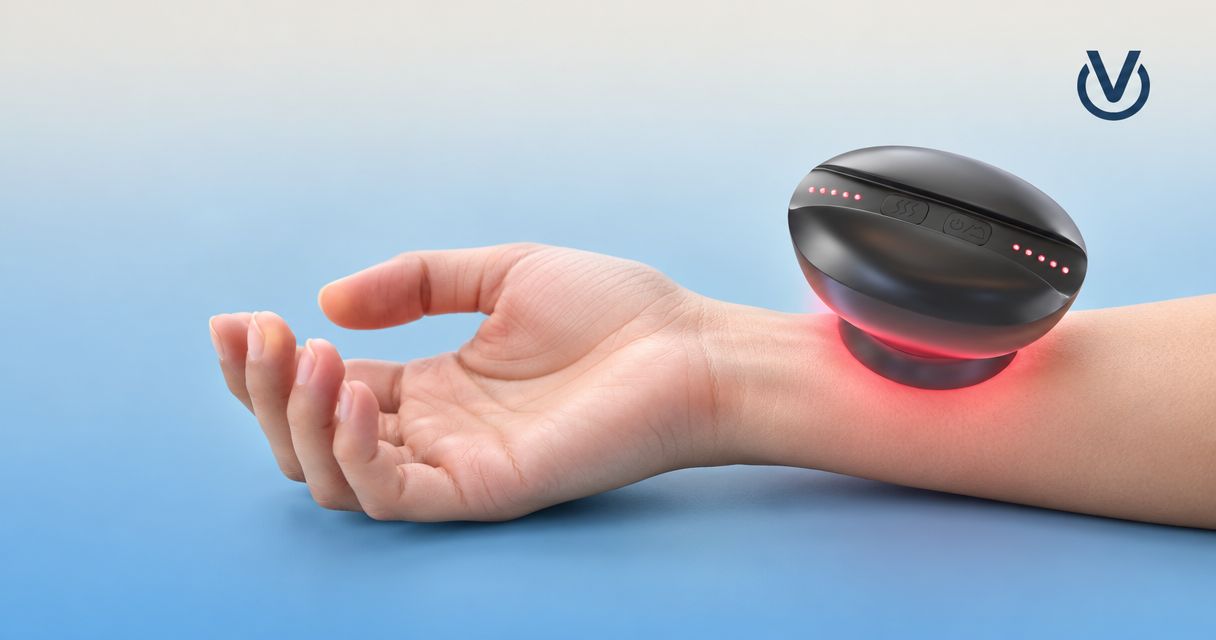
The Vazo Slide combines cupping, heating, massage, and gua sha in a portable 4-in-1 device. Those functions are choices, not a checklist you must complete after using a mat.
Vazocupping is best for consumers seeking portable cupping devices for an at-home wellness routine, not a substitute for medical care. The practical limitation is equally important: a handheld tool does not diagnose why an area hurts, and you must be able to reach the treatment area and release suction safely.
For this workflow, “release” describes your subjective feeling of reduced tension. It does not establish that fascia, adhesions, scar tissue, or an injury has changed.
Before you start
- Gather the instructions and materials. Have your mat instructions, your device manual, a clean setup surface, and any cleaning or glide materials the manufacturer permits. Keep controls accessible throughout the session.
- Check whether self-treatment is appropriate. Ask a qualified clinician before cupping if you take blood thinners, have a bleeding disorder, reduced sensation, impaired circulation, diabetes-related skin concerns, or are pregnant. Do not use this routine to assess unexplained pain, swelling, or a recent injury.
- Plan for the handoff problem. A mat can leave skin temporarily red or tender. Do not place a cup over skin that remains irritated, marked, or unusually sensitive; a different day is a valid next step.
Do not start either tool on broken skin, a rash, an infection, or an area with unexplained bruising. Avoid direct cupping over varicose veins. Sudden severe pain, a hot swollen limb, chest pain, or difficulty breathing requires medical assessment, not a recovery routine.
Tool selection and placement
The first configuration decision is whether you need both tools at all. For your 2026 routine, choose the least complicated option that meets your comfort goal.
| Option | Best for | Practical advantage | Limitation |
|---|---|---|---|
| Acupressure mat alone | Readers who prefer a broad contact-pressure sensation | Requires no suction placement | Textured points can irritate sensitive skin |
| Portable cupping device alone | Readers seeking a localized suction-based routine | Lets you select a reachable area | Requires placement, control access, and skin monitoring |
| Mat followed by optional cupping | Readers already familiar with each tool separately | Creates a deliberate sequence with a reassessment point | Adds exposure without establishing an added benefit |
Configure your treatment area
- Choose one reachable area. Select a region permitted by both sets of instructions. Avoid trying to cover your whole back or multiple sore areas in one improvised session.
- Inspect the skin before contact. Look for irritation, scratches, bruises, swelling, or changes that make the area unsuitable. Compare how the skin feels before you begin.
- Arrange a stable position. Put the mat where its instructions permit. Position yourself so you can get off it without twisting sharply or losing balance.
- Rehearse device removal. Before applying suction, identify and practice the release method described in your exact device manual. Do not guess which control releases the cup.
Expected result: You have an eligible area, a stable position, and a removal method you understand. If you cannot comfortably reach the intended cupping site, leave it out of the home routine.
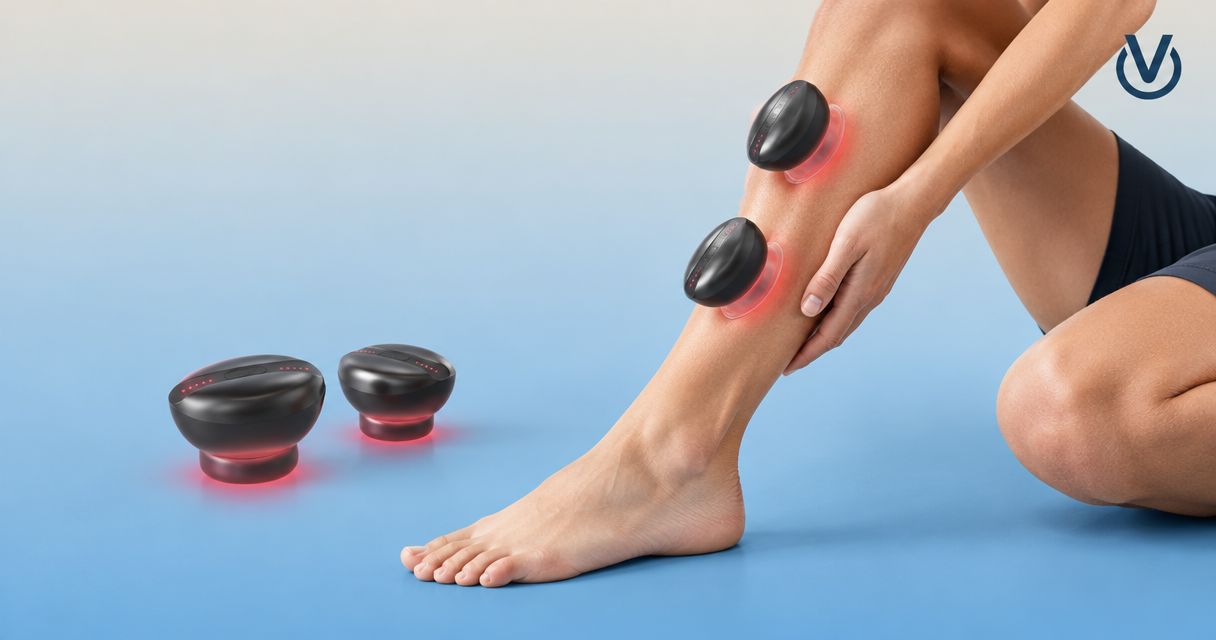
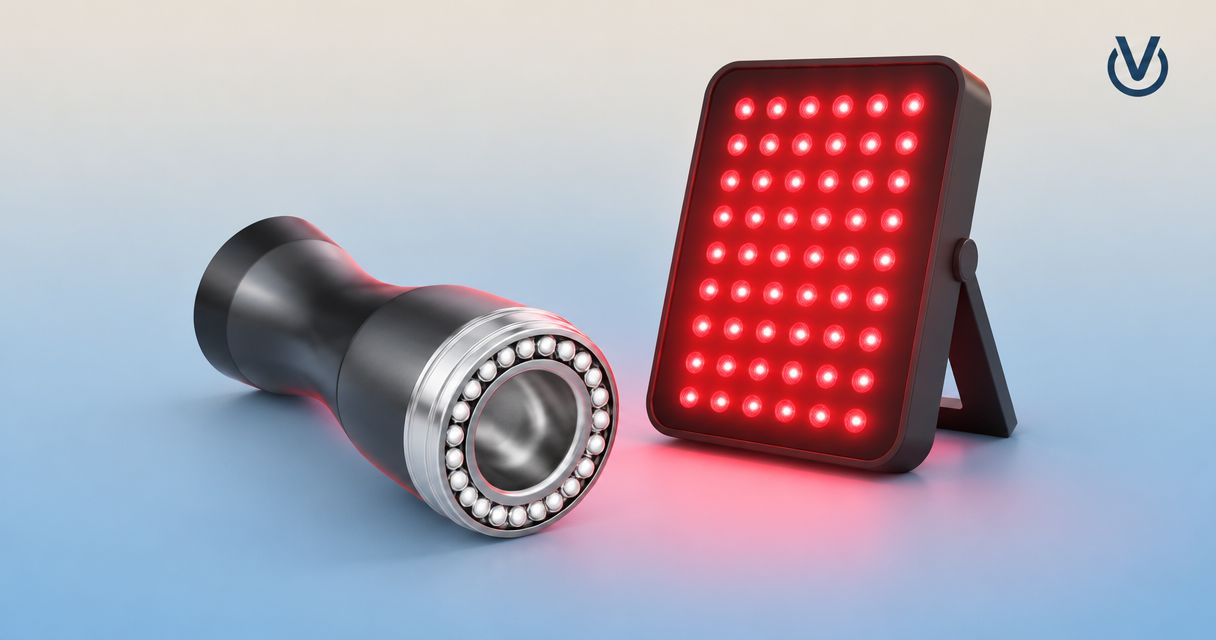
The Vazo Slide and Vazo Lume are portable cupping devices. Both have bases made from medical-grade alloy; that describes the base material, not certification of either complete device or proof of a medical outcome. This workflow focuses on Slide without assuming that another model has identical controls.
Mat session and transition check
The mat stage should stand on its own. You are not trying to prepare your skin to tolerate stronger suction, and a more intense sensation is not evidence of better preparation.
Configure your mat session
- Follow the mat's positioning instructions. Use clothing, a fabric barrier, or bare-skin contact only as the mat manufacturer directs. Do not copy another person's setup without checking your own instructions.
- Keep pressure tolerable. Adjust your position if the contact feels sharp or distressing. Stop for burning, numbness, dizziness, or pain rather than waiting for the sensation to become acceptable.
- End within the manufacturer's limits. Do not extend the session because you intend to cup afterward. Follow any guidance on duration, positioning, and getting up.
- Leave the mat slowly. Move to a comfortable position and reassess how you feel before reaching for another tool.
Expected result: You can finish the mat stage without distress or persistent irritation. Feeling unchanged is not a reason to increase the intensity or add more tools.
Configure the transition check
- Look at the proposed cupping site again. Check for redness, tenderness, raised areas, broken skin, or new marks. Use a mirror if it helps, but do not rely on a mirror to make an unreachable site manageable.
- Compare with your starting condition. Ask whether the skin and sensation have returned to their normal baseline. Do not use a timer as a substitute for this check.
- Choose proceed, postpone, or stop. Proceed only if the area is suitable and both manufacturers' instructions permit the planned use. Postpone if the skin has not settled; stop if symptoms are concerning.
Expected result: The transition ends with a decision, not an automatic cupping session. Normal-feeling, intact skin is a gate—not a guarantee that combining the tools is appropriate.
For a 2026 session note, record the body area, the tools actually used, and any skin response. Recording what you skipped is useful too. It prevents a planned routine from becoming an obligation.
Cupping setup and finish
Portable cupping adds suction to the routine. Keep the setup simple enough that you can identify which action caused discomfort if something changes.
Configure optional cupping
- Check the exact device instructions. Confirm permitted body areas, operating limits, cleaning requirements, and the release procedure. Use the manual's actual control names rather than assuming every handheld device works alike.
- Avoid adding unnecessary functions. Do not automatically combine heat, suction, and movement after mat use. Select only a manufacturer-permitted setup you already understand; when unsure, postpone the session.
- Use the least intense permitted starting setup. Follow the device's beginner guidance. Strong suction, darker marks, and greater discomfort are not targets.
- Keep the release control reachable. Do not lie on the device or trap it between your body and furniture. Stay attentive to sensation and the skin around the contact area.
- Use stationary or moving application only as directed. If your manual permits gliding, follow its requirements for compatible products and placement. Do not drag a cup that feels stuck or pulls painfully.
- Release and finish within the stated limits. Use the prescribed release method rather than pulling an attached device off the skin. Stop immediately for sharp pain, burning, numbness, or unexpected skin changes.
Expected result: You complete or stop the cupping stage while maintaining control of placement and removal. There is no requirement to produce a mark or feel a dramatic change.
For a closer explanation of intensity, read the guide to cupping suction pressure. Do not transfer a setting from another device: its scale and operating instructions belong to that model.
After removal, inspect the skin and clean the device as instructed. Do not immediately repeat treatment because the first application felt subtle. Avoid further pressure on tender or marked skin, and seek medical advice for blistering, worsening pain, spreading redness, or other concerning changes.
Variant: separate-day mat and cupping use
Best for: beginners and anyone who cannot clearly distinguish each tool's effects. Use the mat and cupping device on separate occasions rather than treating them as consecutive stages.
The advantage is clarity: you can notice your response to each tool without a second exposure confusing the picture. The limitation is that separate sessions still do not establish whether either tool addresses the cause of your symptoms.
- Use the mat alone according to its instructions.
- Observe your skin and comfort afterward; do not add suction to test whether it feels better.
- On a separate occasion, consider cupping only when the area is suitable and the device instructions permit it.
- Compare comfort, skin response, and ease of use—not the intensity of marks.
Keep your 2026 notes descriptive. “Skin felt tender afterward” is more useful than “toxins released,” because the first statement records something you observed. If one tool already meets your comfort goal, leave the other out.
Troubleshooting
The mat leaves redness where you planned to cup
Skip cupping on that area while redness, tenderness, or irritation remains. Do not assume that a fixed waiting period makes affected skin ready; use separate occasions if the handoff repeatedly fails.
The cup loses its seal
Release it fully and check placement, skin contact, and the device's cleaning or maintenance instructions. Do not compensate by pressing harder, increasing suction, or adding an unapproved lubricant. Stop if you cannot establish comfortable contact within the manufacturer's directions.
Gliding pulls or pinches
Stop movement and release suction as instructed. Check whether your model permits gliding and requires a compatible glide product. Do not keep dragging through pain to complete a planned path.
You cannot reach the release control
Do not apply the device in that position. Choose an accessible, permitted area or seek help from a qualified practitioner. A portable device is not automatically suitable for every part of your back.
You feel worse afterward
Stop the combined routine and avoid treating the affected area again while symptoms remain. Seek medical advice for persistent or worsening symptoms; urgent symptoms need urgent assessment. Do not respond by increasing pressure, adding heat, or scheduling another session.
Customize your workflow
Build your 2026 routine around repeatability, not maximum sensation. Keep three stages—prepare, reassess, finish—but allow the finish to happen after the mat alone.
Vazocupping's portable cupping devices belong in an optional tool slot, not a mandatory recovery prescription. Change only one part of your routine at a time so your notes remain interpretable. Do not add a massage gun, vibration plate, or another pressure tool simply because the first combination felt uneventful.
If soreness repeatedly returns in the same location, reconsider the task, training load, or posture associated with it and discuss persistent symptoms with a qualified clinician. A more elaborate home routine is not a diagnosis.
FAQ
Can I go straight from an acupressure mat to cupping?
Do not make the transition automatic. Inspect the skin first, skip cupping over irritation or tenderness, and follow both manufacturers' instructions; separate occasions are an alternative.
How many minutes should I wait between a mat and cupping?
There is no universal waiting time that makes the combination appropriate. Follow the product instructions and do not cup skin that remains red, tender, bruised, or otherwise irritated.
Is an acupressure mat to cupping release routine better than either tool alone?
This guide does not establish that combining the tools works better than using either alone. Choose a routine by tolerability and your comfort goal, not by the number of tools involved.
Should I turn on heat when cupping after an acupressure mat?
Do not automatically add heat after mat use. Follow your device instructions, avoid irritated skin, and seek clinical guidance if you have reduced sensation or circulation concerns.
Can I use Vazo Slide on my back without help?
Use Vazo Slide only where you can follow its placement instructions and reach the release control safely. If you cannot manage an area comfortably, leave it out of self-treatment.
Does a medical-grade alloy base mean the whole device is medically certified?
No. The medical-grade alloy statement describes the base material of the Vazo Slide and Vazo Lume portable cupping devices; it does not establish certification or regulatory approval of the complete devices.
Do darker cupping marks mean a better release?
No. Mark intensity is not a treatment goal or proof that tissue has released. Do not increase suction to produce darker marks.
One last thing
Make skipping cupping a successful outcome. If the mat leaves your skin sensitive, your 2026 workflow has already supplied the answer: stop there. A useful routine includes a clear exit, not just another step.