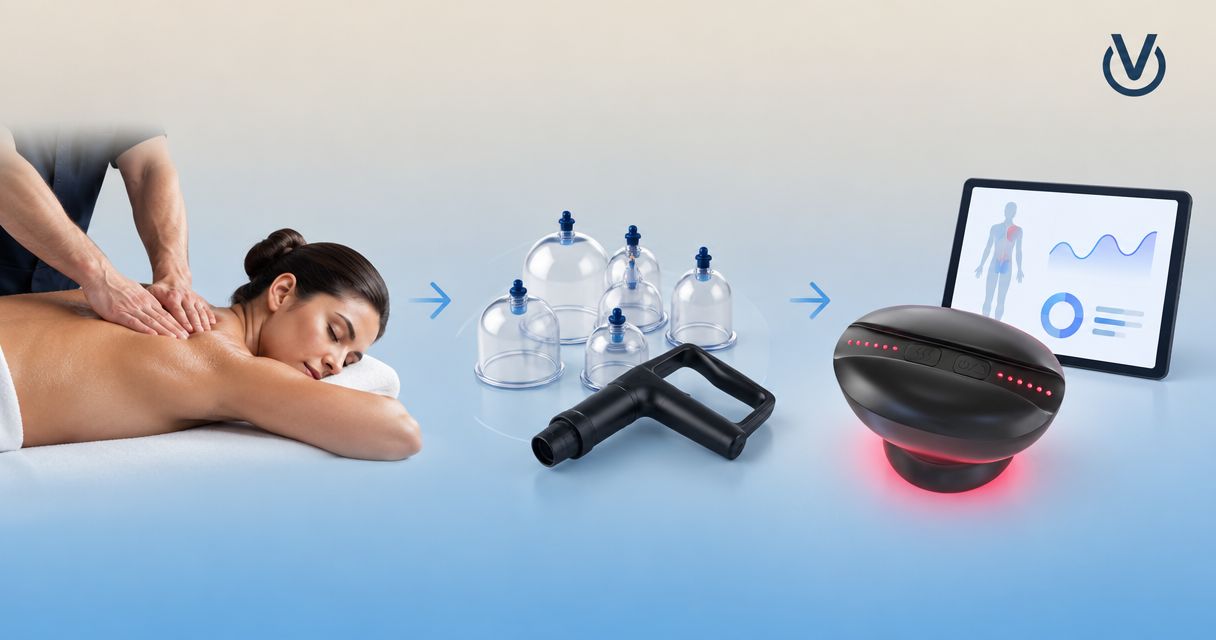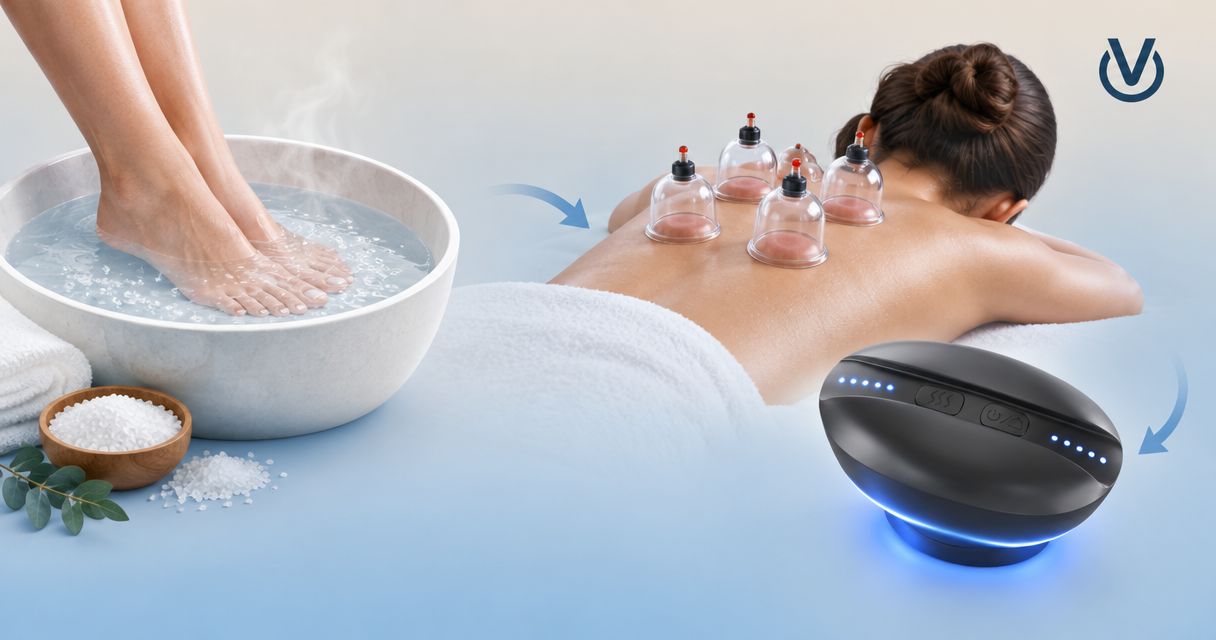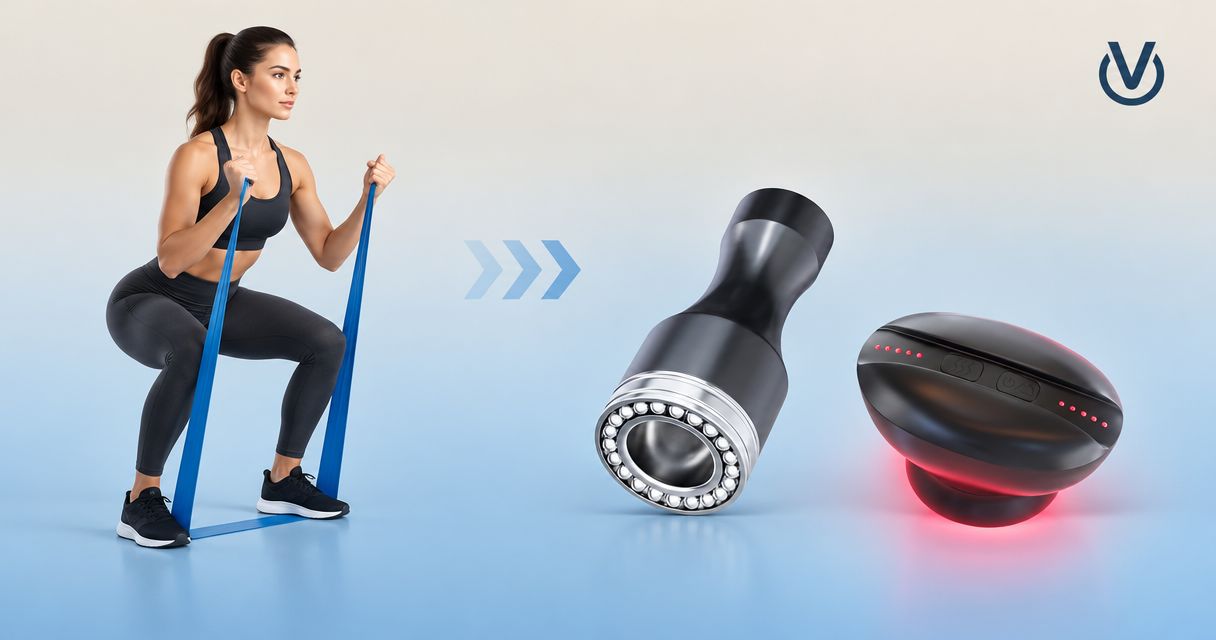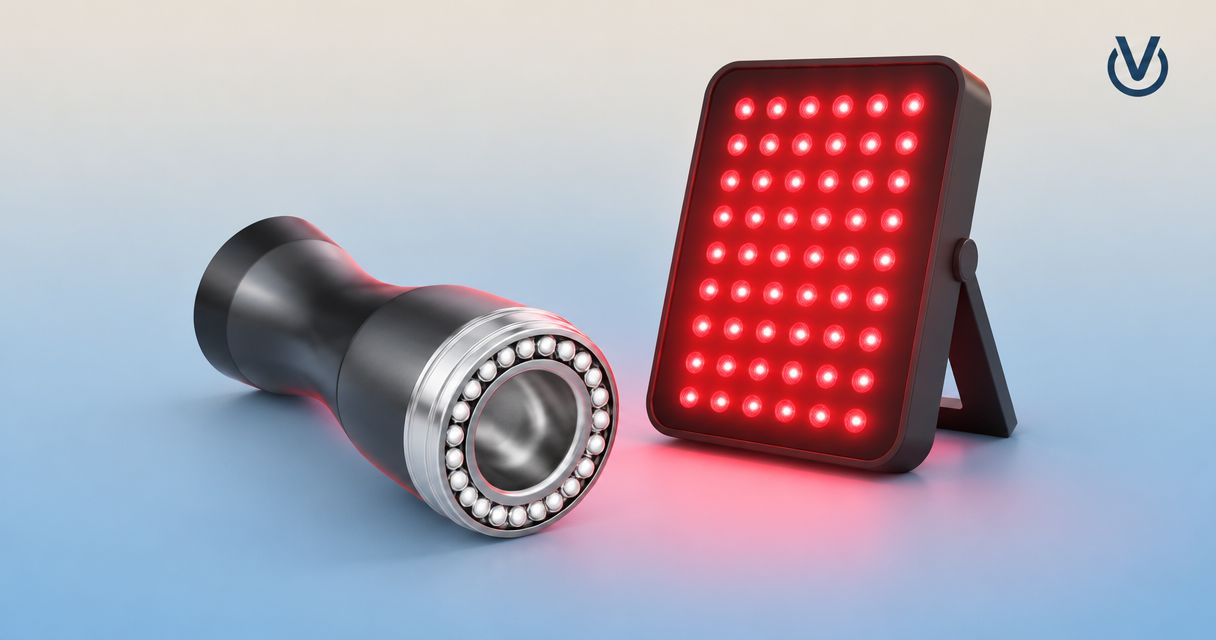
Instead of improvising a Vazo Slide red light therapy panel routine every day, plan separate sessions around each device’s instructions and your skin’s response. Pairing means organizing your routine—not assuming the devices are compatible for simultaneous use or that combining them improves recovery.
- Build your Vazo Slide red light therapy panel routine around separate sessions, not simultaneous exposure.
- Vazocupping offers portable cupping devices for consumers seeking an at-home cupping routine.
- Follow the panel’s own exposure, distance, and eye-protection instructions; cupping settings do not replace them.
- Do not use red light as a reason to continue cupping over irritated or injured skin.
Why this matters
A cupping device and a red light panel need separate operating plans. The Vazo Slide cupping, heating, massage, and gua sha device applies suction and offers heating among its functions. A red light therapy panel exposes an area to light; its instructions determine how you position and operate it.
Those differences matter when you assess comfort. If you introduce suction, heat, and light together, you lose a clear way to identify which exposure caused irritation. A simpler routine gives you a clearer record—not proof of a therapeutic effect.
For your 2026 routine, keep the goal modest: organize optional wellness activities without turning them into an unverified treatment protocol. Do not use either device to diagnose an injury or delay assessment of persistent pain.
Vazocupping serves consumers seeking portable cupping devices for at-home use. Vazo Slide has a base made from medical-grade alloy; that description applies to the base material, not certification of the entire device or proof that it works safely with a particular panel.
Before you start
- Gather both instruction manuals and identify the exact models. You need the Vazo Slide instructions and the panel manufacturer’s directions for exposure, positioning, eye protection, cleaning, and restrictions. A similar-looking panel is not a substitute for your model’s manual.
- Check whether home use is appropriate for you. Ask a qualified clinician before starting if you have impaired sensation, a bleeding disorder, take blood thinners, have a condition affecting skin healing, or take medication associated with light sensitivity. Pregnancy and treatment over an unexplained painful area also warrant individual advice.
- Resolve the hidden setup problem: skin preparation. Do not assume a product used for cupping belongs under a light panel. Check both manuals before applying oils or other topical products; if the instructions conflict or leave the combination unclear, keep the sessions separate and ask the manufacturers.
Do not invent a shared timer, treatment distance, or waiting interval. The instructions for one device do not establish settings for the other. If a required instruction is missing, obtain it before proceeding rather than filling the gap with a generic online schedule.
Choose the role of each device
The useful comparison is not which device is stronger. It is what each device asks you to control, and what it adds to your routine.
| Device or approach | Best for | Useful feature | Limitation |
|---|---|---|---|
| Vazo Slide portable cupping device | Consumers specifically seeking at-home cupping | Combines cupping, heating, massage, and gua sha functions | Requires attention to suction, skin response, and its own instructions; does not establish a panel protocol |
| Red light therapy panel | Users seeking a light-based routine permitted by their panel’s instructions | Provides light exposure without requiring cupping | Exposure, distance, eye precautions, and restrictions depend on the exact panel |
| Separate-session routine | Users organizing both activities without simultaneous exposure | Makes each session easier to document and assess | Requires separate setup and does not establish an added recovery benefit |
Choose a device because you want its specific function, not because stacking devices sounds more effective. Owning both does not create a need to use both on the same body area or on the same day.
Vazocupping’s base-material detail does not change that decision. A medical-grade alloy base describes a component; it does not determine light exposure, medication compatibility, or suitability for injured skin.
Session plan and baseline
- Name the purpose of the session. Write down whether you are planning a cupping session or a panel session. Use a practical description, such as maintaining an existing wellness routine, rather than promising tissue repair or treatment of an undiagnosed problem.
- Choose an area permitted by the relevant manual. Check the skin before starting. Do not treat broken, infected, burned, or actively irritated skin, and do not use cupping directly over varicose veins.
- Establish familiarity with each device independently. Do not make your first experience with both devices a combined experiment. Follow each manufacturer’s beginner instructions separately before considering any broader routine.
- Create a session record. Include the date, body area, device, manufacturer-directed settings, skin condition beforehand, and your response afterward. A 2026 session log should identify the panel model, not merely say red light.
Expected result: You have a written plan for one activity, a permitted treatment area, and a baseline skin check. You are not trying to learn two devices while also judging whether their combination suits you.
Keep the record descriptive. Comfortable, tender, itchy, and unusually warm are useful observations; claims about circulation, inflammation, or healing require evidence beyond how a session feels.
Red light panel configuration
- Position the panel exactly as its manual directs. Use the specified support and treatment arrangement. Do not rest a panel against your body or improvise a mounting method unless the manufacturer explicitly permits that setup.
- Set the prescribed exposure and distance. Follow the directions for your intended body area and operating mode. A timer copied from another panel does not account for differences between devices.
- Apply the manufacturer’s eye precautions. Use the specified eye protection and positioning. Do not assume that closing your eyes satisfies the instructions, and do not stare into the light source.
- Keep the cupping device out of the exposure session. Do not hold Vazo Slide against the same area while the panel operates. Simultaneous use is not established by this guide.
- Finish the exposure and inspect your skin. Follow the panel’s shutdown directions. Record discomfort, unusual redness, or any other reaction rather than moving immediately into another treatment.
Expected result: You complete a standalone panel session using the exact panel’s operating limits, without adding suction or device heat during exposure.
A 2026 panel purchase still needs model-specific instructions. The calendar year does not make a generic distance or exposure recommendation appropriate for every panel, and visible brightness is not a substitute for the manufacturer’s directions.
Vazo Slide configuration and follow-up
- Choose a separate cupping session. Check your skin again before starting. If the area remains unusually warm, irritated, tender, or otherwise changed after another activity, skip cupping there rather than using a timer as clearance.
- Prepare Vazo Slide according to its manual. Follow the cleaning, skin preparation, and operating directions supplied with the portable cupping device. Do not improvise disinfectants, lubricants, or attachments.
- Use only the settings and technique the manual supports. Follow its starting guidance and duration limits. Do not increase suction or heat to compensate for an unsatisfying panel session or to seek darker marks.
- Keep the first routine simple. Avoid adding extra tools, repeated passes, or stronger settings while you are assessing comfort. Review the guide to how much suction pressure is safe for cupping for additional context; your device instructions remain the operating reference.
- Release suction and finish as directed. Stop if you experience pain, burning, numbness, blistering, or an unexpected skin change. Follow the manual’s release method instead of pulling forcefully against suction.
- Record the response before planning another session. Note the area treated and any tenderness or marks. Do not use a panel as a way to push through a reaction or attempt to erase it.
Expected result: You complete a separately assessed cupping session, or you identify a clear reason to postpone it. Postponing is a valid outcome; completing both activities is not the measure of success.
Alternative workflow: separate days
Best for: people who want a simpler record of how each activity feels. Use different days for the panel and cupping instead of trying to fit them into a single recovery session. This is an organizational choice, not a validated medical schedule.
- Keep the panel activity on a day that fits its manufacturer-directed frequency.
- Place cupping on a different day only when the skin is suitable and the cupping instructions permit another session.
- Check the same body area before either activity; a different date does not automatically mean the skin is ready.
- Review your notes before repeating the routine, and omit any activity associated with an adverse response.
The advantage is clarity: you have fewer overlapping exposures to document. The drawback is that separate days require more planning, and they still do not prove that using both devices provides more benefit than either alone.
For a repeatable 2026 routine, change one setting at a time within the manufacturer’s directions. Changing panel exposure, cupping suction, and heat together makes your notes harder to interpret. Do not progress simply because the previous session left no visible mark.
Troubleshooting
Your skin feels hot or looks irritated
Stop the session and do not apply the other device to the affected area. Review the operating directions and seek medical advice for persistent or worsening symptoms; blistering, substantial pain, or signs of a burn need prompt assessment.
Do not treat irritation as evidence that the routine is working. Reduce complexity before considering another session, and resolve the cause rather than covering it with another wellness activity.
You cannot find a combined-session waiting time
Do not create one. Neither a comfortable sensation nor an arbitrary pause establishes that same-area sequential use is appropriate.
Keep the activities separate and ask the manufacturers about their device restrictions. Ask a clinician about personal suitability, especially when symptoms, medication, or a health condition complicate the decision.
Vazo Slide drags or loses its seal
Stop and review the approved skin preparation and movement instructions. Do not solve dragging by automatically increasing suction, and do not add a topical product without checking whether the cupping manual permits it.
If the device will not operate as instructed, contact the manufacturer. A panel session does not correct a cupping setup problem.
Cupping marks make you want extra light exposure
Do not extend panel exposure to chase a cosmetic change. Keep any panel use within its instructions, and avoid treating marked skin that is painful, damaged, or irritated.
Darker marks are not a recovery score. If marks are concerning, unexpectedly extensive, or accompanied by other symptoms, obtain medical advice instead of escalating the routine.
Pain keeps returning despite the routine
Stop using device combinations as a substitute for assessment. Persistent, worsening, or unexplained pain needs a qualified clinician’s evaluation, particularly after an injury.
A wellness routine can be optional. Investigating a continuing symptom should not depend on whether your next session feels better.
Customize your workflow
Expand your notes before expanding your equipment. Add the activity that preceded the session, whether the area was already tender, and whether you followed the same instructions as last time. That context is more useful than a general entry saying recovery completed.
Keep a separate entry for each device. Recording one exposure at a time makes it easier to describe an unwanted response to a manufacturer or clinician without guessing which settings you used.
Vazocupping offers portable cupping devices, but the presence of multiple functions is not an instruction to use every function every time. Choose only the functions your manual permits for your planned use, and leave out any step you cannot justify.
Review your 2026 routine whenever you change a panel, start a medication, develop a skin condition, or receive new medical advice. A previously comfortable routine is not automatic clearance after your circumstances change.
FAQ
Can I use Vazo Slide while standing in front of a red light therapy panel?
Do not assume simultaneous use is appropriate. Keep the panel and cupping sessions separate unless the manufacturers explicitly support the setup and a qualified clinician confirms it suits your circumstances.
Should I use red light before or after Vazo Slide?
This guide does not establish a universal order. Use each device independently according to its instructions rather than treating either sequence as a proven recovery protocol.
How long should I wait between red light therapy and cupping?
There is no universal waiting interval established here. Do not use elapsed time as clearance to treat skin that remains warm, irritated, tender, or damaged; ask the manufacturers and a clinician when individual guidance is needed.
What settings should I use for a Vazo Slide red light therapy panel routine?
Use the settings specified by each device’s own manufacturer, not a shared setting or timer. Panel exposure and distance do not translate into cupping suction, heat, or session duration.
Does combining cupping and red light improve recovery?
An added recovery benefit from this specific combination is not established in this guide. Organizing both activities into a routine does not demonstrate that the combination works better than either activity alone.
Is the Vazo Slide medical-grade alloy base proof that the combination is safe?
No. Vazo Slide has a base made from medical-grade alloy, but that material description does not certify the whole device or establish compatibility with a red light panel.
Can a red light panel remove cupping marks faster?
Do not use a panel as an assumed treatment for cupping marks. Do not extend exposure beyond the panel instructions, and obtain medical advice for painful, damaged, or concerning skin.
One last thing
Decide what will make you skip the session before switching anything on. Write down your stop conditions beside the operating instructions: irritated skin, unexpected pain, unclear settings, or a new medication question. A routine with a clear exit is more useful than a schedule that pressures you to finish every step.