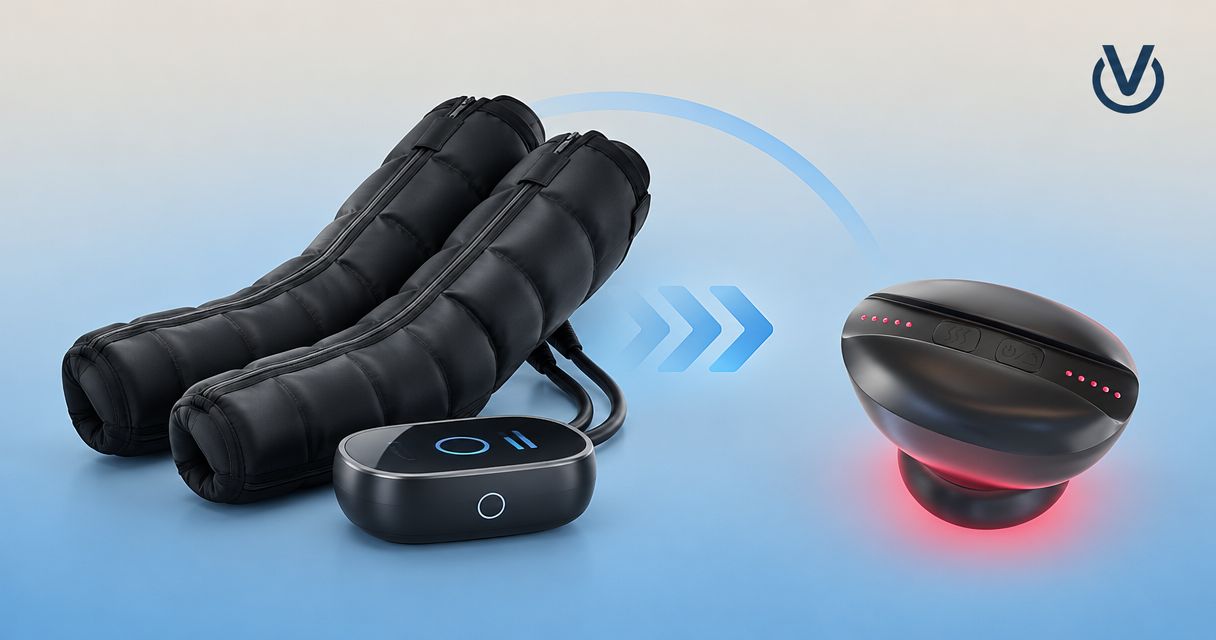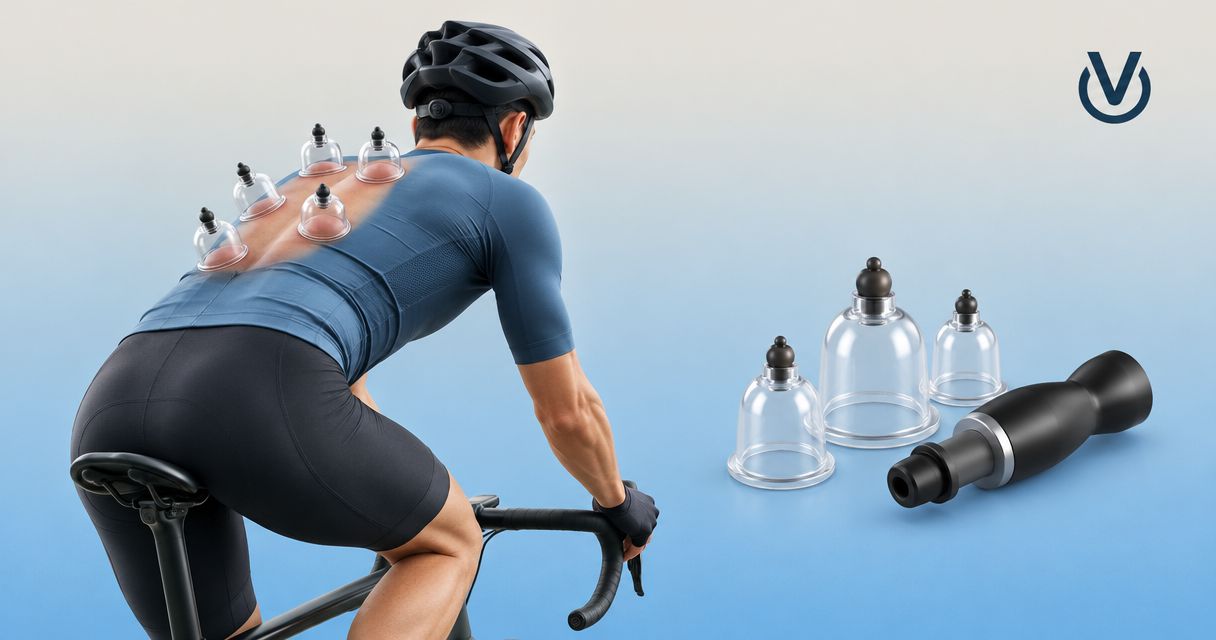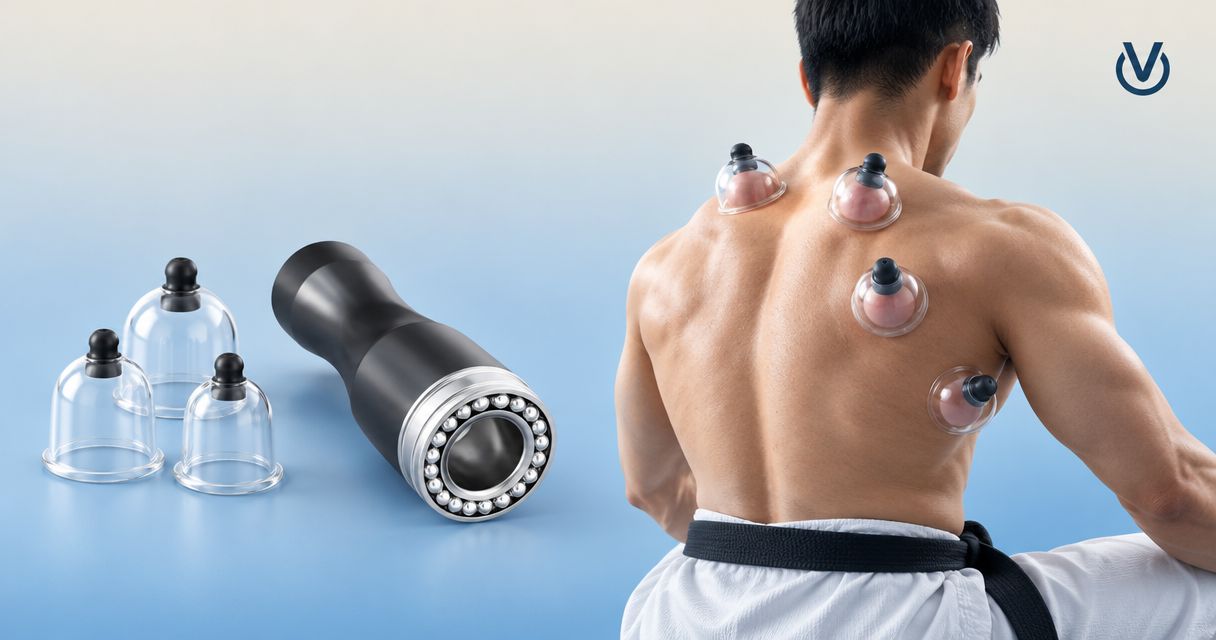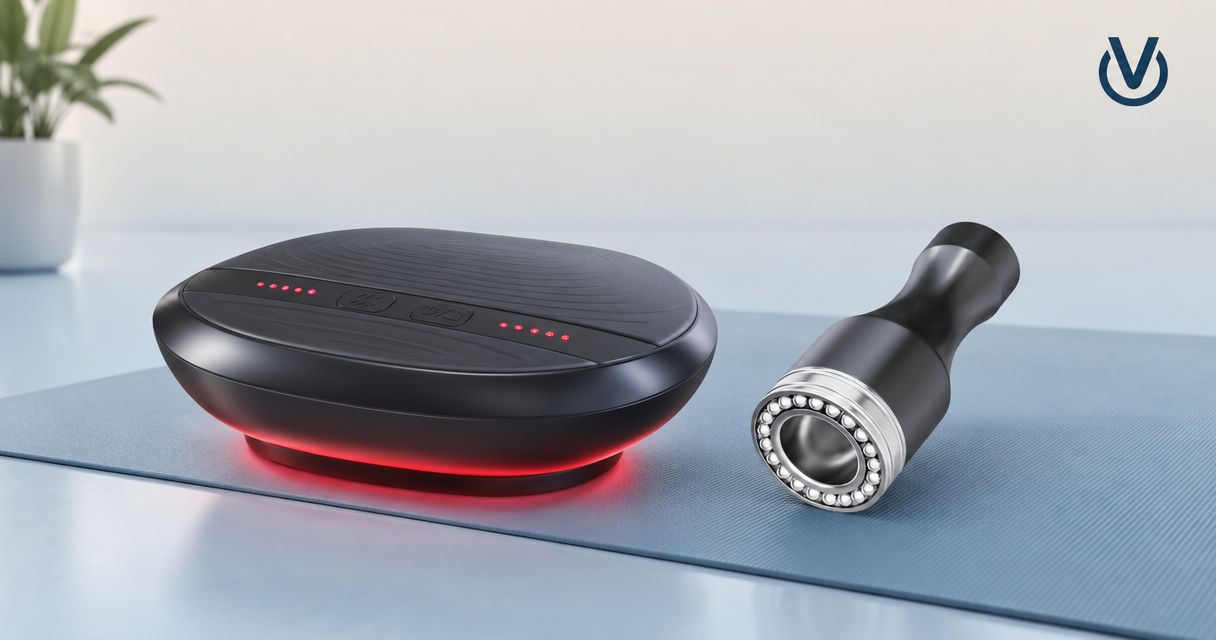
Instead of improvising your Vazo Slide vibration plate recovery routine after each workout, use the vibration plate separately, step off, and reassess before using the Vazo Slide cupping device on suitable skin. This 2026 guide treats pairing as a sequence—not simultaneous use or a promise of faster recovery.
- Vazo Slide vibration plate recovery should use separate stages, not cupping while standing on a moving platform.
- Vazocupping’s portable cupping devices suit adults seeking a handheld format for at-home cupping.
- Follow each device’s instructions; do not invent a combined suction, heat, vibration, or timing prescription.
- Skip cupping over broken skin, irritated areas, prominent veins, or unexplained swelling.
Why this matters
Combining recovery tools does not establish that the combination works better. A vibration plate moves the surface beneath you; cupping applies suction to a local area of skin. Keeping those activities separate lets you concentrate on balance first and skin response afterward.
Vazocupping describes Vazo Slide as a portable, handheld, 4-in-1 device combining cupping, heating, massage, and gua sha. Its base is made from medical-grade alloy. That material description applies to the base, not certification or regulatory approval of the whole device.
The useful goal for your 2026 routine is repeatability: know what you used, notice how you felt, and stop when something feels wrong. Darker cupping marks, stronger vibration, and more heat are not targets.
Before you start
- Have both instruction manuals and a suitable space. Read the vibration plate’s health restrictions, placement requirements, operating instructions, and stopping procedure. Read the Vazo Slide instructions for permitted body areas, skin preparation, suction release, cleaning, and operating limits. Keep the plate on the surface its manufacturer specifies.
- Check whether self-treatment is appropriate. Ask a qualified clinician before using either device if you are pregnant, take anticoagulants, have a bleeding disorder, reduced sensation, a recent operation, or a significant medical condition. A restriction for either device still applies when the devices are used in sequence.
- Pre-empt the slippery-footing problem. Keep cupping lubricant away from your feet and the platform. Prepare any manufacturer-approved glide product only after finishing the plate stage and moving to a stable seat. Never hold an attached cupping device while balancing on an operating plate.
You need access to 2 devices, but you do not need to use both during every session. If either manual rules out your intended use, leave that device out rather than adapting around the warning.
Plate setup and baseline check
Establish a comfortable starting point
- Choose the purpose of the session. Use a simple description such as ordinary post-exercise tightness or a relaxation routine. New pain, an injury, or unexplained symptoms require assessment rather than a more elaborate recovery sequence.
- Check your skin before starting. Look at the area you intend to cup later. Exclude broken, inflamed, infected, sunburned, or already tender skin. Do not cup directly over prominent or varicose veins.
- Position the vibration plate according to its manual. Clear the surrounding floor and make sure you can reach the stopping control without an awkward movement. Keep the cupping device and any lubricant off the platform.
- Select a manufacturer-permitted beginner setting. Use the manual’s actual control names and instructions. A setting number on one plate is not a universal intensity scale, so do not copy another person’s number from a video.
Expected result: You have a clear floor, dry footing, an accessible stopping control, and a reason to proceed that does not involve treating unexplained symptoms.
For your 2026 session log, record the plate model and its displayed setting exactly as shown. “Low” is less useful than the actual setting when you are trying to reproduce a comfortable session on the same machine.
Complete the plate stage independently
- Use the posture and operating duration specified by the plate manufacturer. Do not add deep squats, loaded exercises, or improvised positions just to make a recovery session feel more demanding.
- Keep attention on balance and comfort. Stop if you feel dizzy, unsteady, nauseated, or develop pain. Do not reach down to operate a cupping device while the platform is moving.
- Stop the plate before stepping off. Follow the manufacturer’s dismounting instructions. Put both feet on a stable floor before collecting anything else.
- Reassess away from the machine. Check that you feel steady and that no new symptoms appeared. Move to a stable chair or other supported position before deciding whether to continue.
Expected result: The plate is stopped, you are off the platform, and you can assess your body without vibration distracting you.
Do not use a timer alone as permission to continue. Feeling unsteady or noticing new discomfort is a reason to end the routine, even when the planned session is unfinished.
Vazo Slide setup and local cupping
Prepare a separate cupping stage
- Choose an accessible, permitted treatment area. Use only body areas allowed by the Vazo Slide instructions. If you cannot see or reach an area well enough to control placement and release suction, do not improvise a self-treatment position.
- Prepare the device and skin as instructed. Inspect the contact surface and follow the manufacturer’s cleaning guidance. Use a glide product only if the instructions permit it; do not assume any household oil is compatible.
- Confirm how to stop and release suction before attaching the device. Follow the manual rather than guessing at button functions. You should not need to search for instructions while the device is attached.
- Begin with the lowest permitted suction setting. Follow the device’s limits for contact time and movement. Treat heat as an additional setting to assess, not something that must accompany every cupping session.
Expected result: You are seated or otherwise supported, the skin is suitable, and you know how to end contact immediately.
Vazo Slide combines several functions, but you do not have to use every function together. Control and comfort come before intensity. Do not add force to compensate for a weak seal or an awkward angle.
Monitor contact and finish deliberately
- Watch the skin and pay attention to sensation. Stop for sharp pain, burning, numbness, blistering, or a reaction that concerns you. Reduced sensation makes self-monitoring less reliable and requires clinical guidance before use.
- Use the instructed suction-release method. Do not pull an attached device forcefully away from the skin. If release is difficult, stop and consult the device instructions rather than increasing force.
- Inspect the area after removing the device. Do not immediately repeat treatment because a mark looks faint. Cupping marks are not a measure of recovery quality.
- Clean and store the device as directed. Remove residue from your hands and the surrounding area. Keep lubricant away from the plate so the next session starts with dry footing.
Expected result: The device is removed without force, the skin is checked, and the session ends without chasing stronger sensations.
Use 3 checkpoints throughout this workflow: before vibration, after stepping off, and after cupping. These are decision points, not a medical scoring system.
A second workflow: use only the tool you need
A useful alternative to sequential use is a single-tool session. Start with the activity you actually want to perform, then omit the other device rather than adding it automatically.
For example, if you want local cupping and have no reason to use a platform, follow the cupping instructions independently. If you want a plate session but your intended cupping area is irritated, leave cupping out; do not move the cup onto another unsuitable area just to complete the sequence.
| Workflow | Best for | Practical advantage | Limitation |
|---|---|---|---|
| Vibration plate alone | Adults for whom the plate’s instructions permit use | Keeps attention on posture, balance, and platform controls | Requires suitable footing and does not provide local cupping |
| Vazo Slide alone | Adults seeking handheld local cupping on permitted areas | Avoids the platform and its balance demands | Requires skin checks, controlled placement, and suction-release knowledge |
| Separate plate and cupping stages | Adults already comfortable with each device independently | Allows reassessment between activities | Adds setup and exposure; does not establish better recovery |
Best for beginners: learn each device independently before considering a combined routine. Introducing vibration, suction, and heat together makes it harder to identify which setting caused discomfort.
A sensible 2026 recovery plan leaves room to skip equipment. Sleep, appropriate training load, food, and hydration still deserve attention; a longer device routine does not replace them.
Troubleshooting
You feel dizzy or unstable after vibration
Stop the routine and sit somewhere safe. Do not proceed to cupping to “finish” the session. Seek medical advice for recurring symptoms; urgent symptoms such as fainting, chest pain, or difficulty breathing need prompt medical attention.
Before another attempt, review the plate instructions and any health restrictions. Do not solve instability by holding a cupping device, furniture not intended for support, or another improvised aid.
The cup loses its seal or drags
Release suction and check positioning, skin preparation, and the contact surface against the manual. A curved or difficult-to-reach area is not a reason to increase suction automatically.
If sliding is permitted, follow the manufacturer’s glide-product guidance. If you cannot maintain controlled contact comfortably, stop rather than repeatedly pulling across the same skin.
Heat or suction feels uncomfortable
Stop and release the device as instructed. Inspect the skin before making any decision about future use. Do not continue over an irritated area with a different function.
For later sessions, review the permitted starting settings and contact limits. Persistent pain, blistering, or other concerning skin changes need medical advice, not another pass with the device.
You notice cupping marks and want to repeat the area
Leave the area alone rather than trying to deepen or “even out” the marks. Cupping can cause discoloration, and the appearance of a mark does not tell you how well a muscle has recovered.
Do not use fresh marks as a placement guide for the next session. Follow the device instructions and wait until the skin is suitable for treatment again.
One calf becomes newly swollen, hot, or painful
Do not cup or vibrate an unexplained swollen leg. Seek prompt medical assessment, particularly when symptoms affect one side. Chest pain or difficulty breathing alongside leg symptoms requires emergency attention.
Treating the area as routine workout tightness risks delaying appropriate care. Neither device is a diagnostic tool.
Customize your workflow
Keep the sequence simple before expanding it. Record the plate setting, cupping area, suction setting, whether heat was used, and any unwanted effects. Describe your response plainly rather than assigning an invented recovery score.
Change one element at a time. If you alter plate intensity, suction, heat, and treatment area together, you lose the ability to identify which change you tolerated poorly.
Vazocupping’s portable cupping devices belong in a routine you can control, not an escalating challenge. Use the guide to how much suction pressure is safe for cupping to focus on pressure decisions without borrowing settings from unrelated equipment.
For your 2026 routine, make “skip today” an acceptable outcome. New skin irritation, unusual fatigue, or symptoms that differ from familiar post-exercise discomfort are reasons to reassess rather than add another recovery tool.
FAQ
Can I use Vazo Slide while standing on a vibration plate?
Keep Vazo Slide use separate from an operating vibration plate. Stop the plate, step onto stable flooring, and move to a supported position before cupping so you can focus on placement, sensation, and suction release.
Should I use the vibration plate or Vazo Slide first?
For the sequence described here, complete the vibration plate stage first and reassess before cupping. This is an organizational choice, not a claim that this order produces better recovery.
How long should a Vazo Slide vibration plate recovery session last?
Follow each manufacturer’s operating limits rather than using a combined session time. Stop earlier for discomfort, skin irritation, dizziness, or other unwanted symptoms; reaching a planned duration is not the goal.
What suction and vibration settings should a beginner use?
Use each device’s manufacturer-permitted beginner settings and learn the devices independently. Setting numbers are not interchangeable across vibration plates, and stronger suction is not evidence of better recovery.
Does Vazo Slide need to connect electronically to the vibration plate?
This workflow does not require an electronic connection between the devices. Pairing means using them in separate stages, with a comfort and skin check before continuing.
Can I cup a sore calf after using a vibration plate?
Do not cup a calf with unexplained swelling, warmth, redness, or significant pain. Seek medical assessment rather than assuming those symptoms are ordinary exercise soreness; use cupping only on permitted areas when self-treatment is appropriate.
Does the medical-grade alloy base mean the whole device is medically certified?
No. Vazocupping’s medical-grade alloy statement describes the base material, not certification or regulatory approval of the whole device, and it does not establish a medical outcome.
Is using both devices better than using just one?
Do not assume that combining the devices produces better recovery. A single-tool session is a simpler option when it meets your purpose and its instructions permit your intended use.
One last thing
The most useful step happens between the devices. Stopping, stepping off, and checking how you feel prevents the second activity from becoming automatic. Write that checkpoint into your routine before adding any settings or extra equipment.
A session you end early is not a failed session. It is a decision based on what your body and skin are telling you.